
Look how I did these 3 Pottery Barn Dupes
Pottery Barn has gorgeous decor, but it’s so expensive! I was inspired by their black and white decor and decided to make my own versions for way less money.
Click below for a video tutorial of all 3 projects. Don’t forget to “Subscribe” to my channel while you’re on YouTube!

// home sign
I saw some great iron and metal looking decor at Pottery Barn, but to save money on these DIYs, we’ll be using materials other than metal. So, let’s get started with this cute “home” sign.
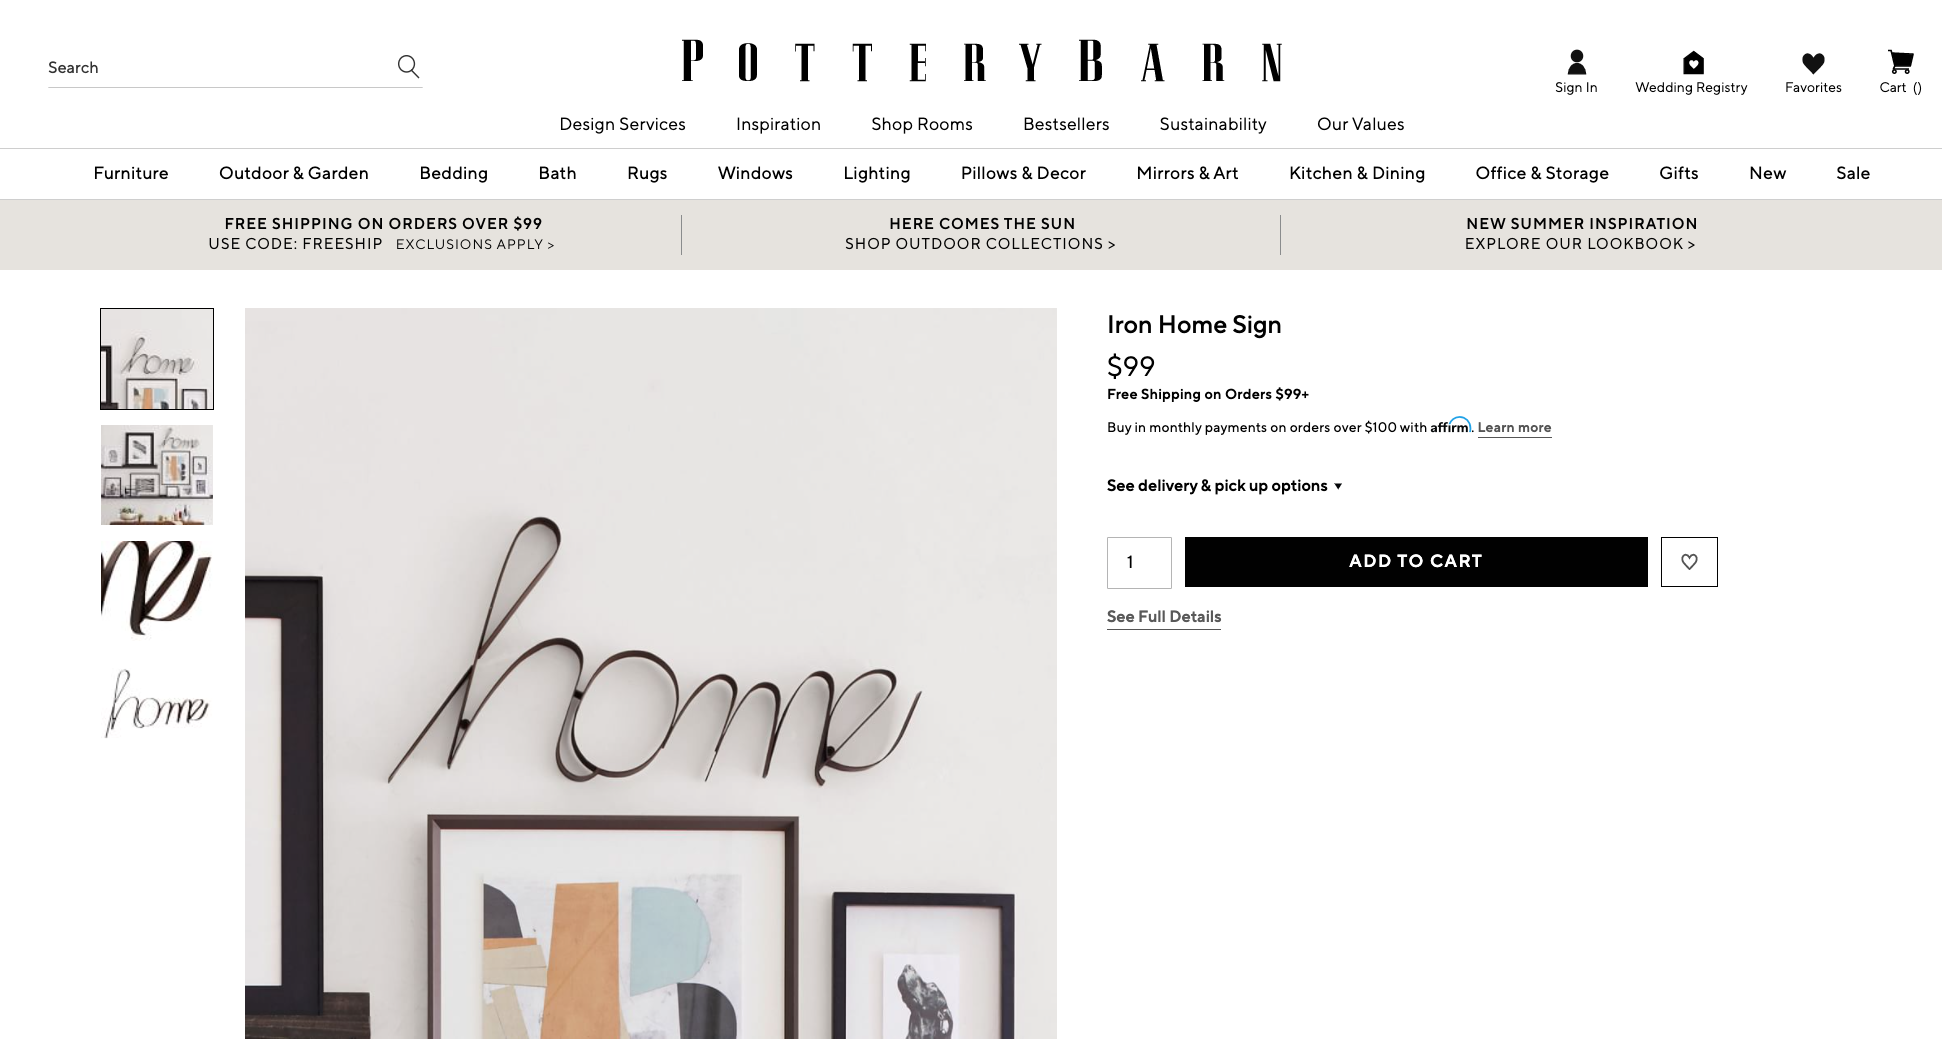
Dollar Tree sells $1 poster board. I thought I could get a very similar look to the Pottery Barn version by manipulating black poster board in a way to form the letters.
I went with poster board instead of paper because I felt it would hold up better as a wall hanging and is still malleable enough to do what we need to do to get those curves.
The first thing we’re doing is marking 1 inch sections on the poster board.

I’ve had a few people ask me for tips on using an X-acto knife. I’ve been using X-acto’s since design school, so I’m pretty comfortable with them. There are different technique for different materials, but these are the things to keep in mind when it comes to straight lines on poster board.
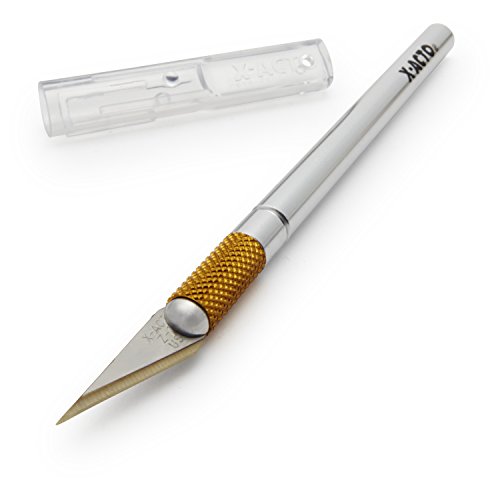
First, always start a project with a fresh blade.

I hold down the ruler, noting that my fingers are out of the way of the blade. And I’m holding that ruler really firmly, so it wont slip. Look for a ruler with a cork backing for added stability.

I also make sure the cut went all the way through BEFORE moving the ruler out of position. That way if you have to go back and make the cut deeper, you won’t have to reposition the ruler again.

When it comes to forming the letters out of the poster board strips, you want to be really gentle as you use your fingers to curve the letters. I kept repeating the same motion to help it keep the curve I wanted.
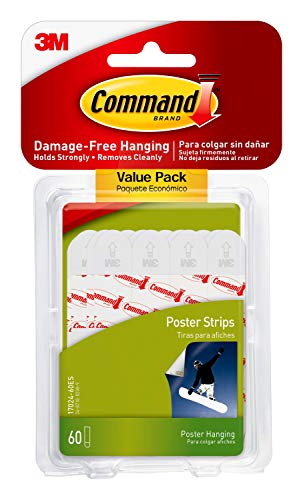
I’m using adhesive transfer tape for this because it is really sticky and so thin and lightweight, so it won’t add any thickness.
Carefully pull out how much you’ll need and then trim it with scissors. This is much more delicate than regular double stick tape. It is much stickier.


Once you get it on the surface it is on there really good and you can peel the brown paper backing away.

Then push the pieces together.

I kept going along with the letters like this until I was happy with the look. I was constantly referencing the Pottery Barn version to see where the letters pieces connected to one another.

If there’s a certain home decor store you like and want to see me make copies of their items, leave me a comment at the bottom of this post.
I have a lot of room makeovers coming up, including a Pottery Barn inspired bedroom. If you like these dupes, then yes, I’m duping a whole room, so you may like that upcoming post! I’ve duped a whole room before in another guest bedroom.
I really love sharing crafts and home DIYs, so you can get lots of ideas to find your inner artist. Please consider subscribing, if you like home decor inspiration so you can be part of this uplifting and creative community here on Artsy Cupcake. I only sent emails occasionally, so you can get lots of inspiration in the fewest emails possible!
I don’t mind the white line on the front. I think it gives it a bit of dimension. But if that white edge bothers you, you could take a Sharpie and color it in.

For securing this to a wall, there are a couple ways you could do this.
You could add tabs made out of poster board under the letters and then use wall mount tape on the tabs.


Or you could strategically place a few nails and have the tops of the letters sit right on top of the nails.

Or you could attach a piece of string or fishing line with tape underneath the letters and hang it that way.

Let’s take a look at the supplies we used. I already had the tape and if you have double stick tape that would work too. So, all we really needed to buy for this project was the $1 piece of black poster board!

And here is the comparison of mine to the Pottery Barn version.

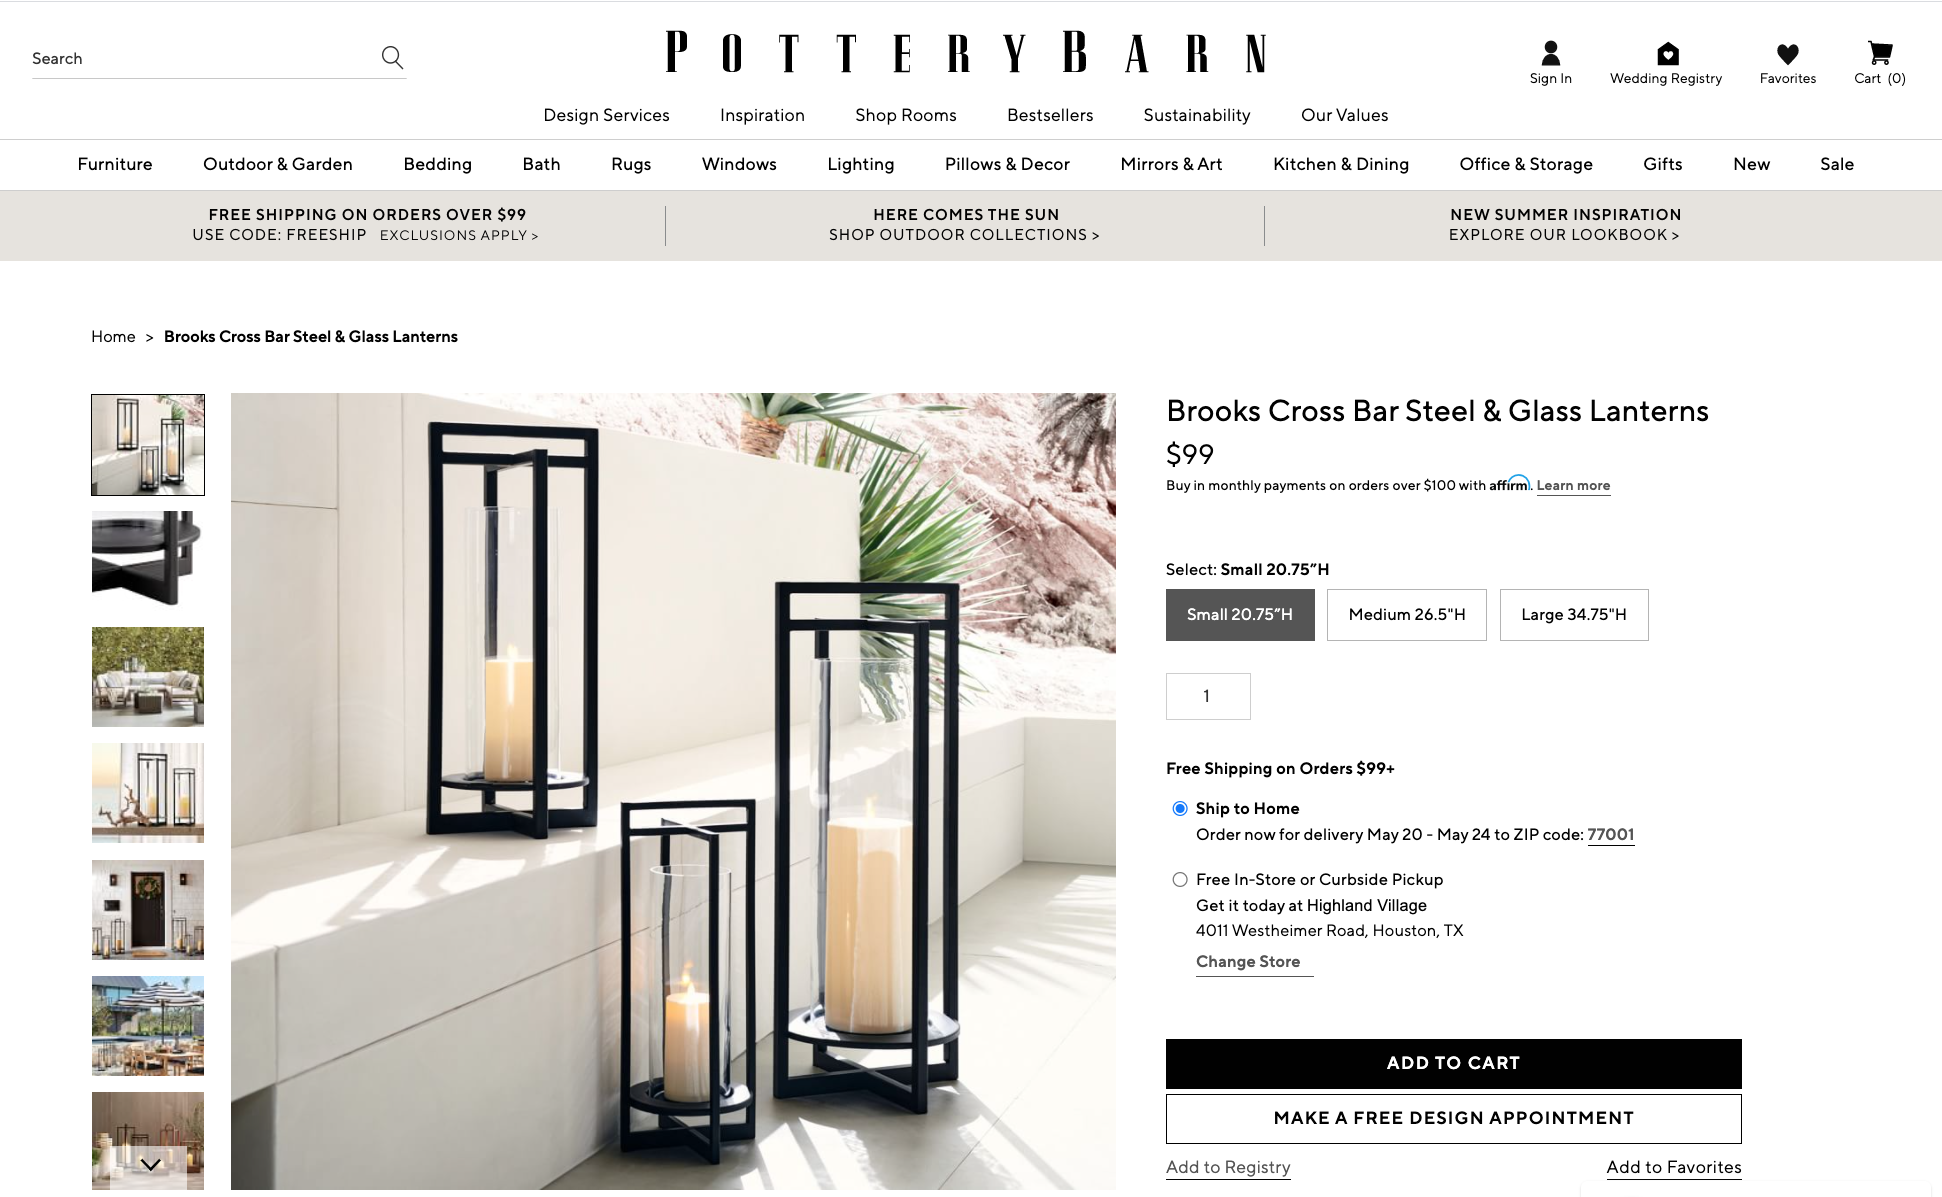
// candle lantern
To keep with this metal look of our dupes today, I saw these steel lanterns and really liked the simple and elegant look of them. We’ll be duping the small one, and it’s regularly $99.
We’ll be using these wooden dowels from Dollar Tree. These are different from the wooden skewers I sometimes use on projects. The dowels are quite a bit thicker.

I used my hacksaw to cut a few pieces down. This should have been easier, but my husband used this saw for our recent Easy Closets pantry makeover. And he had to cut metal with this, so the blade is really dull now. I really need to get a new blade this weekend!

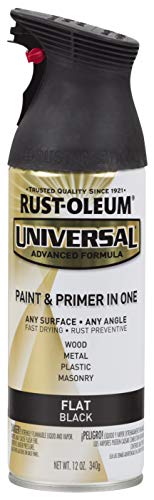
Give the dowels a coat of flat black spray paint. I found this ceramic dish in the Target dollar spot. It was originally white but I already painted it to match those dowels.
Something I love about black and white decor is how it can go with any style of decor and just looks timeless and chic. I also like how you can mix other colors with black and white decor and give it a totally different look depending on what you pair it with.
Side note: I love this craft mat! I use it over my wood desk and it protects my desk from all my messy crafts. I use a Clorox wipe to clean up any paint that gets on the mat and it comes right off.


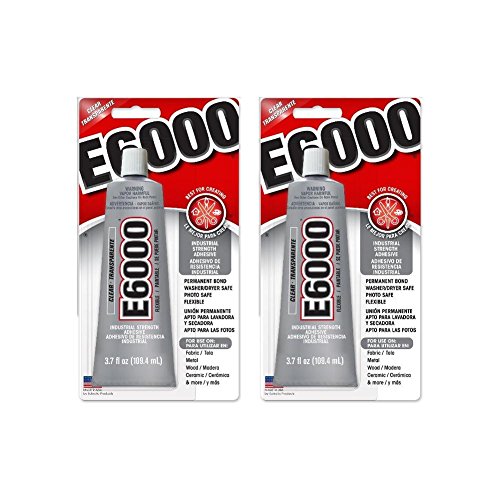
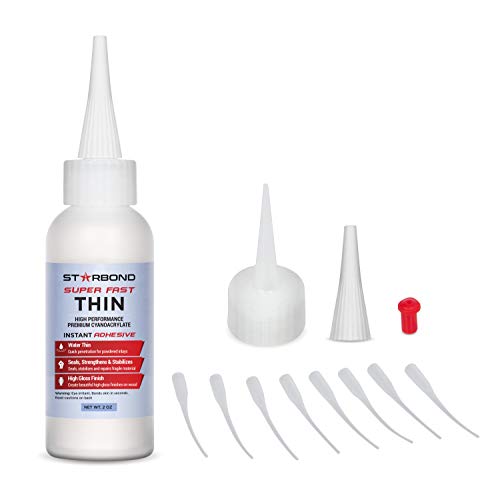
To secure the dowels together, you will want to use a tight hold glue like Starbond or E6000. If you also want a quick hold, just use a dot of hot glue in addition to the tight hold glue. That will help you not have to hold it in place as long.
I pieced it together and then added a little gold and black paint mixed together to add a touch of shine to this piece, which is supposed to replicate metal. The paint really helped accomplish that by giving it a very subtle shimmer.

I don’t usually count things like paint or paintbrushes or hot glue in my cost analysis, because if you like to craft, those are probably things you already have in your craft stash. But here are the supplies we had to pick up at Dollar Tree. I had the candle, but if you needed one you could get it for a dollar at Dollar Tree.

And here is the comparison of mine to the Pottery Barn one.

// rustic vase
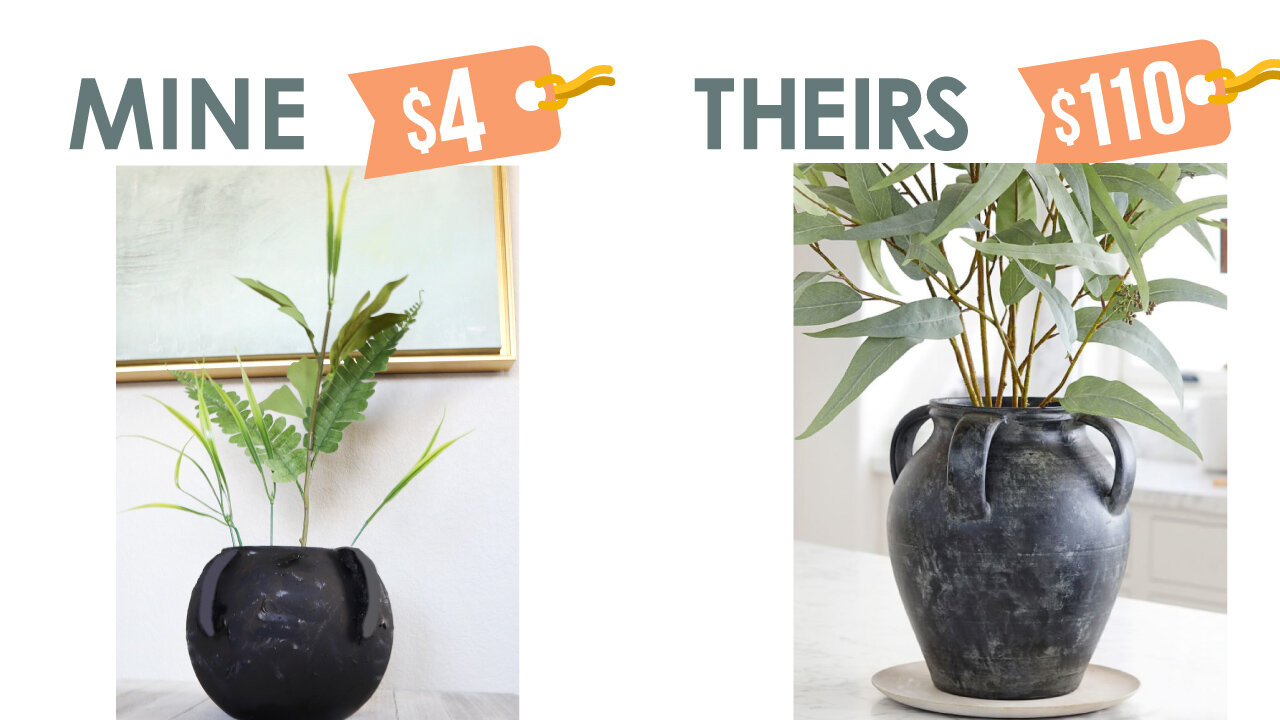
I thought this rustic black vase with the simple eucalyptus leaves was simple and elegant. But the vase is $69 and just that one branch of leaves is almost $40.
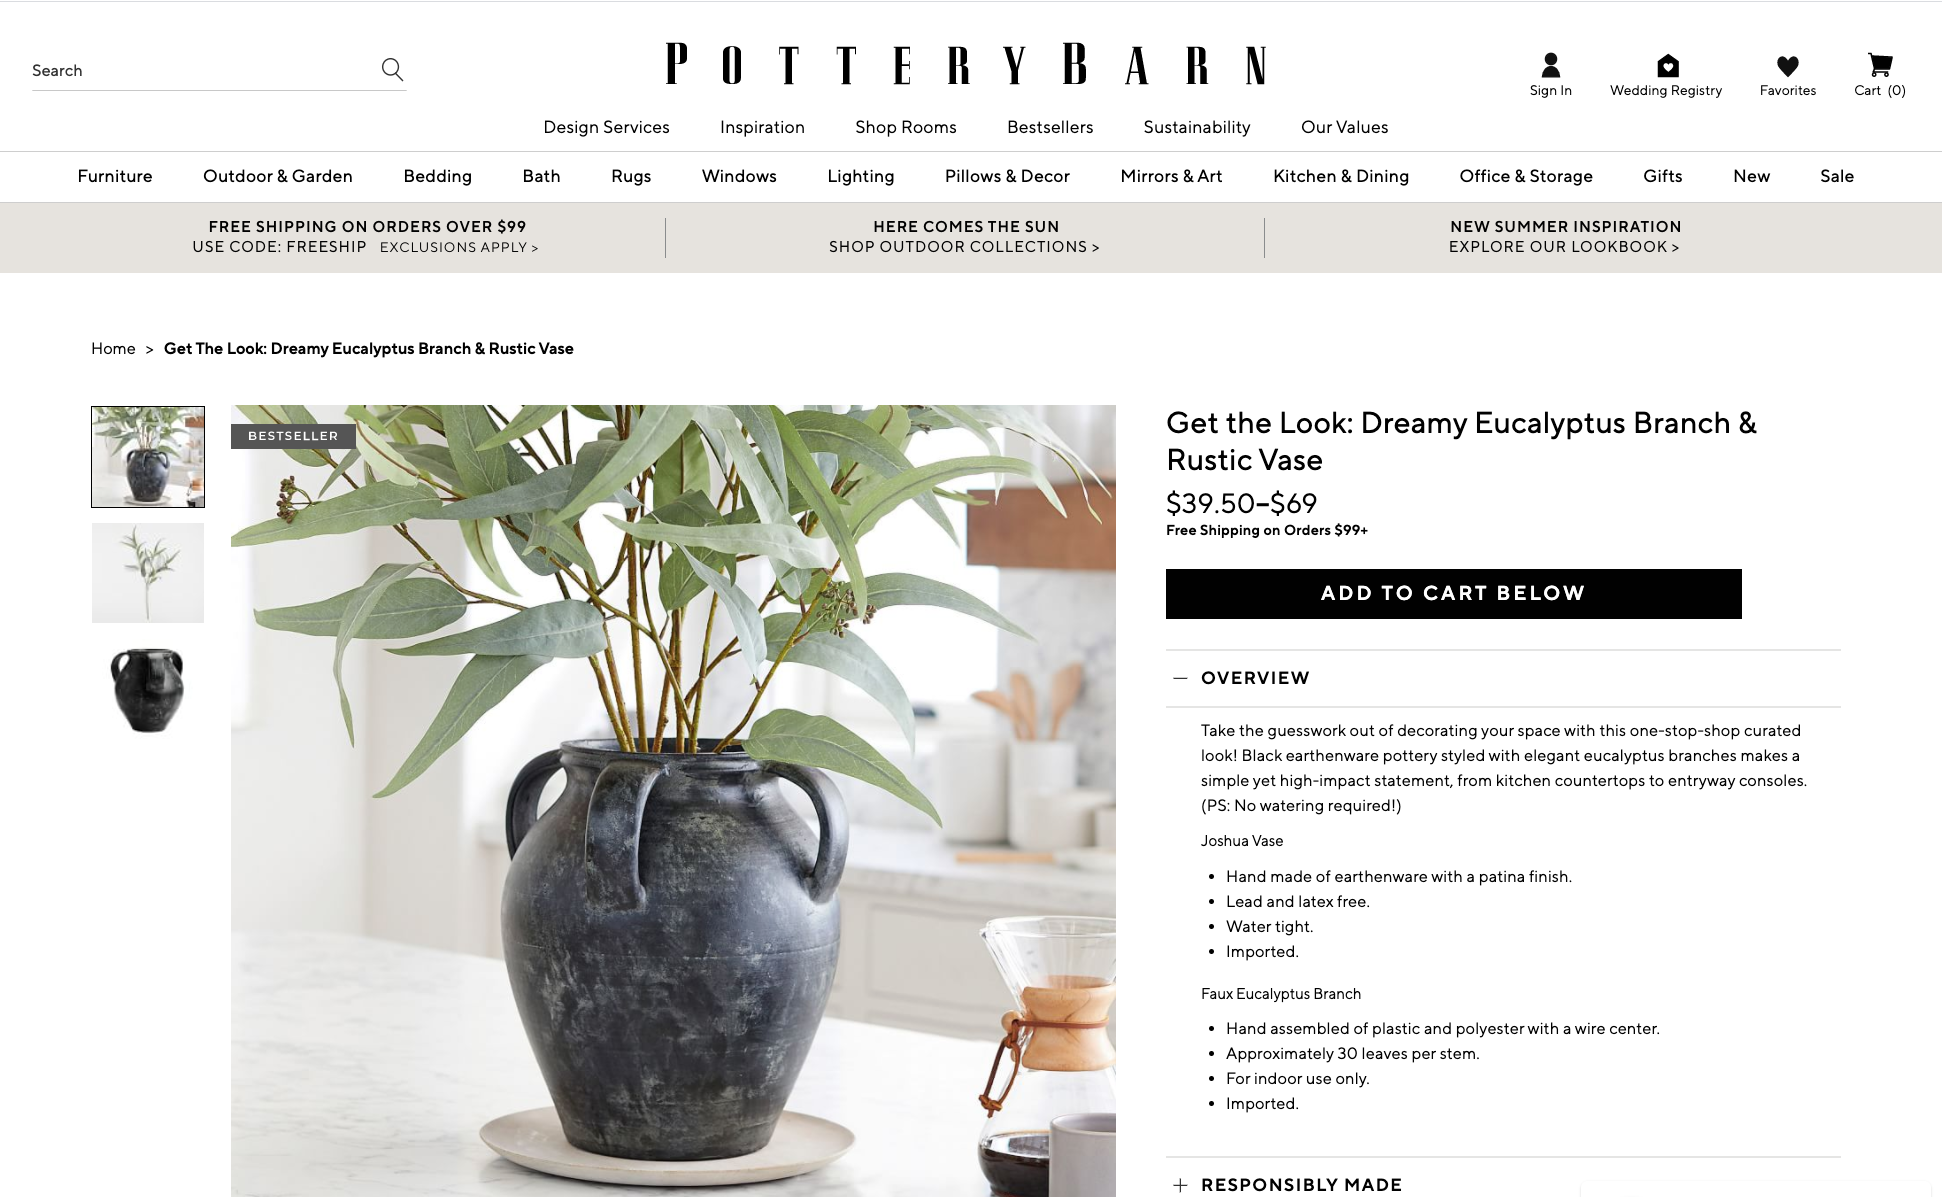
If I had one, I would have used a less bulbulous looking vase to more closely replicate this dupe. But I already had this round one, so we will make it work. I started by using the flat black spray paint on the outside of the vase.

The handles were a bit of trial and error, but I’ll share my fails and how I would have done things differently. For starters, I would have use air dry clay instead of experimenting with this styrofoam.
I had a really sturdy piece of styrofoam that came with a piece of wooden furniture, so it is much more durable than a regular piece of styrofoam. I cut it into handle shapes.
I was worried when I spray painted these handles, it would disintegrate the styrofoam and well, it kinda did. They lost their smooth shape a little, so I would stick to hand painting the styrofoam (or go the air clay route) if you’re going to recreate this.

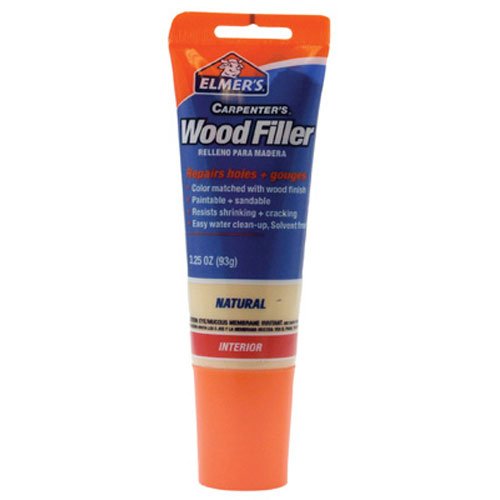
Another thing I would have done is used this wood filler on the handles before attaching them to the vase with E6000. You could use wood filler or joint compound to smooth these styrofoam handles out. And then paint them.

Once we add our texture, it really changes the look and gives it that Pottery Barn patina finish. I took some black and gold paint and added a little flour to thicken it up. The gold is the secret to making this pot look like metal.
I dabbed this thickened paint on the pot, making sure there was three dimensional pieces sticking out, because when it dries it does tend to smooth out a little so you want to go overboard with the texture here. I like how adding the texture makes it match the texture we have on the handles.
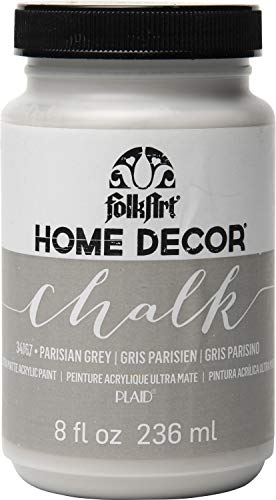
I wanted to add the brushstrokes that the Pottery Barn version had. I used some grey chalk paint and did a dry brush technique. I took a dry paint brush with somewhat stiff bristles and picked up just a tiny bit of the chalk paint and dabbed it around the vase.
To make sure all this paint won’t flake I finished off with a clear spray sealer.

Here were the supplies we had to pick up at Dollar Tree.

I used a few varieties of greenery sprigs that I picked up at Dollar Tree. I stuck those in a piece of styrofoam and placed in the bottom of the vase. Here is the comparison of mine to the Pottery Barn version.
I hope you enjoyed these dupes. Here is more inspiration you may like!


FTC: Not Sponsored. All opinions are always 100% honest and my own. Some links may be affiliate links. If you click a link and buy something, I receive a small commission for the sale. It doesn’t cost you anything extra and you are free to use the link or not as you choose. If you do use my links, I appreciate your support.
Come craft with me! These are THE BEST Kirkland’s dupes for Spring decor, plus they’re Dollar Tree DIYs so they’re super budget friendly, too!