
The BEST Pantry Before and After Makeover
Pantry Goals! If you love a good room makeover, you’ll find this pantry before and after ULTRA satisfying. Packed with tips and tricks, and the “6 P’s to the Perfect Pantry”.
I can’t believe we created this dream pantry from start to finish! Even installing those shelves to replace the previous wire shelves. Amazon came to the rescue, since I was able to do ALL my shopping online!
My last post goes into that Easy Closets install, if you are interested in giving one of your closets a makeover. You can read my review and watch the video on Easy Closets right here.
If you’re here for the coupon codes, here you go!
💰15% off Ruggable with THIS LINK
💰5% off Easy Closets with THIS LINK and FREE shipping with code CLOSET165.
I did a whole video sharing the process, if you want to check it out, click below!

// the before
Let’s get started by looking at the before.
We’ve only lived here for a year, so we haven’t had time for the pantry to get TOO out of hand and unorganized. I realize this isn’t the worst place to be starting at! But there are quite a few improvements to be made.
The top shelf wasn’t very high, so it seemed like the whole pantry had a lot of unused vertical space.

There is also a lot of wasted space because of the angled bars coming off the bottom of each shelf. Those angled bars prevent me from pushing everything back against the wall, limiting how much can be on each shelf.
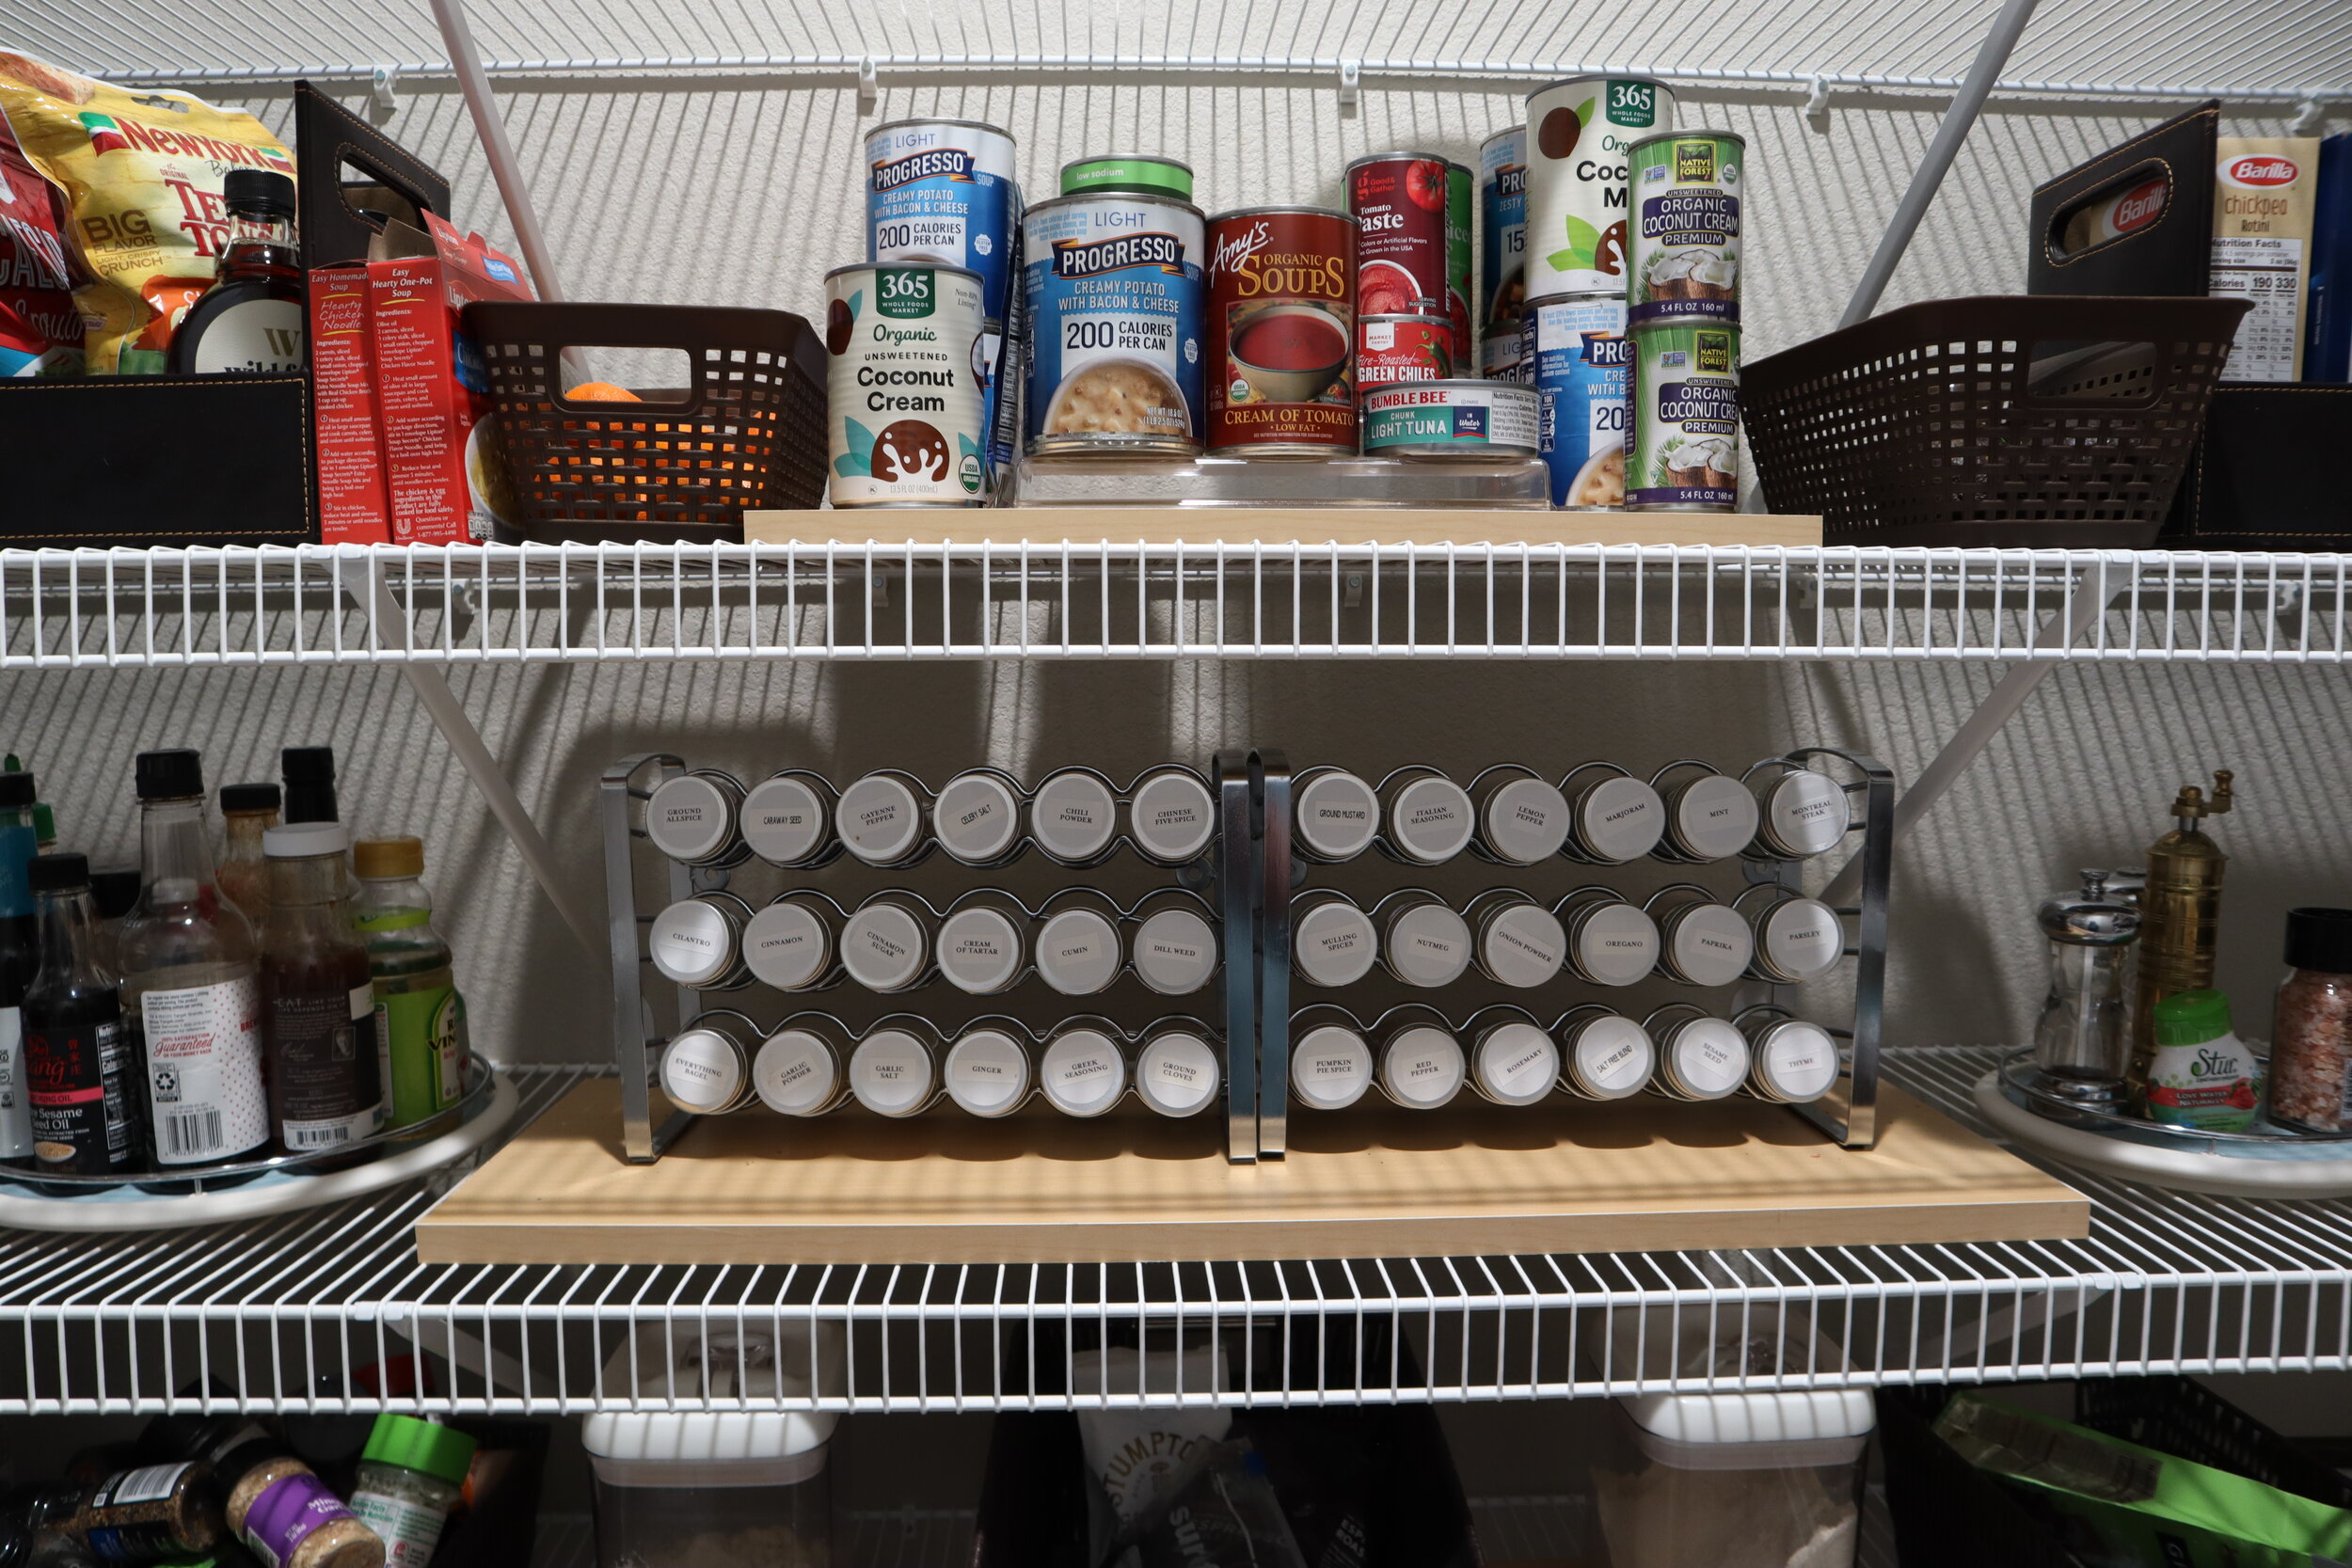
I had to put down pieces of wood, so my spice racks wouldn’t fall through the wire shelves. And some of the spice labels had food stains, so I think it is time for a refresh on those.
As a graphic designer, I am very visually oriented, so to me, this pantry was lacking some visual appeal. And well, we’re going to fix that.
We did invest in an Easy Closets system, to help with the issues those wire shelves presented. I did a whole post on the Easy Closets process, even going into when it’s best to do a semi-custom versus a fully-custom closet and I shared a bit about the install. You can find that post here.
Now we have a nicely designed base for the fun part…planning and researching the aesthetic for this pantry.
P1 // plan
I did some Pinterest research and looked online for examples of pantries I liked and then created a mood board. I looked at my mood board and tried to figure out what these images had in common.

I liked how everything was lined up, had its own special place and there is a cohesion with color and also containers.
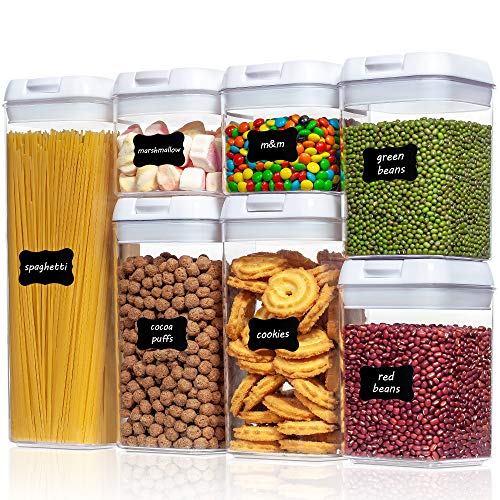
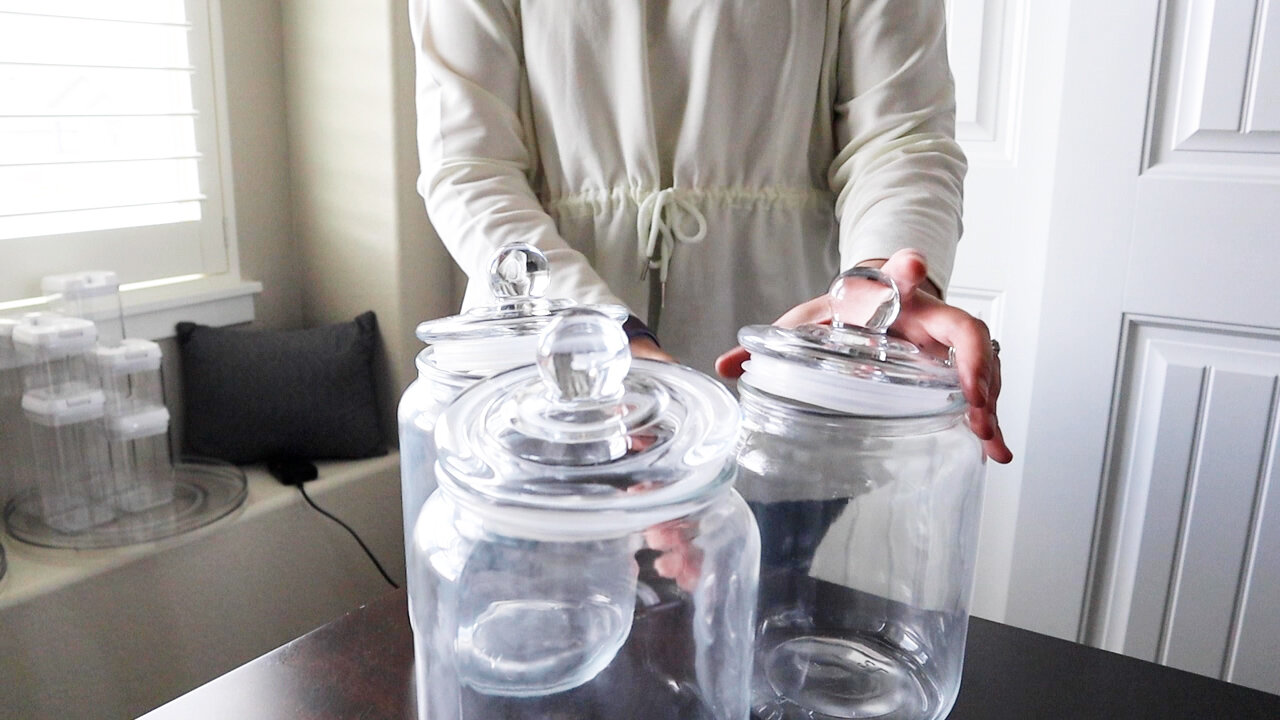
As much as possible has been taken out of its original container and placed in a see-through container and this is key for that clean pantry look. But clear containers are also functional, because you can quickly scan your pantry and know what you have.
I thought a section for pans and cutting boards would be helpful. Having those frequently used items all in one place and not so far to the ground (under the oven) is a great feature to add to a pantry.

P2 // proportion
I took some measurements, so I would know the tallest height I could go with for the containers. I also took inventory of approximately how many containers I may need as I was taking measurements. You may want to do a sketch of how you want the layout to look.

And it’s always a good idea to shop your house to save on what you have to buy for an organizing project. I had some containers that I felt didn’t match the new pantry, but I will save those for organizing a separate space. We moved some of the other mismatched baskets into the basement and are using those to hold snacks for that area.
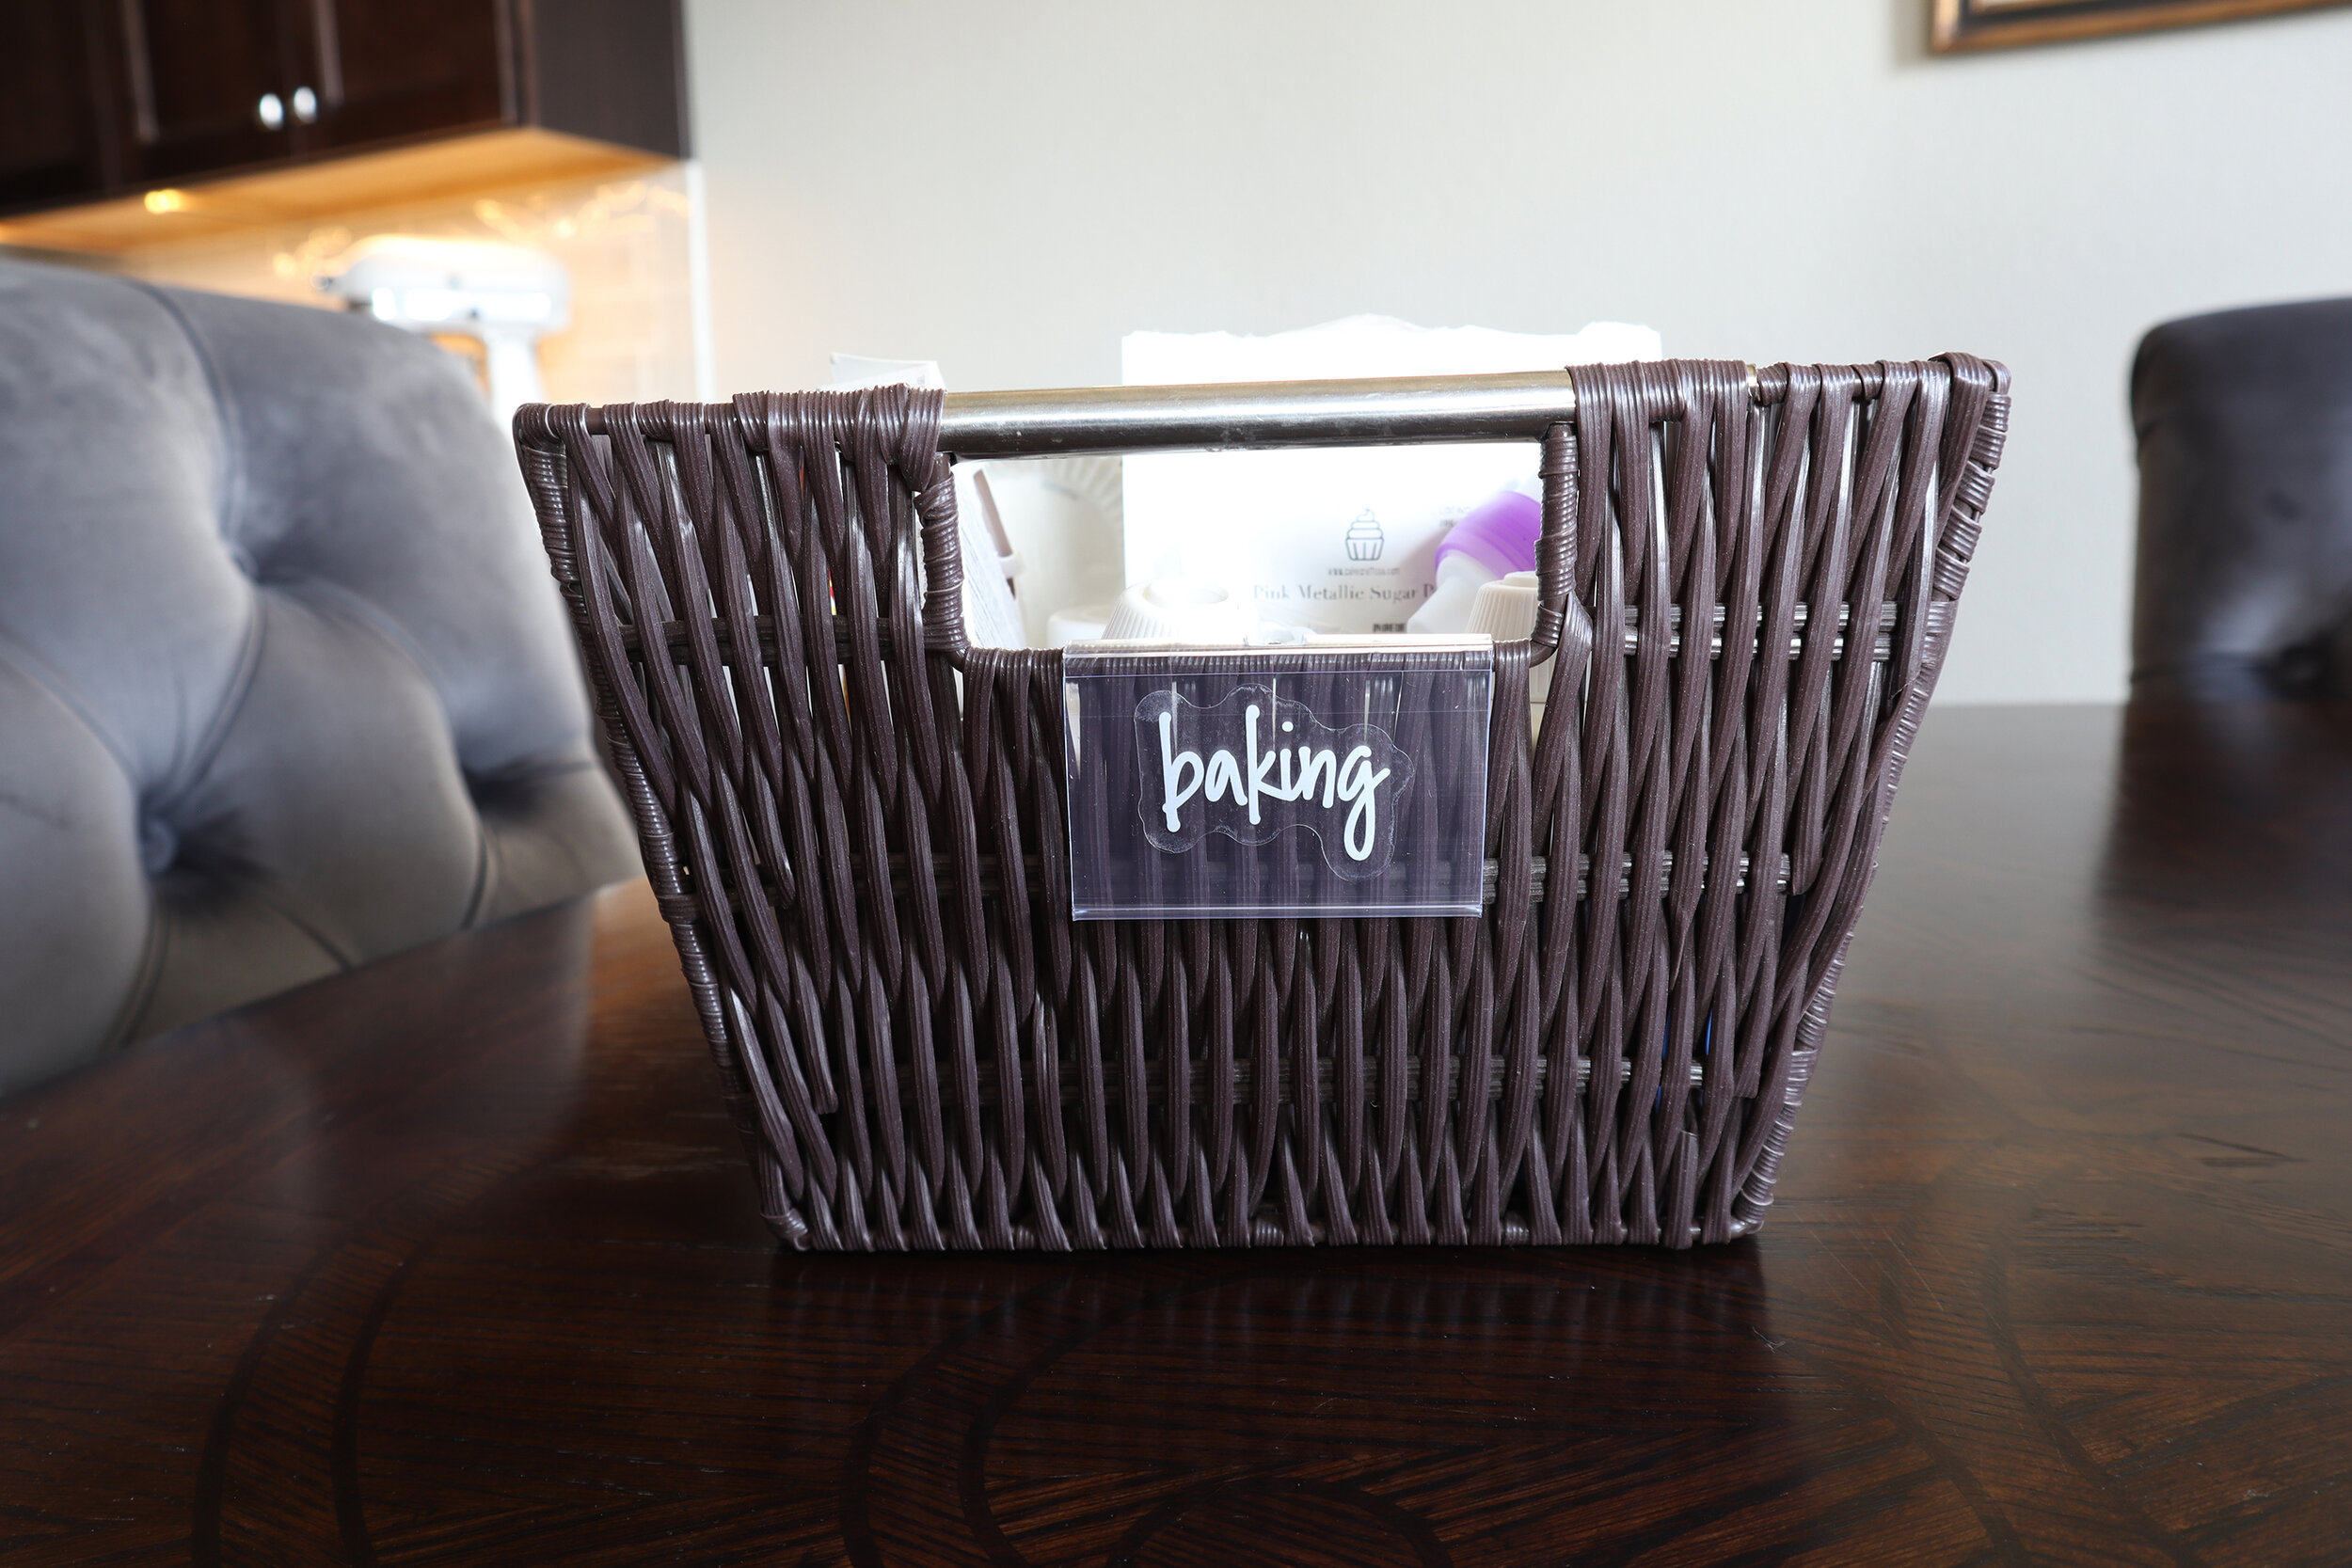
I decided to keep these dark brown bins because they match the wood cabinets in the kitchen and will provide a bit of contrast to the mostly white pantry.

P3 // purchase
I did consider doing a Dollar Tree pantry makeover, but I could not find large enough containers there and I didn’t want to do the plastic bins. I wanted mostly glass and large clear containers for the food. So, I ended up buying everything on Amazon. Online shopping made this project super easy. I could just glance at the measurements and know what sizes of jars and containers to buy.

Here are some of the items I picked up for this pantry makeover. You can find the full shop on Amazon by clicking here.


P4 // pull, purge and pack
Next we’re going to pull everything out, purge what you don’t need and then pack everything into similar groups.
The first thing to do is empty the whole thing out. You’ll want to check expiration dates as you go, toss half eaten, stale food and you may have to taste test a few things, so it doesn’t hurt to be hungry when you do this part!
If something has been sitting in your pantry for 6 months or more and hasn’t been touched, toss it or donate it, if it isn’t expired yet.

As you’re going through everything, you can consolidate similar items. By now you should have your new containers, so you can also start deciding what items will be placed into your clear containers and what will stay in their original packaging.
This is also a good time to add things to your grocery list, if you notice you’re almost out.
There’s something about seeing everything laid out on the counters that is very encouraging to getting in that decluttering mindset.
P5 // pretty up
Pantries are one of those rooms that seems insignificant, because well, you just store your food in there, right?
But think of how many times a day each member of your household opens those pantry doors. Plus, we keep the door open on our pantry because we access it so often. The kitchen is in a prominent, visible area of our house and that seems to be how a lot of home are laid out. So, making that pantry pretty is important!
We are going to use color cohesion to tie everything in the pantry together.
We went with silver drawers in the pantry system to tie in with the stainless steel appliances and hardware that’s in the kitchen.

And then those baskets that we already had were brown to match the kitchen cabinets and they even have a little silver on them too.
I had heard of Ruggable and thought this would be another good way to tie the kitchen into the pantry. What better place to test out washable rugs than in the kitchen.
We got a runner for between the sink and stovetop area and then a matching rug for the pantry. You can get different heights for the rug pads and we went with the thicker one for more comfort when standing at the sink.

And got the flatter one for the pantry, so that the door would easily go over it.

Let me show you real quick how these Ruggable rugs work. The top part is what is washable in a washing machine. I rolled the top part of the rug with the design side in.

Then positioned the rug pad, with the grippy side down. This Ruggable does NOT move around like my last rug did! And I even had some rubber underneath my other rug, but it still moved!
Then I aligned the cover and unrolled it. I love that these are washable, since there are so many spills that happen in the kitchen. If we like these enough, we will definitely be getting more for the rest of the house! But I love how these match in the kitchen and pantry and really tie the two spaces together nicely.
I do have a coupon code for Ruggable and also for that Easy Closets system below.
💰15% off Ruggable with THIS LINK
💰5% off Easy Closets with THIS LINK and FREE shipping with code CLOSET165.

To give that clean look, we’ll be minimizing the color palette in the pantry. The purpose of this is not only to make it crisp looking, but also to have less distractions in the form of color. That means less places for your eyes to be distracted, it is more simple visually, so you’ll be able to find what you’re looking for more easily.
My cookbooks have lots of variety and color, so we can simplify the look of those by using book covers.

I found white, somewhat sheer ones. You can still see what the book is, but they give a white overlay on all the books. They even included a ribbon bookmark on each and are washable.
I was impressed with how well these book covers worked on my smallest cookbook to my largest one.

Now, let’s work on the containers for the food. I started by washing all the containers and also washed the shelves, since they were pretty dusty after the Easy Closets install. I don’t know about you, but when I start cleaning, I can’t stop and I end up cleaning things I didn’t even plan on cleaning!

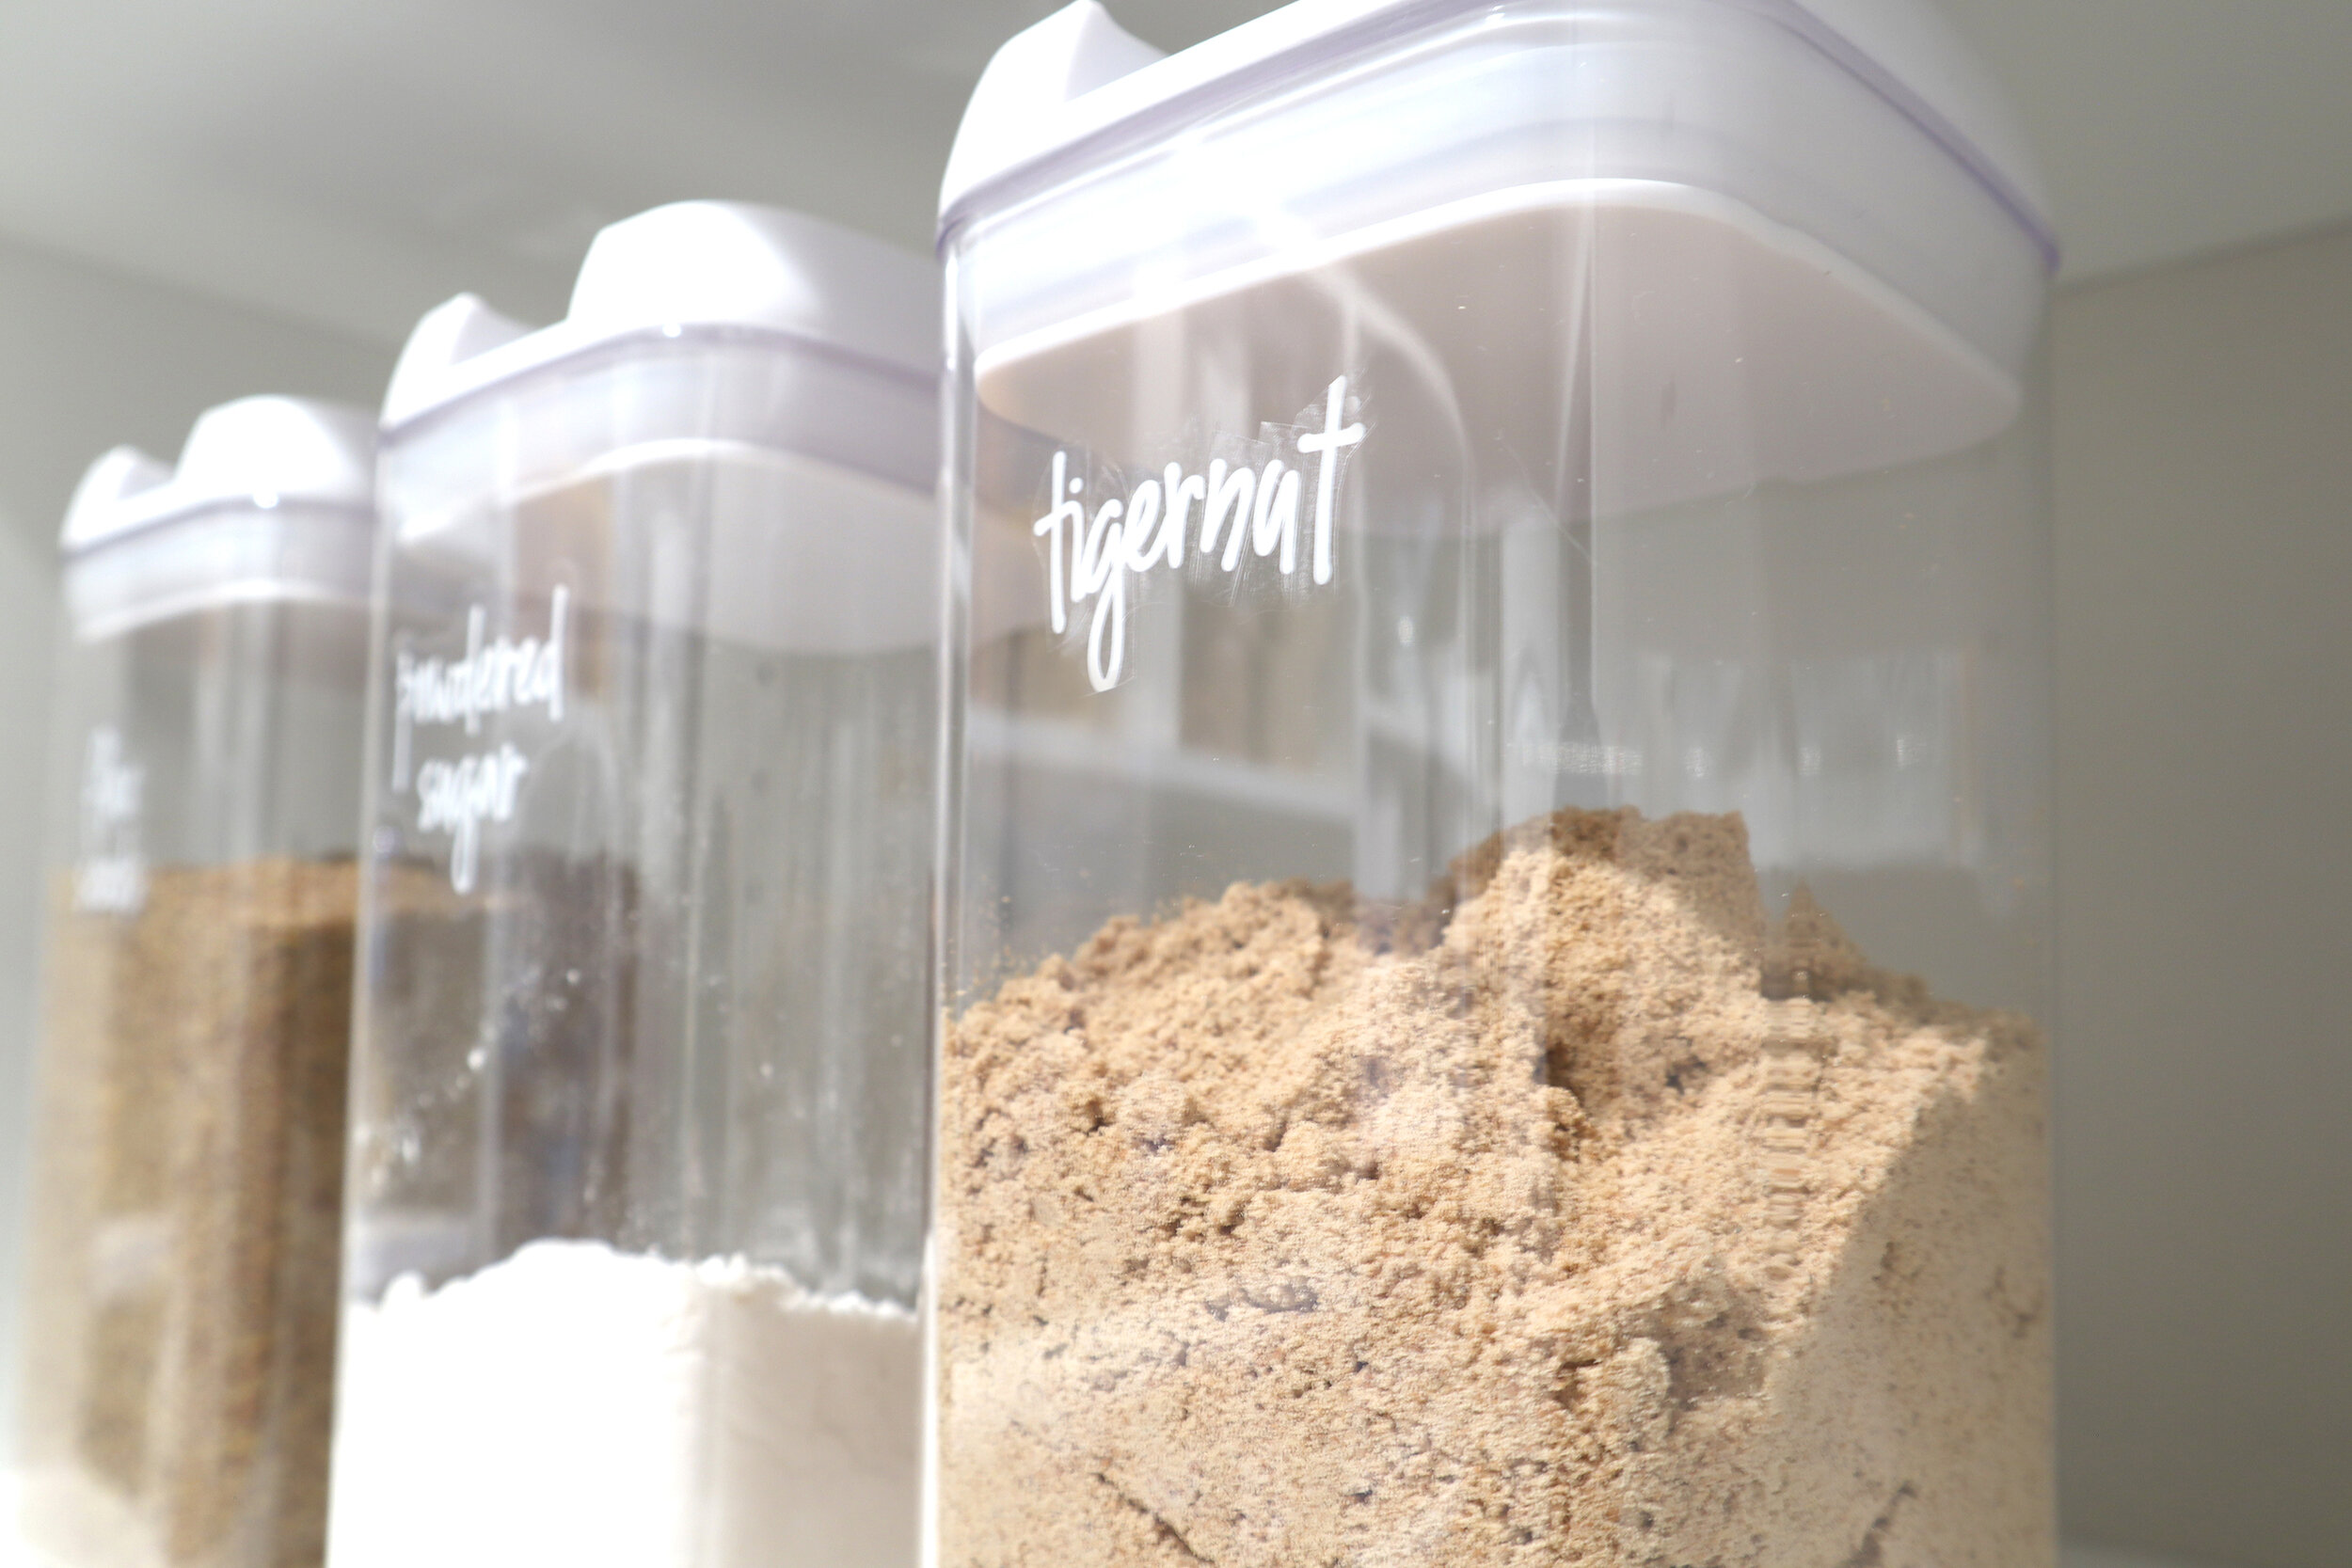
Then I got to labeling. Let’s start with the spices. I put these right over my old labels and you can’t tell that they are layered on top because they are printed on a high quality thick paper.


Then I worked on the canisters. There were a few ingredients I had that didn’t have a label. I had so many labels I wasn’t planning on using, so I just pieced the correct letters together until I got what I needed. Since the background is clear, you can barely notice the seams.


These labels will peel off the plastic or glass, so if you ever want to switch up the name on one of the jars you can easily peel these off and put on a new one.
I also taped the instructions for things like pasta or pancake mix to the bottom or back of the jars.

For the brown bins, I wanted to use the same labels, but didn’t want to stray from my white and brown theme. I used these clear labels, which I could snap on the edge of the basket and have the words stuck on top. This was another Amazon find and they were super cheap for so many. I even have lots of leftovers for future projects.


P6 // put away and place
You’ll want to play with the layout and may spend a couple days moving things around until you’re happy with how it looks.
Here are a few things to keep in mind when you’re putting things away.
Prioritize locations of items based on how often you use them.
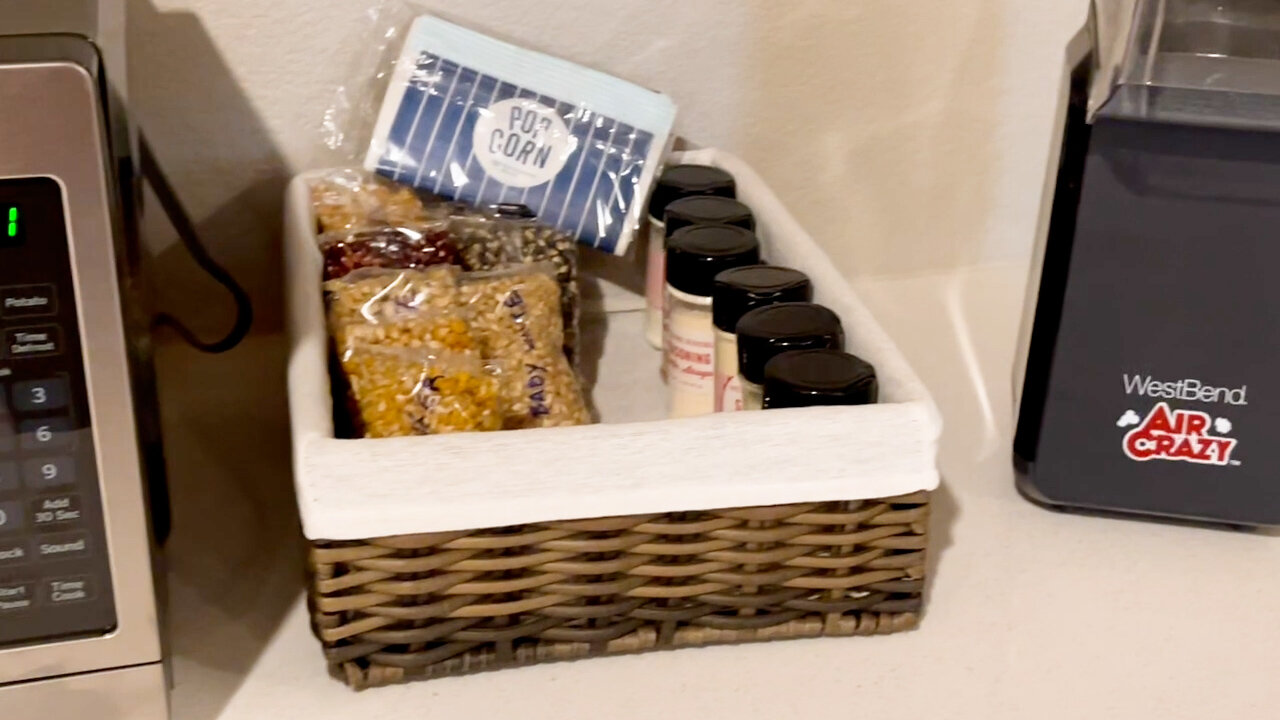
You want those frequently used items at your fingertips. For example, we access the cat treats and cat food every morning, so I have them in an easily accessible area. I found this great bin, which has wheels on the back so you can easily pull it in and out. It even came with a little scoop.


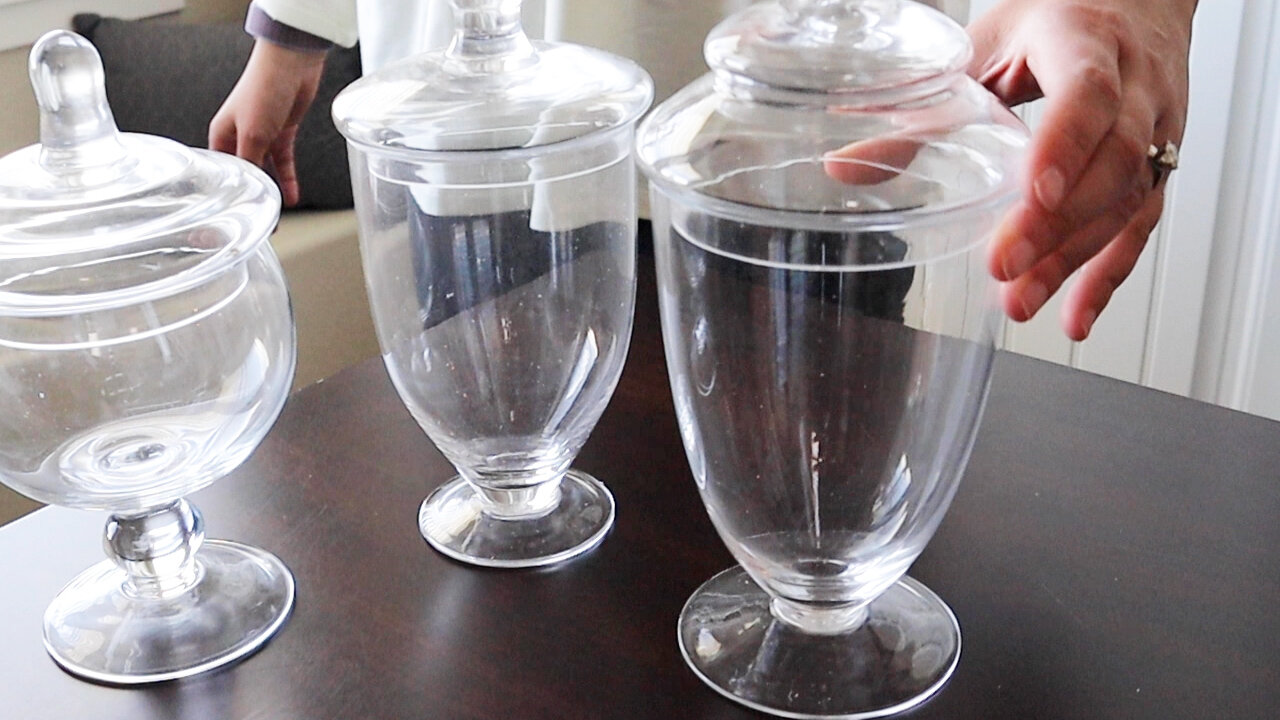
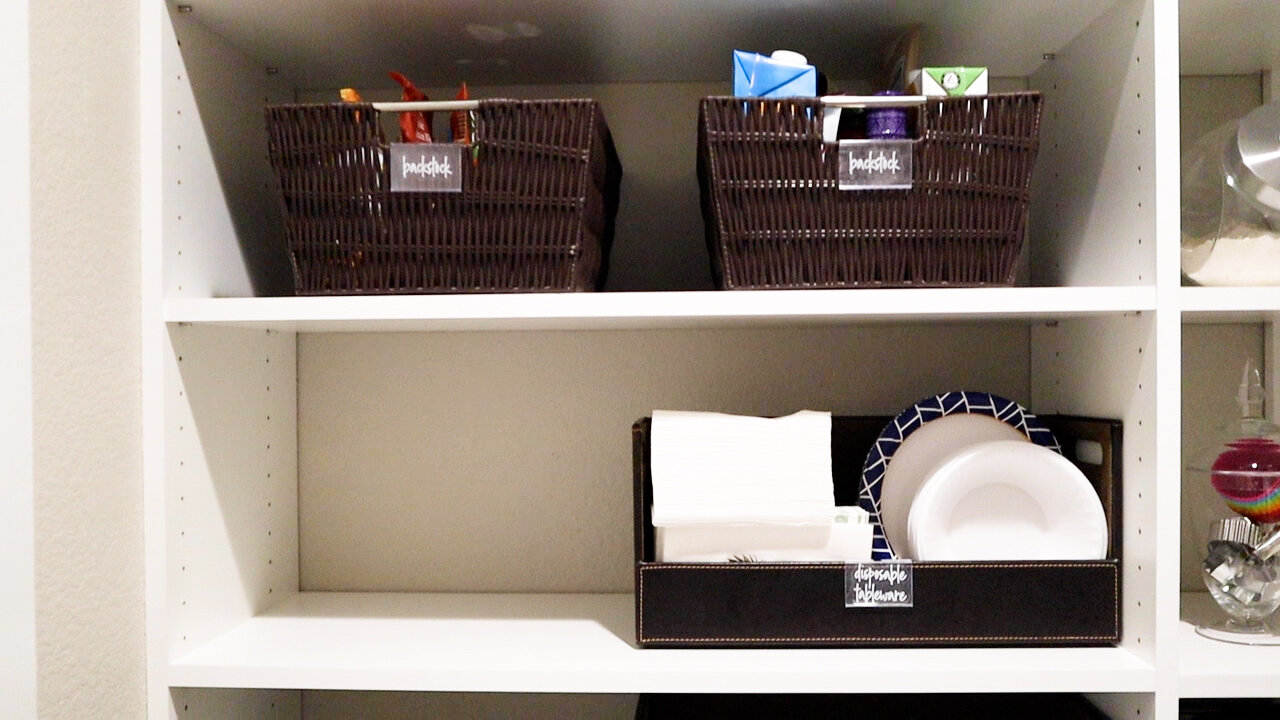
I put less used items, like glass vases on the very top shelves. And it’s inconvenient to get behind the door, so I put less used items such as backstock, cooking tools, disposable tableware and our Sodastream refills behind that door.

create a backstock area
My new backstock area is great. It’s behind the door because it isn’t an area I access every day. But when I do, it is at eye level and this makes it so easy to glance at what I have a backup of.
Or, if say, all the rice didn’t fit in it’s pretty designated container, I can put the extra right in the backstock bins. I find I’m buying less now, because I know exactly what I have.
Here is a reminder of the before.

Let’s take a look at the after with all our organizing hacks implemented into the new space.

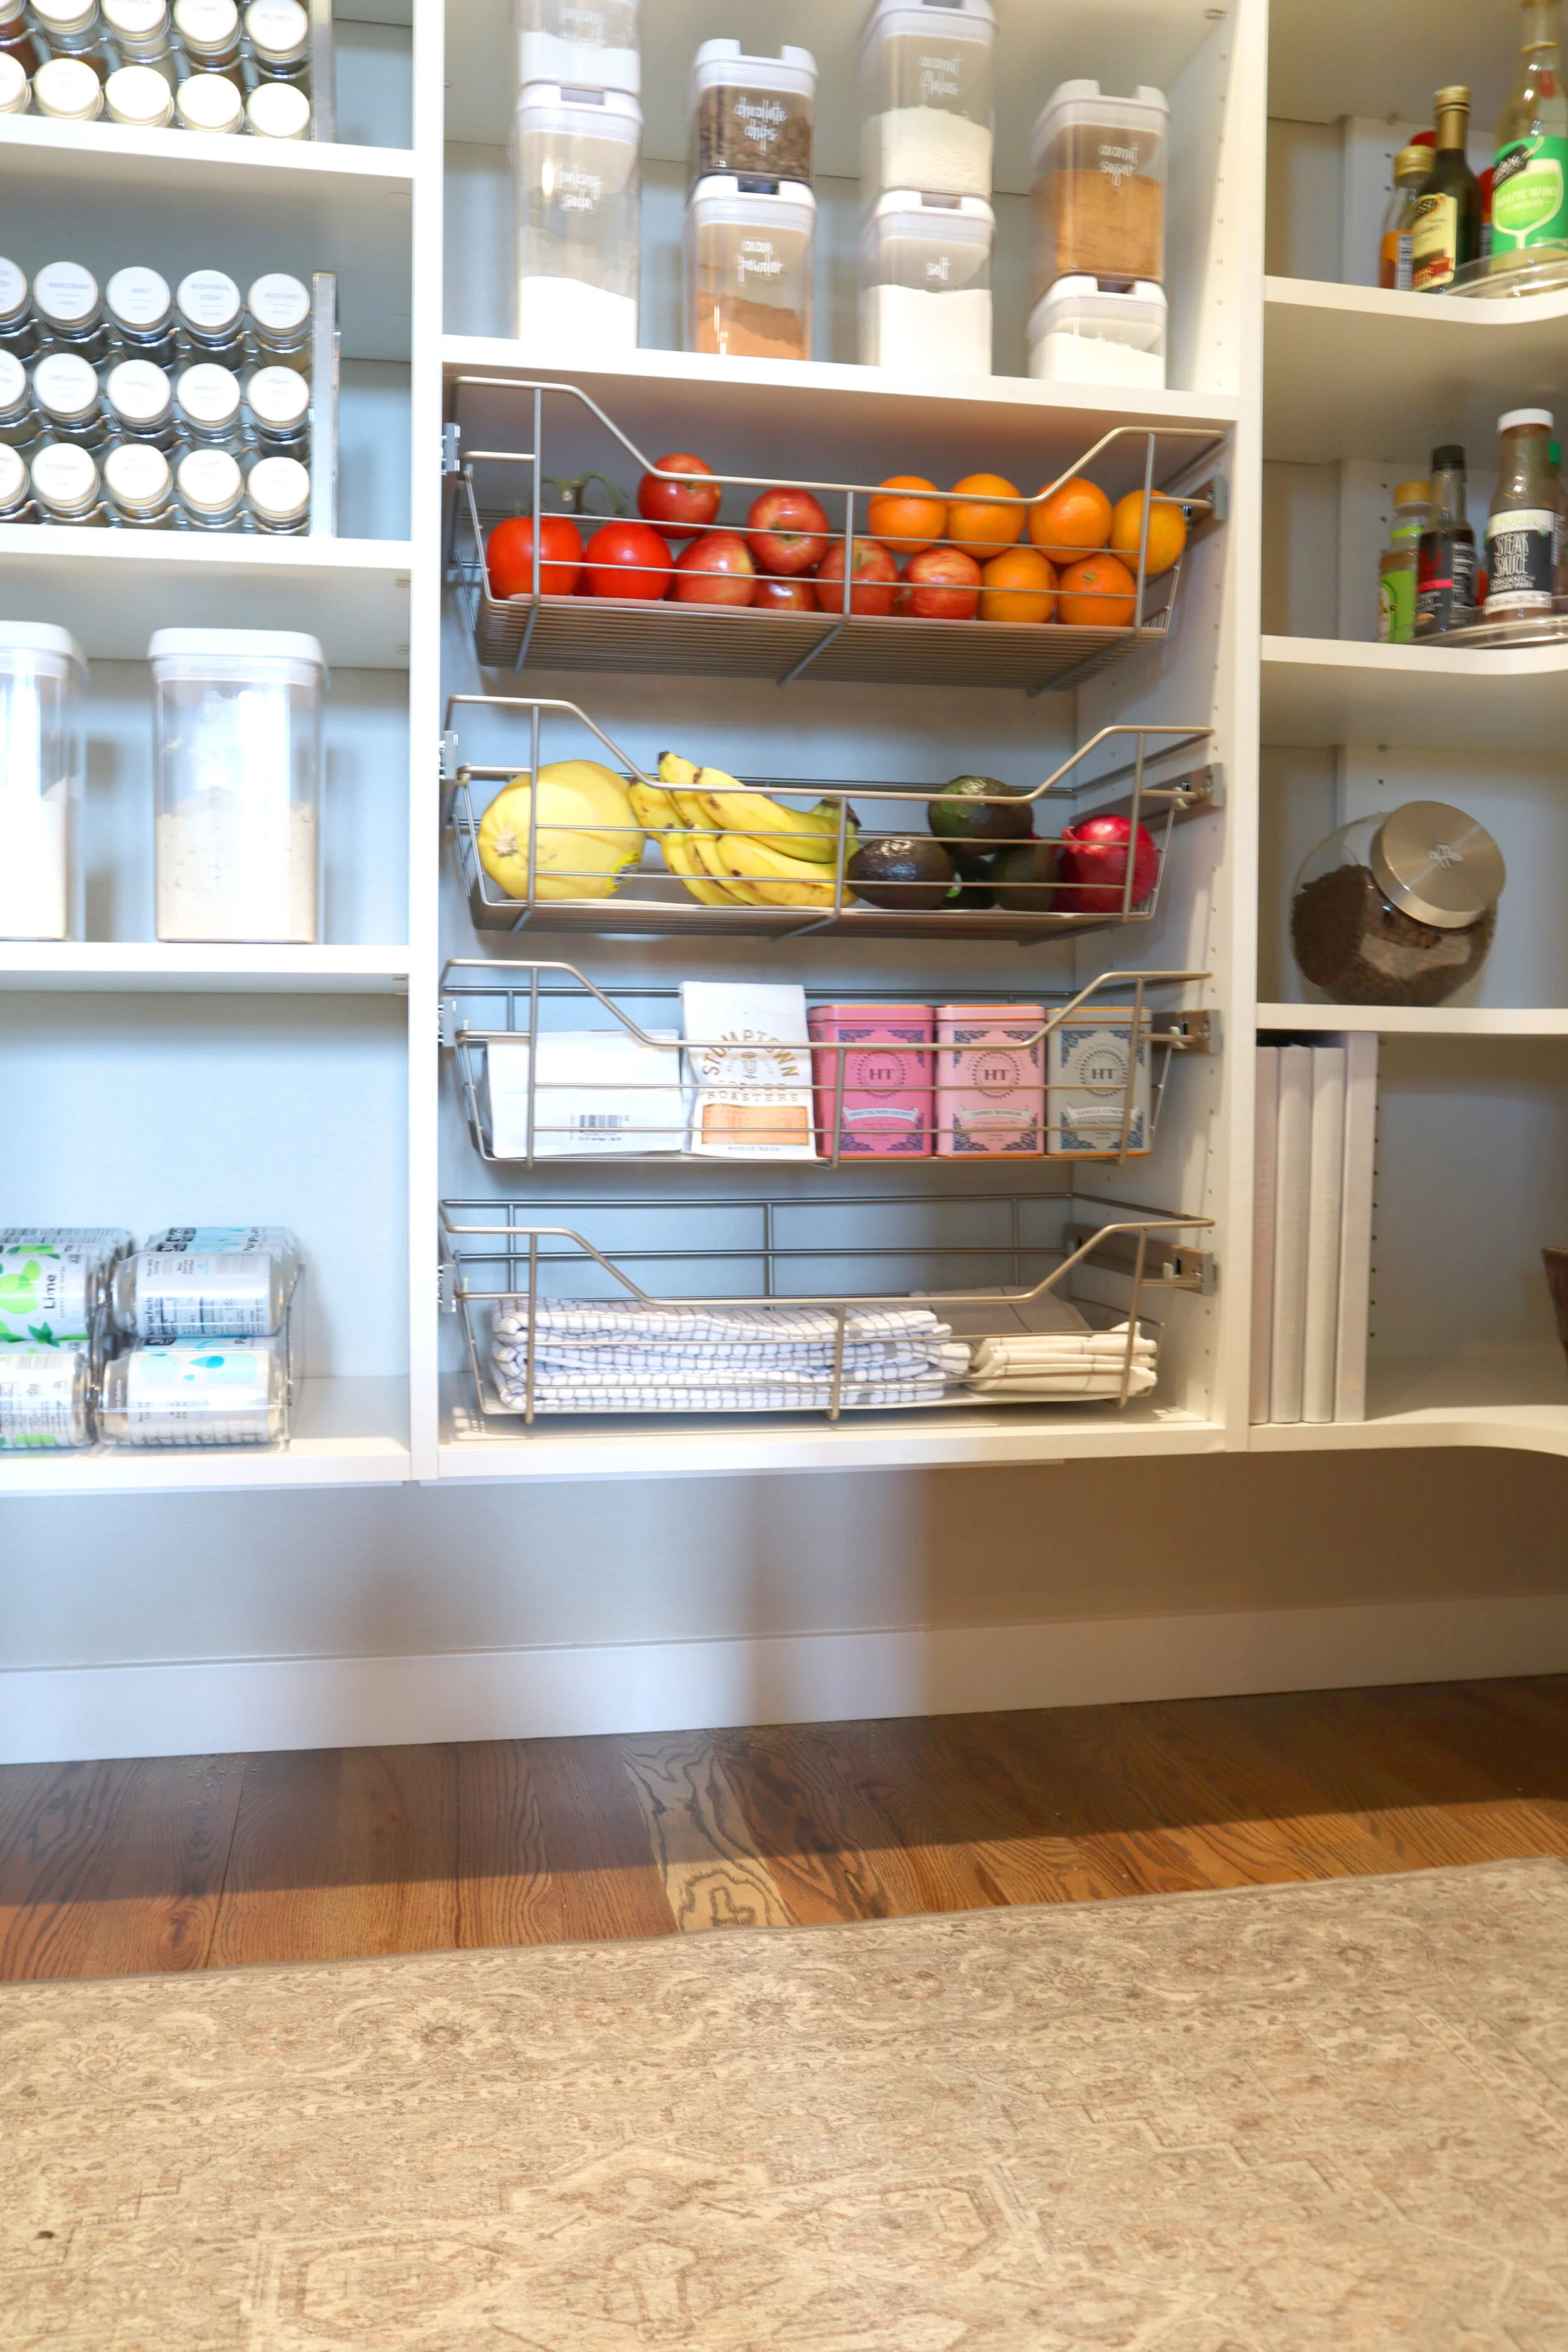
All the condiments and oils and vinegars are at an easy to reach level.

I love all the pretty canisters!
The area for those frequently grabbed pans and cutting boards is really convenient.

The glass jars and vases are towards the top and really makes it look dressy.
And I love how the books look all wrapped. It is hard to see in the photo, but in person you can easily see the title of the book on the spine through the white washed look.

I ended up using the drawers for fruits, vegetables, coffee and tea, and linens.

And the rug makes this pantry so cozy! I find myself standing in there longer because of the soft rug under my feet!
here are those coupons
💰15% off Ruggable with THIS LINK
💰5% off Easy Closets with THIS LINK and FREE shipping with code CLOSET165.
If you want to read my Easy Closets post, it is right here.
Don't forget to subscribe if you want to see more home decor ideas and all those room makeovers that are coming soon. Thank you so much for being part of the Artsy Cupcake family and I hope you have a creative day!
creativity straight to your inbox


FTC: Not Sponsored. All opinions are always 100% honest and my own. Some links may be affiliate links. If you click a link and buy something, I receive a small commission for the sale. It doesn’t cost you anything extra and you are free to use the link or not as you choose. If you do use my links, I appreciate your support.
How about some Target Dollar Spot crafts and Dollar Tree coastal transformations. We’ll be putting together tiered tray miniatures to decorate our little coastal vignette.