
3 Nautical Kirkland’s Dupes
Let’s dupe 3 nautical themed Kirkland’s decor items for way less money!
I was inspired by some Summer coastal decor on a recent trip to Kirkland’s, but these items were a little more than I wanted to pay, so we’re going to dupe these for way less.
If you’re here for the free printable, you can download it here. I’ll also put it at the bottom of this post, near the tutorial for the tray.

Here is the video tutorial, if you like watching those, or want to follow along as you craft!

// starfish sculpture
Let’s get started on the first one, which is a really cute starfish sculpture going for $25.

I found these wooden signs at Target and I think one of these would make a great base for our starfish.
Another option would be to use some wooden blocks from Dollar Tree (in the kids section, looks like a mini game of Jenga) and glue those together and use wood filler and then paint it.
We’ll also need a dowel for the starfish to attach.

I took some foil and squished (that’s the technical term) it together, looking at the base to make sure the proportion of the starfish worked with the base we will be using.
I worked in small sections to build up the thickness of the starfish. We want this to be our template for the clay and it will help us use less clay. It will also help this be more lightweight, instead of having the entire starfish made out of clay.

I added a dowel, but didn’t glue it in yet. This one is just to hold it up and may get dirty while we work on the starfish. I will paint another one black and then switch them out at the end.
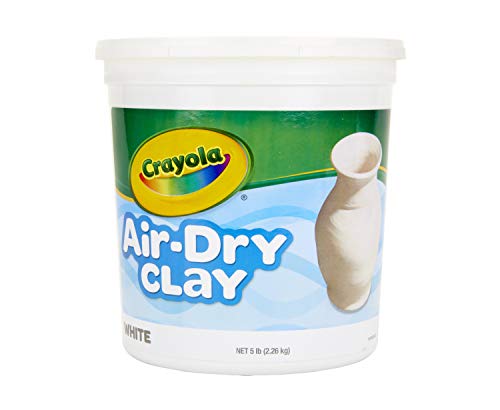
We’re using Crayola air dry clay and I got out what I thought I may need and placed in a bowl. I also got a bowl of water. I smoothed the clay over the foil and then used water to remove any imperfections.

I used a mechanical pencil for adding the divets because I could have the lead out for a thinner hole or push the lead in and use the tip of the pencil for a thicker hole. I alternated as I went along to make it look natural.
Let this dry for a couple days and then paint it. I used white spray paint on mine.

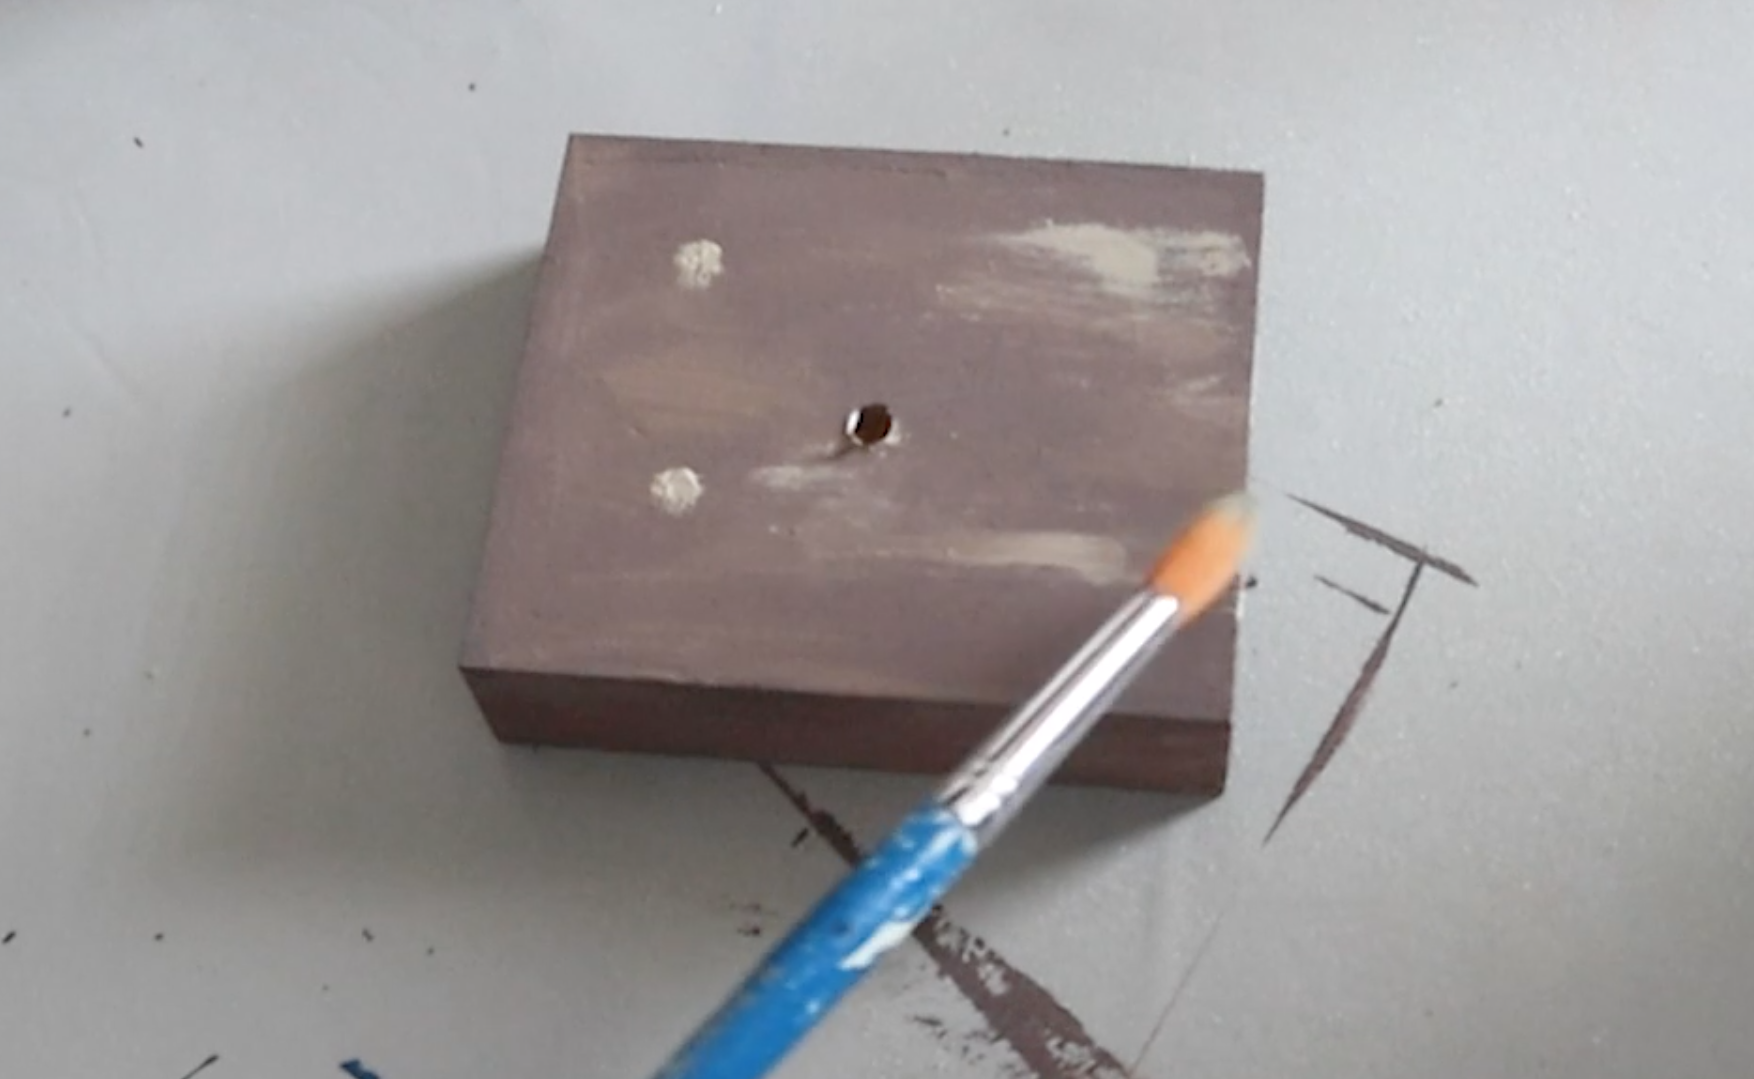
Let’s work on the stand. I drilled a hole partly into that wooden sign from Target.

I found these foam balls in a package around Christmas time at Dollar Tree. I’m cutting this into a little ring to make it look more like the base of the starfish on the Kirkland’s version.


We’ll mix up some brown and grey paint and do a couple coats on the base. I did some dry brushing with just the grey at the end to make it look more like wood.
I gave the starfish a coat of white paint and then attached it to the black dowel with a little glue.
Ok, let’s take a look at the supplies we used.

And here is the comparison of mine to the Kirkland’s version. What do you think?

// diy sailboat decor
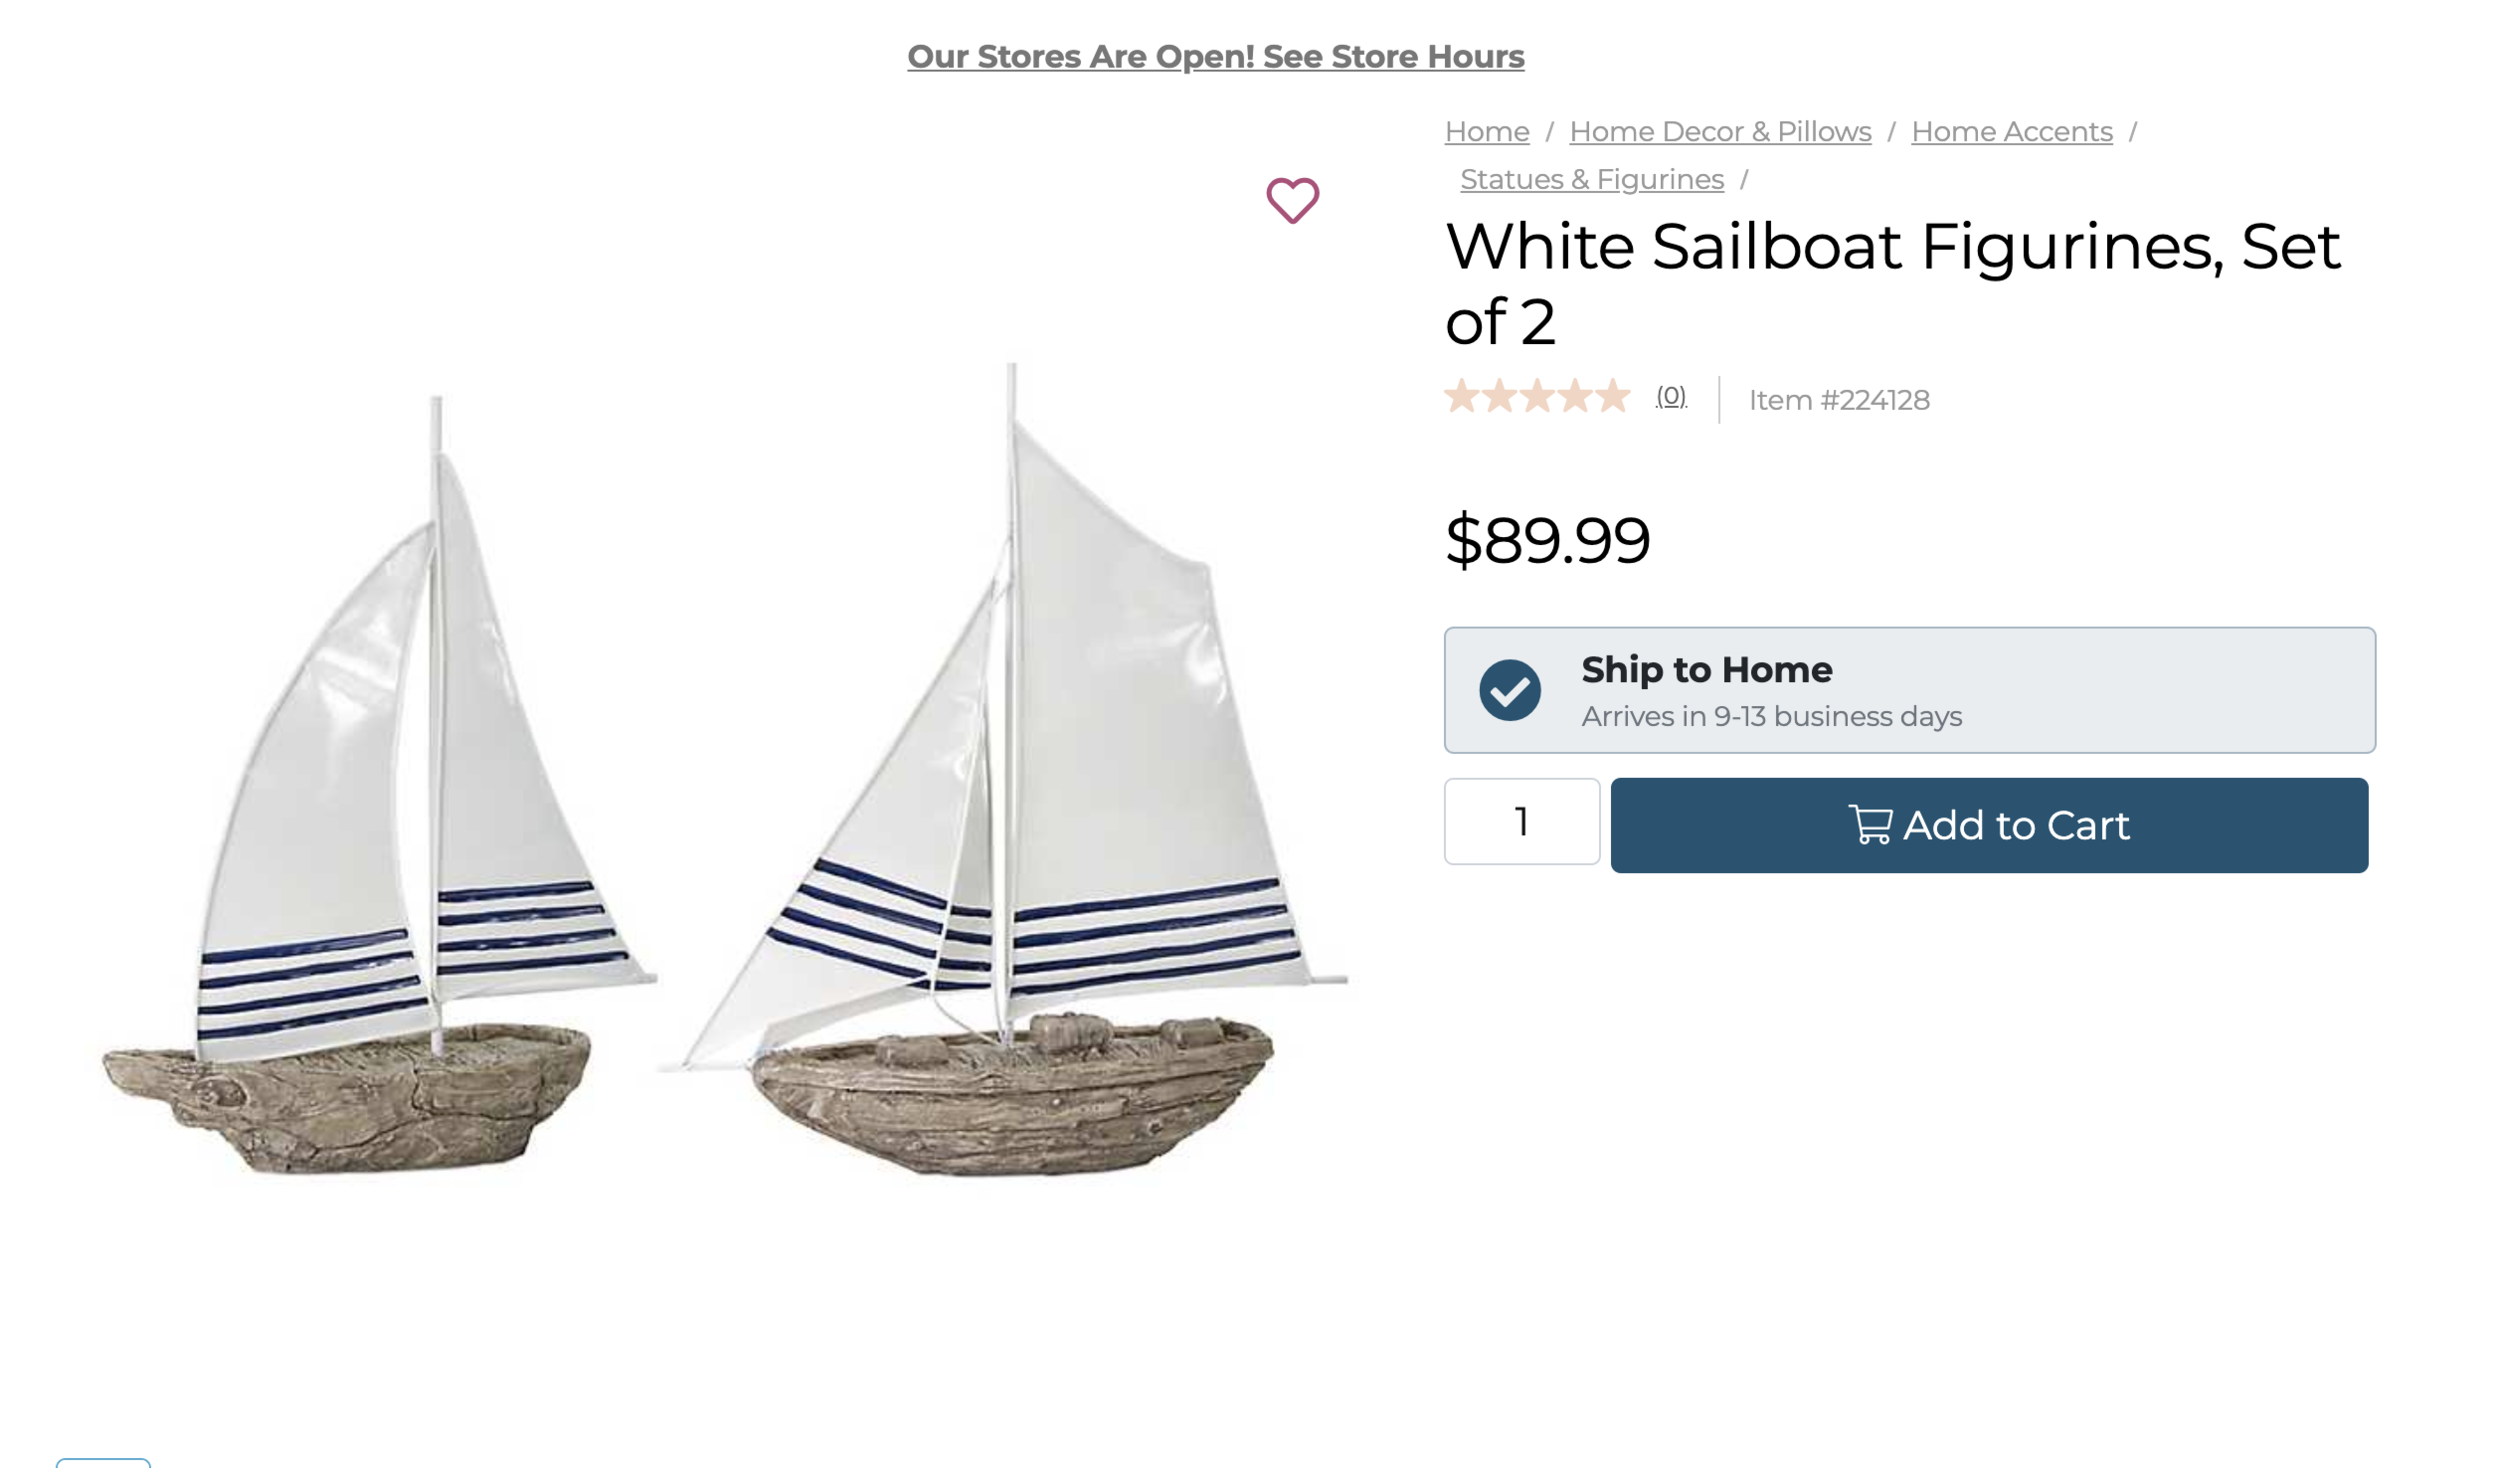
Next, we’ll be making one of these cute sailboats.
We’ll start with a piece of styrofoam and some clay tools to help us get the shape of the base of the boat. Styrofoam is so messy, but it’s a really easy way to sculpt the shape you need.
I have a Pottery Barn inspired bedroom room makeover coming up. I’ll probably have that done by the end of Summer. That room will have a coastal Hamptons vibe, so I think some of these pieces we’re making will go perfectly in there.

I’m taking a Dollar Tree hula skirt and remove a few pieces to wrap the styrofoam. This will he give this boat a wooden texture. When I got to the ends, I cut the ends at different lengths so it wouldn’t have such a hard edge.


I thought some small thread holders would work as little cargo or barrels on the sailboat. I removed the thread from one but left the other with the thread to see how they would look different after painting.
I used the same paint we had mixed up earlier and painted the whole base of the boat.

For the sails, I measured how big I wanted them and then cut them out of foam core and attached to a dowel. I took that outside and gave it a light coat of white spray paint.
And yes, I did have an injury during the making of these crafts. I’m usually SO good at not cutting myself, but the ruler slipped and I got my thumb. Ouch!
When the sail was dry, I added some blue stripes with a Sharpie paint pen.


After pushing the sails into the styrofoam, this cute coastal sailboat is done!
Here were the supplies we used. These came in a set of 2 for $90, so I cut the price in half since I only made one.

And here is mine next to the Kirkland’s version! Not bad, right?!

// nautical tray
This tray is super cute. This one is $30, so lets see how cheap we can make our version.

I found this sign at Target and it is really sturdy, so this will be our base for the tray.

I used these placemats from Dollar Tree as the sides. They were easy to trim to the right height. I also trimmed out some handles on the sides.

I was missing just about 1/2 an inch for the circumference, so I had to piece that on.
The handles aren’t super stiff, but they do hold really well to the tray once they’re glued down. You can even lift the tray with the handles, but I wouldn’t try to lift anything heavy in this. The handles are more for looks.

I took this outside and gave the whole thing 2 coats of white spray paint.

While that dried I started on recreating the wording for the middle. I used Photoshop and re-colored some coral watercolors to be the same colors as our Kirkland’s inspiration piece. Then I played around with the fonts to find one I liked.

Here’s that free printable again!

I’m really happy with how the printable came out! I trimmed up the edges, so when I glue it down it won’t be so obvious where the edges are.

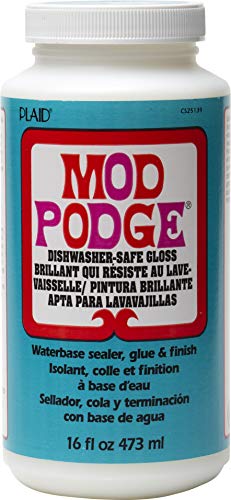
This part doesn’t have to be cut perfectly, but enough so it isn’t a perfect circle. The last step is adding some Mod Podge to stick it down and secure our design in place.

Here were the supplies we picked up for this project.

And here was the comparison of my dupe to the Kirkland’s version.

If there’s a certain home decor store you like and want to see me make copies of their items, leave me a comment below. I tend to do Pottery Barn and Kirkland’s a lot, but there are also stores like Z Gallerie, Ballard Designs and Restoration Hardware. So, if you have a favorite leave it in the comments below.


FTC: Not Sponsored. All opinions are always 100% honest and my own. Some links may be affiliate links. If you click a link and buy something, I receive a small commission for the sale. It doesn’t cost you anything extra and you are free to use the link or not as you choose. If you do use my links, I appreciate your support.
How about some Target Dollar Spot crafts and Dollar Tree coastal transformations. We’ll be putting together tiered tray miniatures to decorate our little coastal vignette.