
Kirkland's Christmas Dupes | Dollar Tree Christmas DIYs
Today I have some easy and fun ways to get the same look for less money. These neutral colored Kirkland’s dupes look just as good as the originals for much cheaper, so let’s get crafting on the first Christmas DIY.
Click below to watch a video of all these crafts being made.
And if you’re here for the FREE PRINTABLES, scroll down until you see the form to download the freebies for all these projects.

// tabletop christmas tree
I love the design of this little tree. I think it could work in so many places, like on your dining table or sitting on an entryway table. But let’s try to make it for way less than $30.
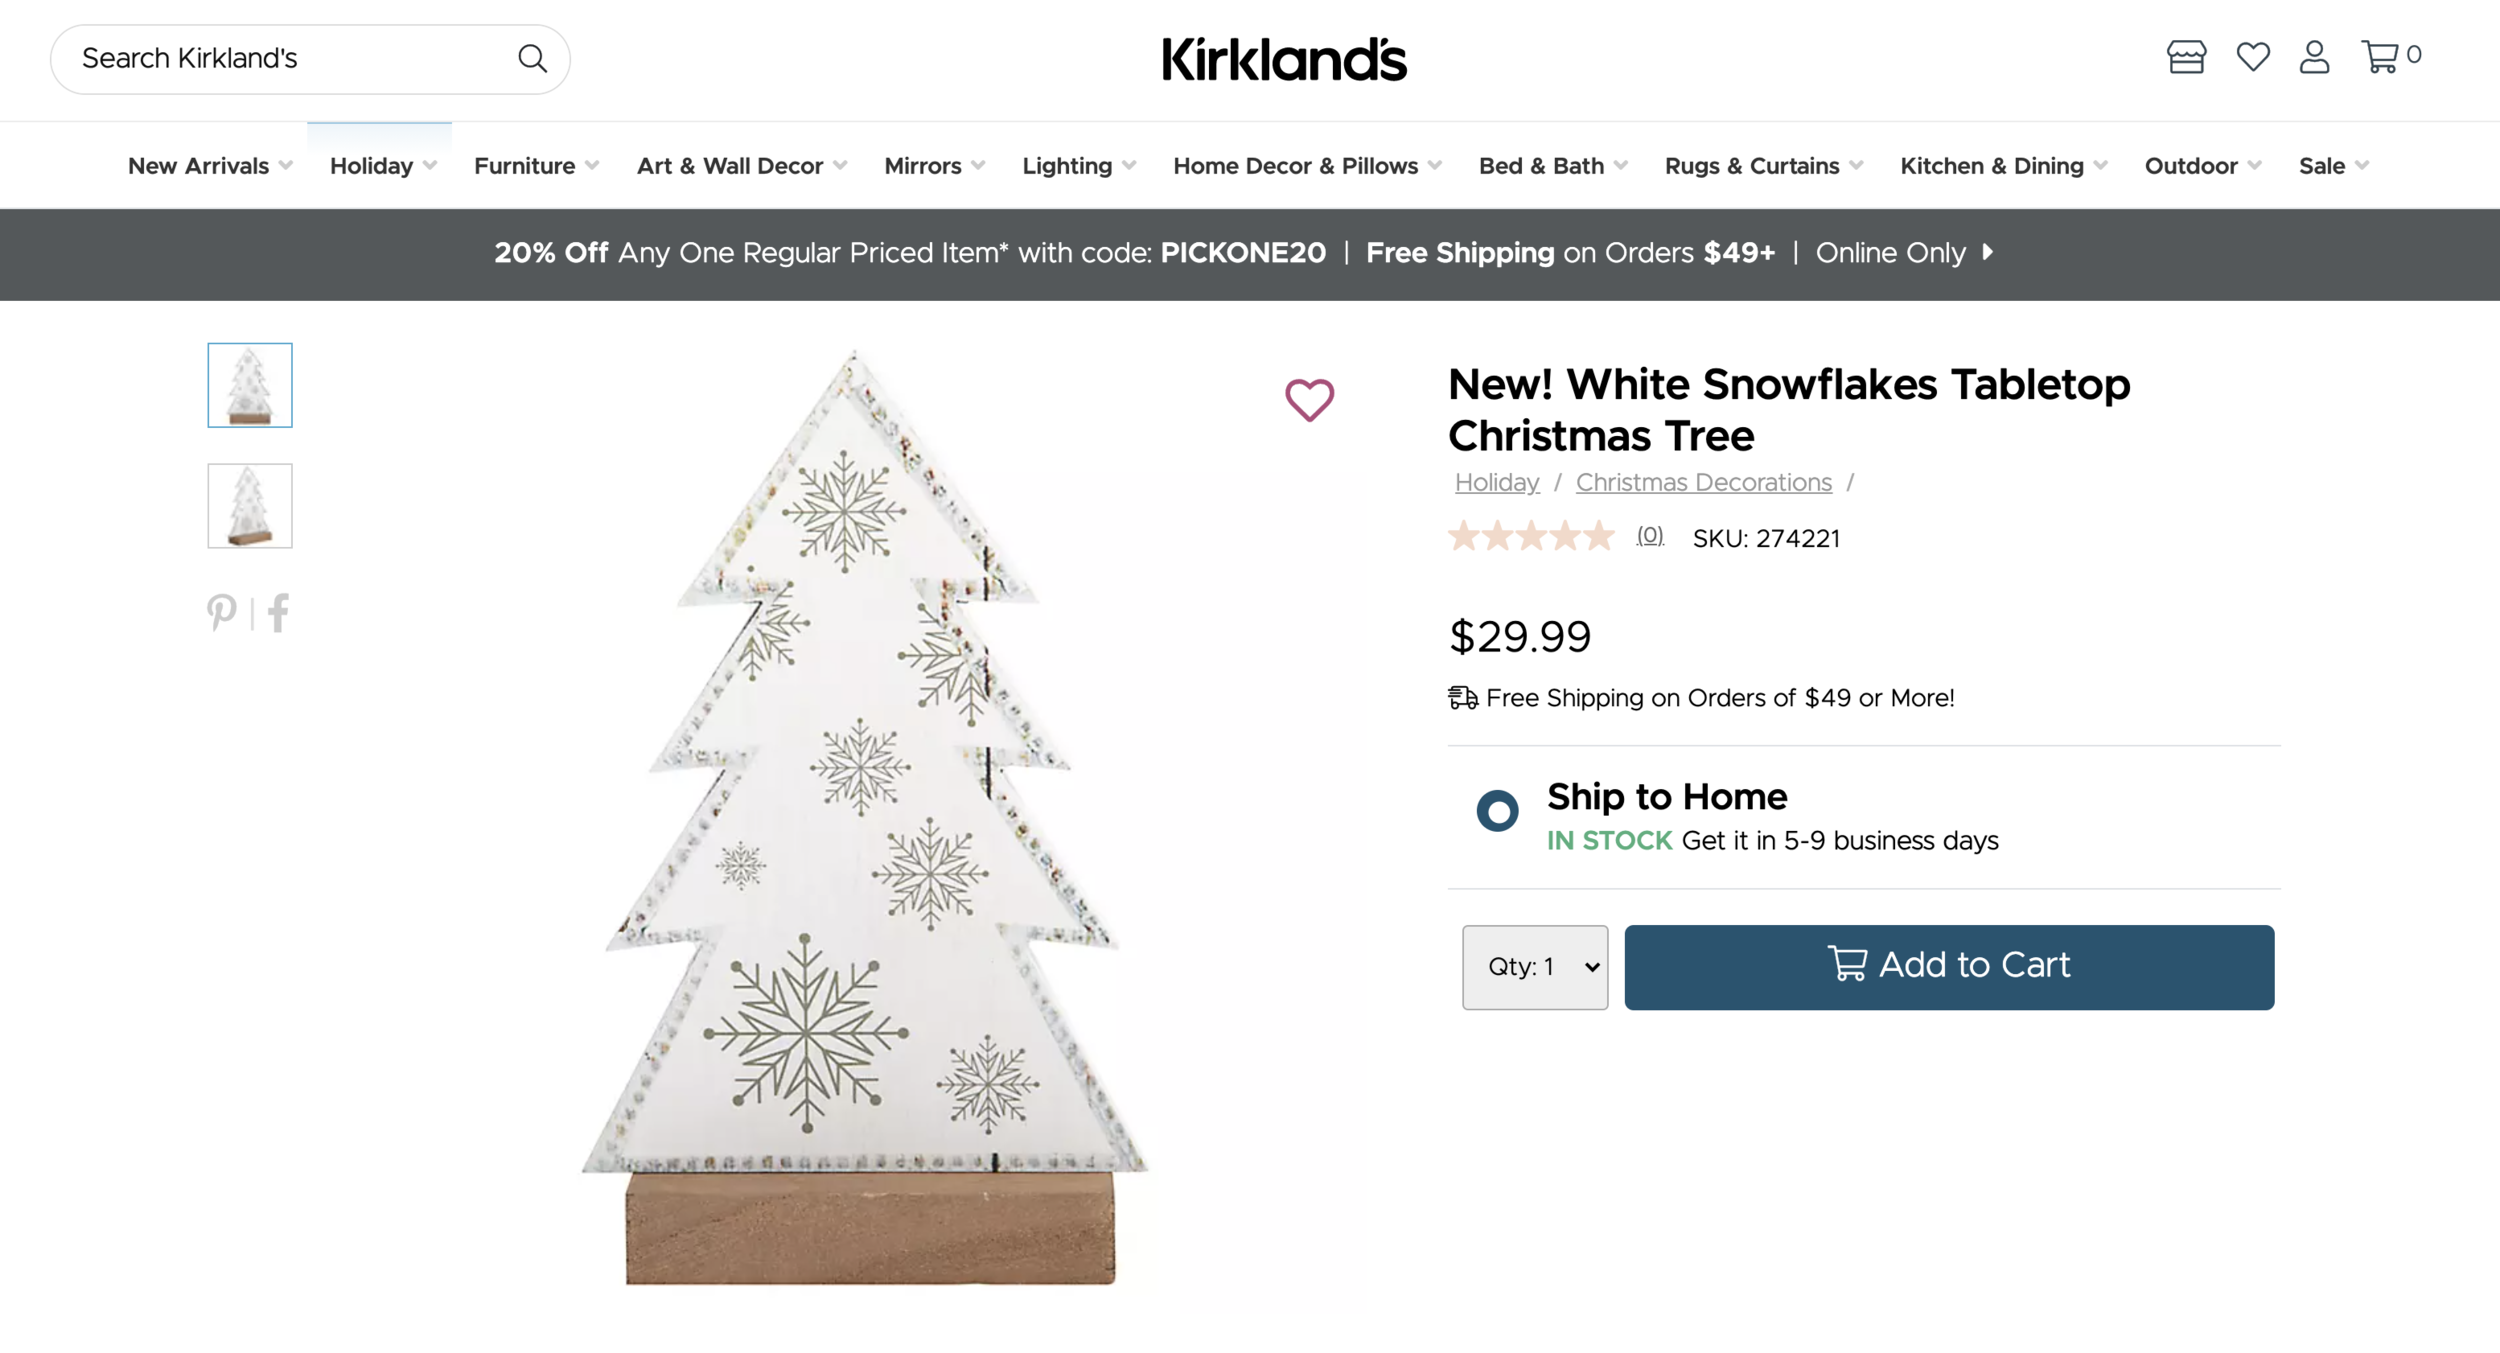
This is a great one to start with because it’s the easiest of the three DIYs we’re making today.
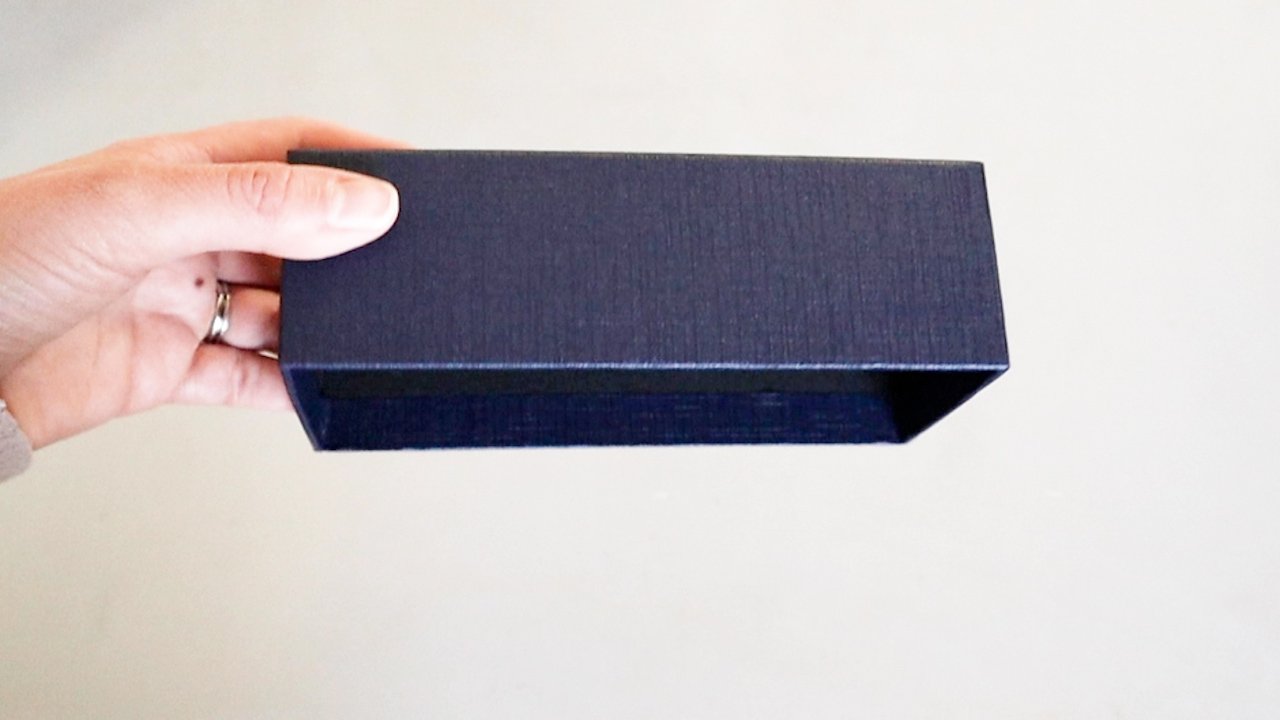
We’ll start with a box. You can use whatever size box you have handy. This is part of a box that a pair of sunglasses came in. I used the other half on a previous craft, which you can find here, if you’re interested.
You will also need some foam core from Dollar Tree. Most of the supplies we’re using today come from Dollar Tree, which is what makes these DIYs so budget friendly.
I’m just measuring what size I want the tree to be based on the box, which will be the base for our tree.

I created this tree in Adobe Illustrator. I’m a designer for a living, so I love putting these printables together for you guys. You can download this for free, by filling out the form below. It also includes the other printable in this post.

I’m going to paint the box a light shade of brown.

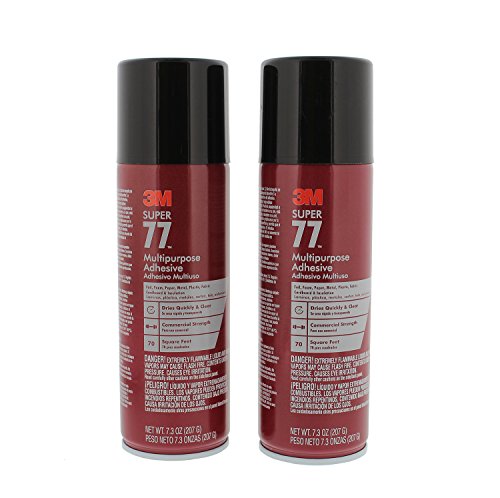
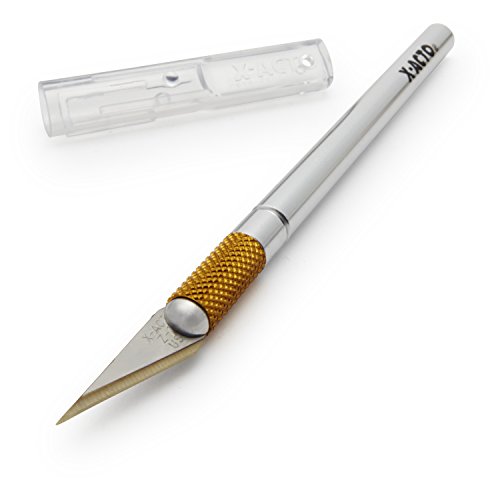
Now we just take the printout and use some Super 77 to attach it to the foam core. Then use an X-acto knife to cut this out.

I had painted these dome shaped stickers from Dollar Tree and am just going to glue them right onto the edge of the tree. I’m using a dotting tool to make a dot of glue and then one by one am adding those raise dots.

I used a line of glue on the bottom of the tree to attach it to the box. This actually sticks really well to my box, but if you need a little extra support on yours, you can add a wooden block or two behind the tree to help it stand up straight. The block I’m showing here is from the mini Jenga games at Dollar Tree.

Here were the supplies we had to pick up for this project.

And here is mine compare to the Kirkland’s one. I think this is a pretty close dupe, but let me know what you think in the comments section below!

// silent night sign
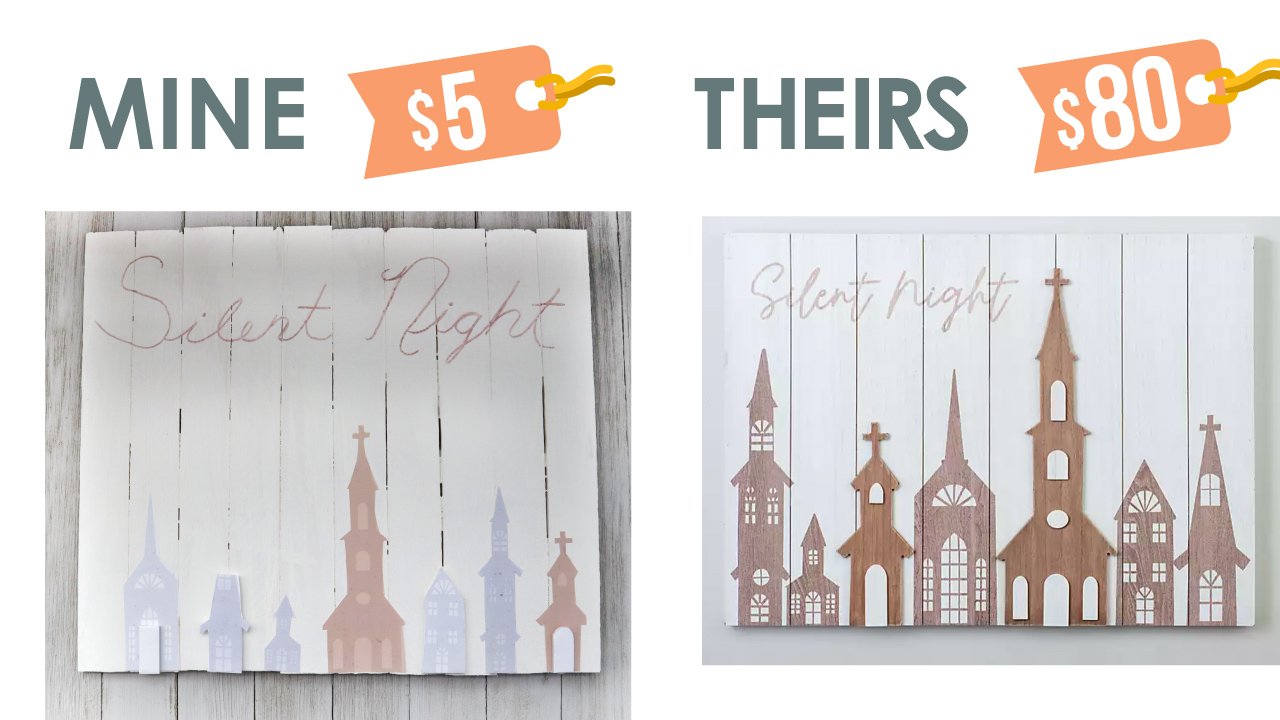
This wooden sign is so cute with the little village and the words “silent night” at the top. It looks like some of the houses are flat and others are three dimensional, so lets try to re-create this for less than $80.

You can pick up wooden shims at for a few dollars. I placed the wooden shims next to each other and then used two on the back to secure them all together. E6000 works great for this. I put something heavy on them overnight, while they dried.


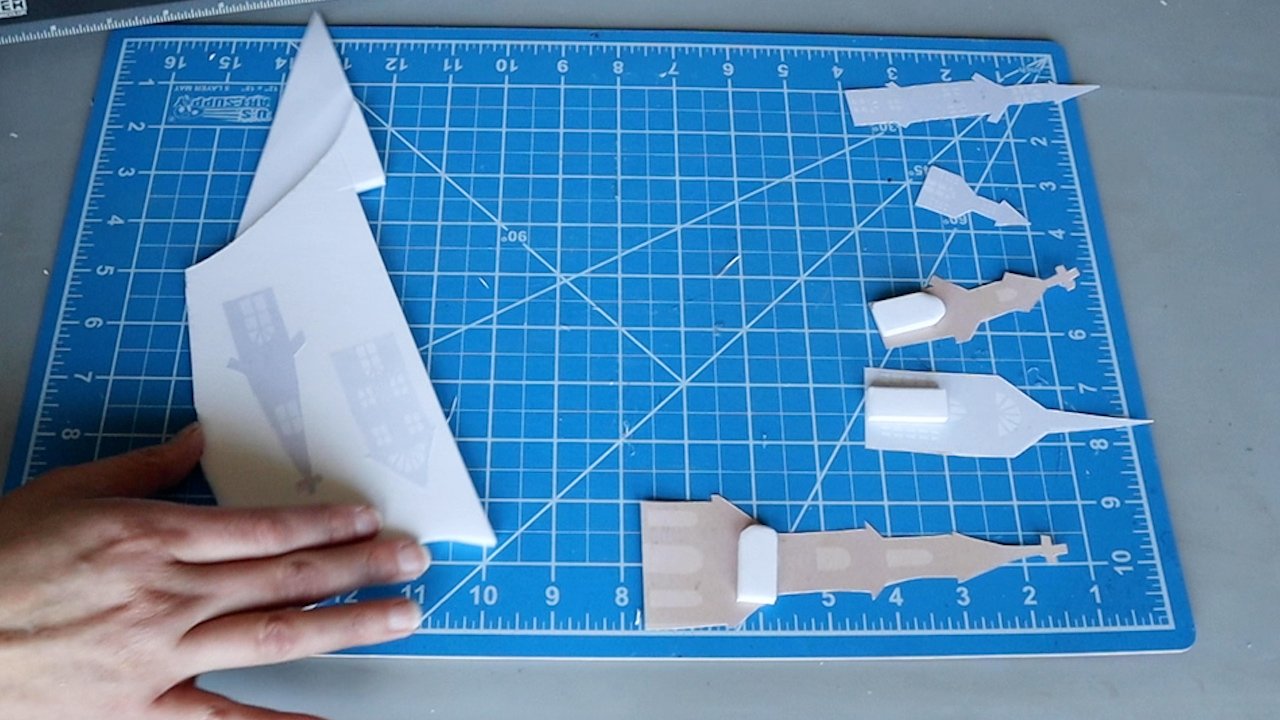
I’m trimming up some bamboo skewers (from Dollar Tree) with my miter shears and putting these into styrofoam, so I can give them a coat of white spray paint.


The Kirkland’s inspiration piece seemed to have some three dimensional elements to it. So, I’m cutting out a few pieces of foam core to add to these as doors and windows. I’m also going to glue a few of the houses onto the foam core and trim them out.
Then attach these to the painted wooden shims.
For the words “silent night” at the top, I’m using erasable markers, so if we make a mistake we can always go back and fix it. But I am using a light color first to make sure I like how it looks. Once I was happy with it, I went over the pink marker with a brown marker.


Here were the supplies we had to pick up for this project.

And here is mine next to our Kirkland’s inspiration.
// abstract tree art
I love this abstract tree artwork. Let’s make something similar for much less than $35.

Dollar Tree seems to have these signs for every season. I’m glueing these together with E6000 and using the clips to hold it in place overnight.

I got those clips at Dollar Tree and they hold so well – I’m really happy with them!
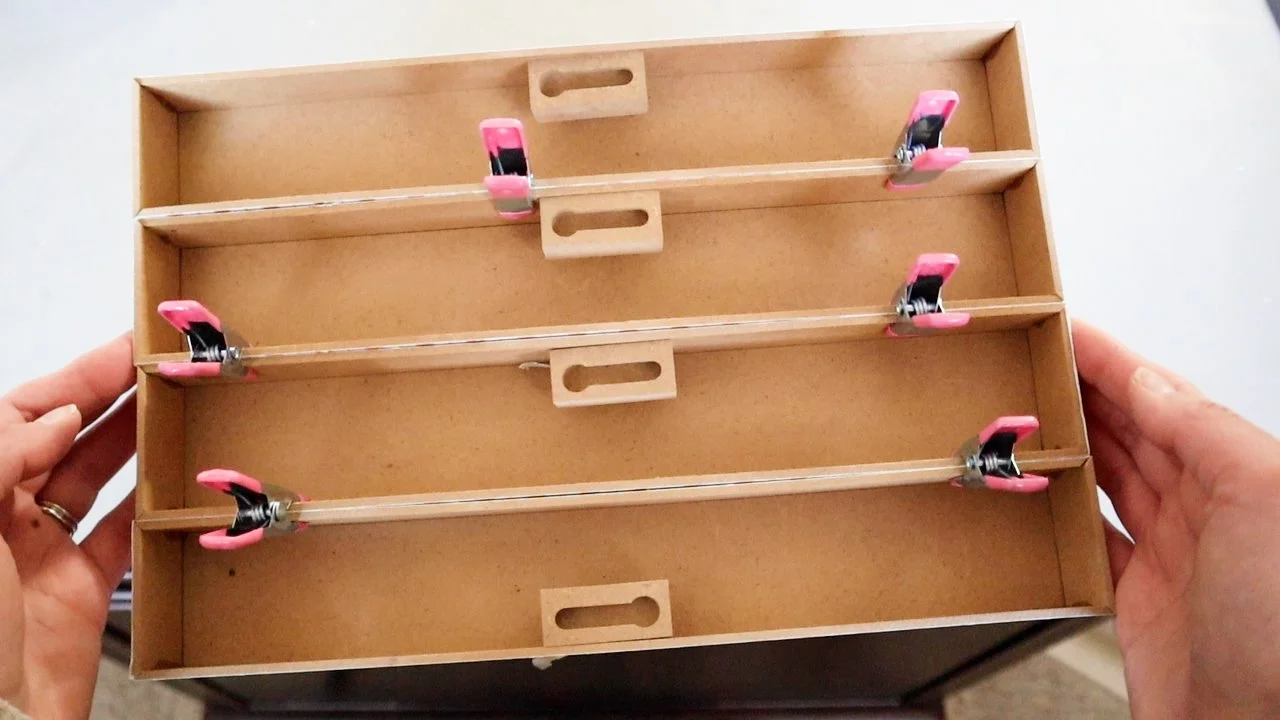
Because some of the signs were bowed, they didn’t fit together seamlessly. There were just a couple spots where I wanted to fill in the gaps. So, I used some wood filler and sanded it smooth.


I mixed some brown and white but sometimes it can look a little too pink if you just do the brown with the white, so I added a little grey in there to tone it down a bit. This took about 2 coats to fully cover the boxes.

Now for the fun part – coming up with the designs for those trees!
What I really love about this sign is you can make it your own and put your personal spin on it by getting creative and figuring out different ways to make those little Christmas trees.
I’m going to trim out some foam core and also use bamboo skewers to create the trees. I have a white paint pen that I will also use to create some hand drawn trees.

Here were the supplies we had to pick up for this Kirkland’s dupe.

And then here is mine next to the Kirkland’s version.

I hope you enjoyed these Christmas DIYs. I know they got me in the Christmas spirit and there is lots more inspiration to come for this season, so stay tuned!


FTC: Not Sponsored. All opinions are always 100% honest and my own. Some links may be affiliate links. If you click a link and buy something, I receive a small commission for the sale. It doesn’t cost you anything extra and you are free to use the link or not as you choose. If you do use my links, I appreciate your support.
How about some Target Dollar Spot crafts and Dollar Tree coastal transformations. We’ll be putting together tiered tray miniatures to decorate our little coastal vignette.