
Affordable Kirkland's DUPES of Expensive Fall Decor
This is my last Fall post for the season, before I get started on Christmas. Today we’re duping some Fall Kirkland’s decor that I thought was so pretty and I hope you love it as much as I do. I’ve also got a few tips and tricks on how to make signs with typography, if you don’t have a Cricut cutting machine.
If you’re here for the FREE PRINTABLES for all these projects, just fill out the form below and the download will open in a separate browser window.
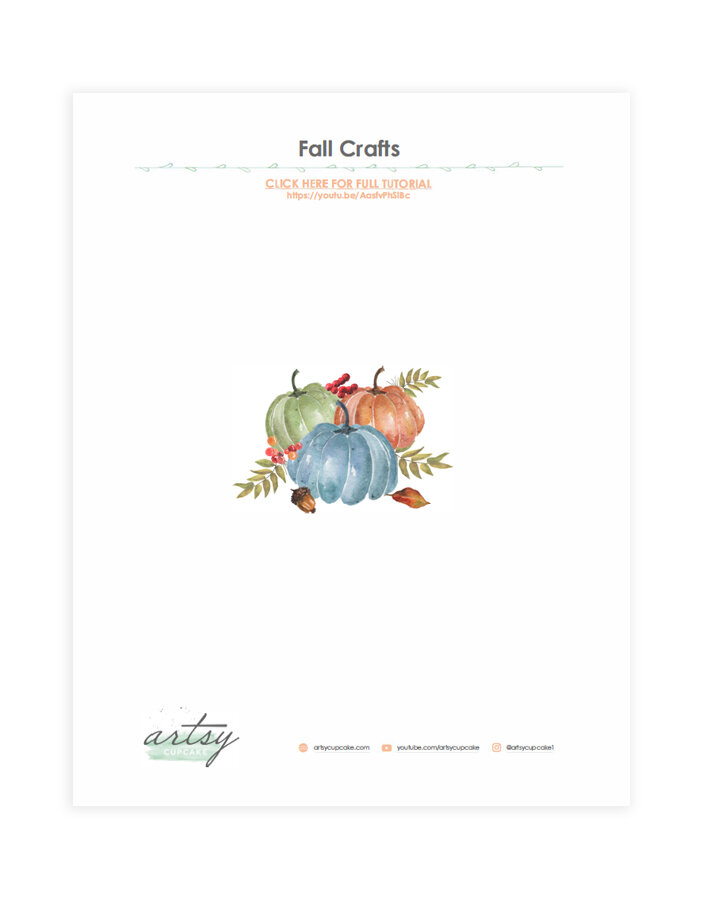
And I did a video with the tutorials for all these crafts, if you prefer to watch rather than read, click the thumbnail below!

// fall milk jug
For the first dupe, I wanted to create this white harvest jug. I love the muted colors of the pumpkins and the crisp white color on that jug. I think this will look super cute on the kitchen counter.

I found this milk jug at my local thrift store. It still has the tag and looks like it was $7.99 originally, but I picked it up for $4.

I’m going to start by giving this a coat of flat white spray paint. I’ll be testing out this new spray paint I got. I hate the stinky smell of regular spray paint, not to mention all the chemicals. This one is water based, so it’s basically like using acrylic paints, but in spray paint form. It looks like it is has good coverage, so I’m going to say this is a winner!


So how are we going to get that design onto the milk jug?
When you’re making a sign without a Cricut cutting machine, you definitely want to take into account the capabilities of your home printer. My printer only prints up to 8.5 x 11. Another option would be to send your file to Staples or somewhere that can print larger sizes if you wanted to go with a larger scale sign.
I always measure the piece I want to decorate for example on this milk jug, it looks like the paper could wrap most of the way around, which means the seams will be on the back, which is perfect.

I used Super 77 to attach it to the milk jug. Super 77 is very sticky, so you just need a light coat and then smooth it out onto the milk jug with the palm of your hand.

For the finishing touches, I hand paint the handles and the rim at the top, so it matches our Kirkland’s inspiration. I’m just using a bronze metallic Sharpie for this part and it works so well for this!

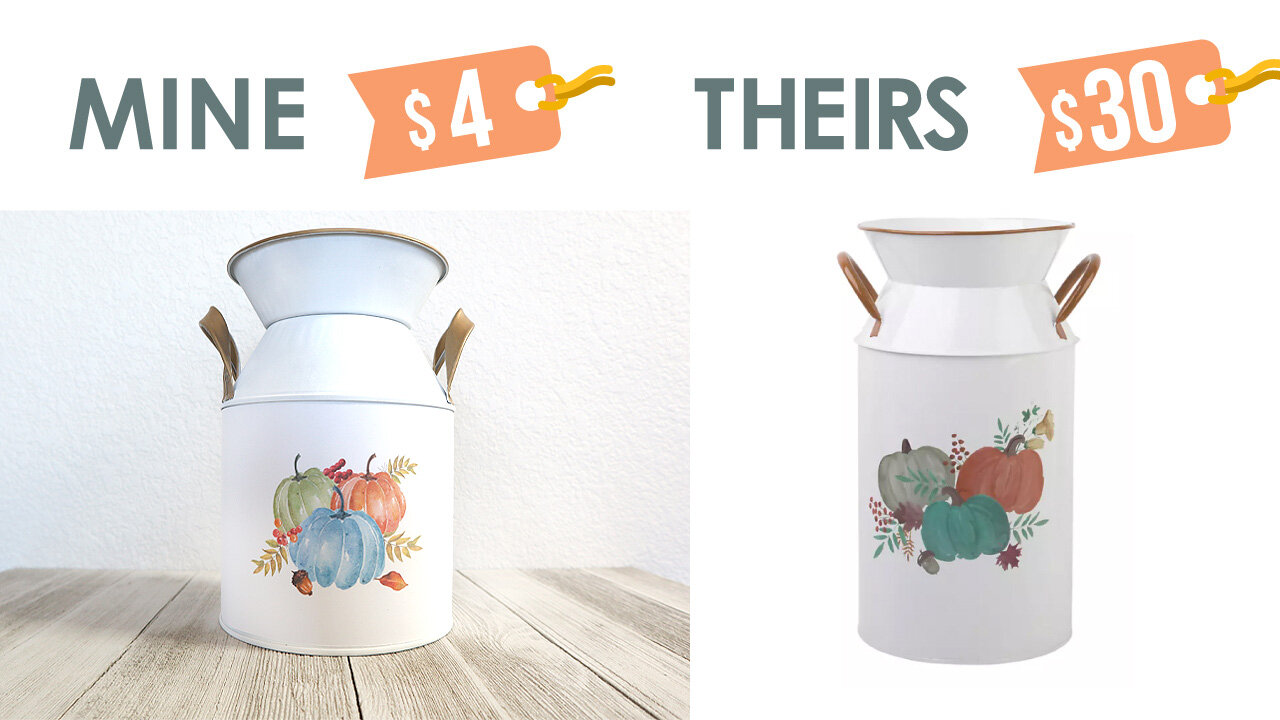
All I had to buy was the milk jug and I already had the paint and spray mount, so this only cost us $4, which is way better than the $30 price tag at Kirkland’s!

And here is mine next to the Kirkland’s version. I like mine better because, well it’s cheaper and the colors of the pumpkins are a little more cheerful.
// fall tray
I love this tray, which matches the milk jug so nicely. It is about $30, so lets see how much cheaper we can make this one. You know I love a good copycat challenge!

This was actually a tart pan that I had picked up at the same time I bought that milk jug at my local thrift store. I already used this on another craft, but will be upcycling it into a tray today. I’m going to carefully remove this edging because that trim came out so pretty, I want to save it for a future project.

It looks like the width of this tart pan is 8.5 inches, which is great because we can print our design on a regular 8.5x11 piece of paper.

After I trimmed this out, I glued it down to the lid and then secured everything in place with E6000.

Now for the handles. For this part you could use some thick wire, but I have some leftover faux leather that I’m just going to turn into 2 handles. I used hot glue to fold over a piece of the faux leather and then poked holes on either side for the screws to go through. I used E6000 to secure these to the sides of the tray.

I’ll just be using this for displaying, not to actually carry anything heavy. But if you are going to use this to carry items, you can drill a hole in the side of the tart pan and actually screw this handle into the tray.


Here were the supplies we picked up for this project. I used the faux leather, which was free to me, but if you needed to pick up some wire for the handles, I added that to the supply list.

And here is mine compared to the Kirkland’s one.

// grateful hearts sign
This sign is beautiful. What a festive saying for Thanksgiving! Let’s see how we can make this a lot cheaper with my favorite secret ingredient – foam core!

I’m deciding what size I want to create this sign based on how the Jenga blocks line up. I know I don’t want this to be any wider than 11” so we won’t have any seams showing from the edge of our paper. Because yes, you guessed it, we will be using our ink jet printer to print out the words.

This free download has the printables for all three projects. Just fill out the form below.

Now that we have our sign, I’m going to glue this to the foam core with Super 77 and then trim it out.

For the frame, I just glue all the blocks together and I suggest using E6000. This will be a little delicate, until we get it secured to the rest of the sign. I’m using a straight edge to make sure these are getting glued on straight.
If the lines between the blocks bother you, you can always add some wood filler and smooth it out with a sanding block.
For the texture on the frame, we’ll be adding three dimensional stickers to the top. Then we will paint it with some bronze spray paint.


All that’s left to do is glue the two pieces together and then I like to paint the edge of the foam core, so it blends in nicely with the frame.

Here were the supplies we had to pick up.

And here is mine compared to the Kirkland’s one.

I hope you enjoyed these Fall Kirkland’s dupes. If you want more inspiration, check out my other posts below. Thanks for reading and I hope you have a beautiful, creative day!


FTC: Not Sponsored. All opinions are always 100% honest and my own. Some links may be affiliate links. If you click a link and buy something, I receive a small commission for the sale. It doesn’t cost you anything extra and you are free to use the link or not as you choose. If you do use my links, I appreciate your support.
How about some Target Dollar Spot crafts and Dollar Tree coastal transformations. We’ll be putting together tiered tray miniatures to decorate our little coastal vignette.