
I know you love some good Kirkland's Christmas "Dupes"!
I know you guys love a good dupe. These are some of my highest viewed videos and posts. So, let’s get our Christmas craft on to the tune of Kirkland’s copycats for way less money than you’ll find at the store.

// snowmen
These snowmen from Kirkland’s are super cute with their little scarves and buttons. I really like that galvanized metal look and think these would be nice for holding Christmas garland and adding a little Christmas cheer to any space. They were on sale for $83 when I took this screenshot, but let’s see how much less we can make these for.

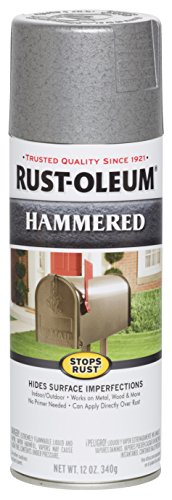
I’ve been wanting to use this hammered spray paint for a long time and finally I have the project for it.
We’ll need two tall cylinder shaped containers of different sizes. I have this cardboard type container - you can find something similar in the gift box section at Dollar Tree.

And then this glass vase is something you can also find at Dollar Tree.

The hammered metal spray paint works well on these two different materials. The glass vase came out looking really good and the glass only needed 1 coat. This cardboard box did need two coats because it was such a bright color.

With just a little decoration we are going to get these looking less like hammered metal vases and more like cute snowmen buckets!


Here were the supplies we had to pick up.

And here is the comparison. We saved so much money on this one by making it ourselves. Plus, it’s fun making your own decorations, especially during the holidays. These guys would look cute sitting out all Winter long.

// gift sign
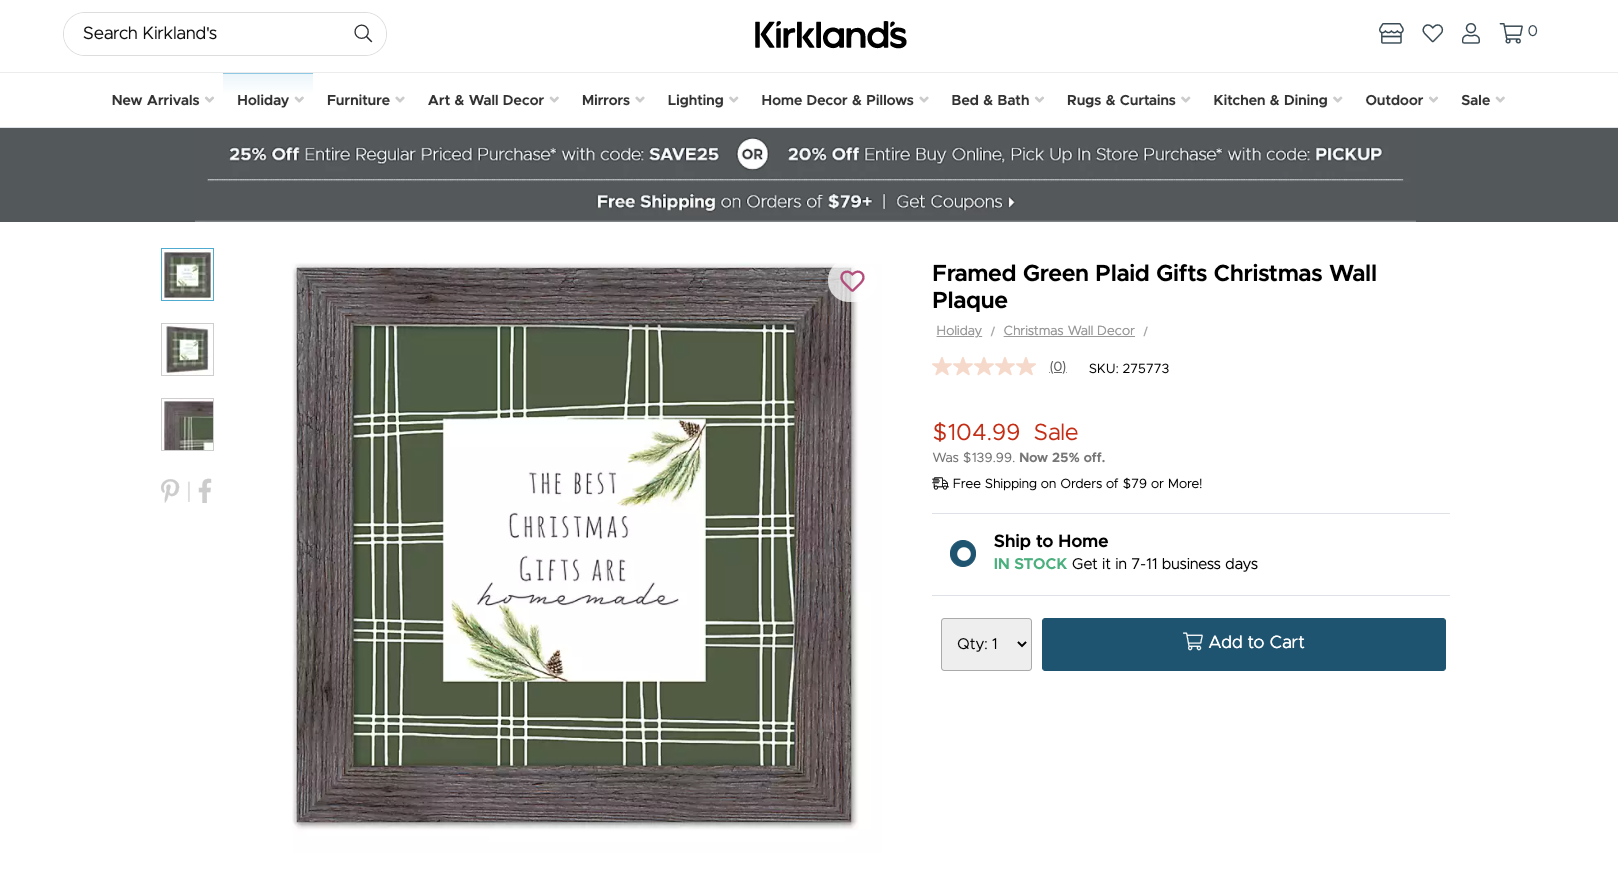
I guess everything Christmas is on sale at Kirkland’s right now, but even these sale prices are a bit steep. This sign is $105. And I know exactly how we can make this for much less. Ours will look a little different…maybe even better!
You can find frames at Dollar Tree. This is one I had used for another project, but there are some spots where the paint rubbed off when I took off the decoration, so I’m just going to sand it and then paint those areas.


Next, we’ll make the sign for the middle. I used Adobe Illustrator and tried to match the fonts to our inspiration piece. I printed this out onto regular printer paper. And then I pasted this to a piece of foam core and trimmed it out.

A tip to get sharp corners when trimming foam core is to poke your knife just outside of where the corner will be. That way you already have a smooth running start before you get to the corner.

I have a piece of foam core from the Dollar Tree. I had cut it to be slightly smaller than the outside edge of the frame.

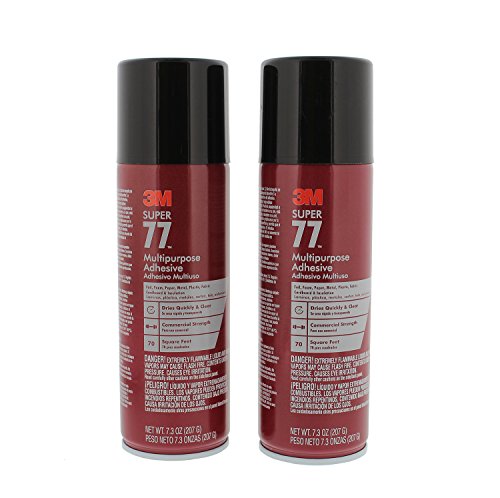
You’ll need some spray mount to attach some wrapping paper of your choice to the piece that will go behind the frame. You will trim this out and then glue to the back of the frame.
I thought the edge of our sign looked a little bare, so I added some twine along the edge. I wrapped this around 3 times to completely conceal that foam core edge. You could use some ribbon or yarn or whatever you have on hand for this part.

The last step is to attach everything together.

Here’s a look at the supplies we picked up.

And here’s mine next to the Kirkland’s one. I chose a different pattern for the background, but the looks are very similar. And as the sign says, homemade is better!

// tray
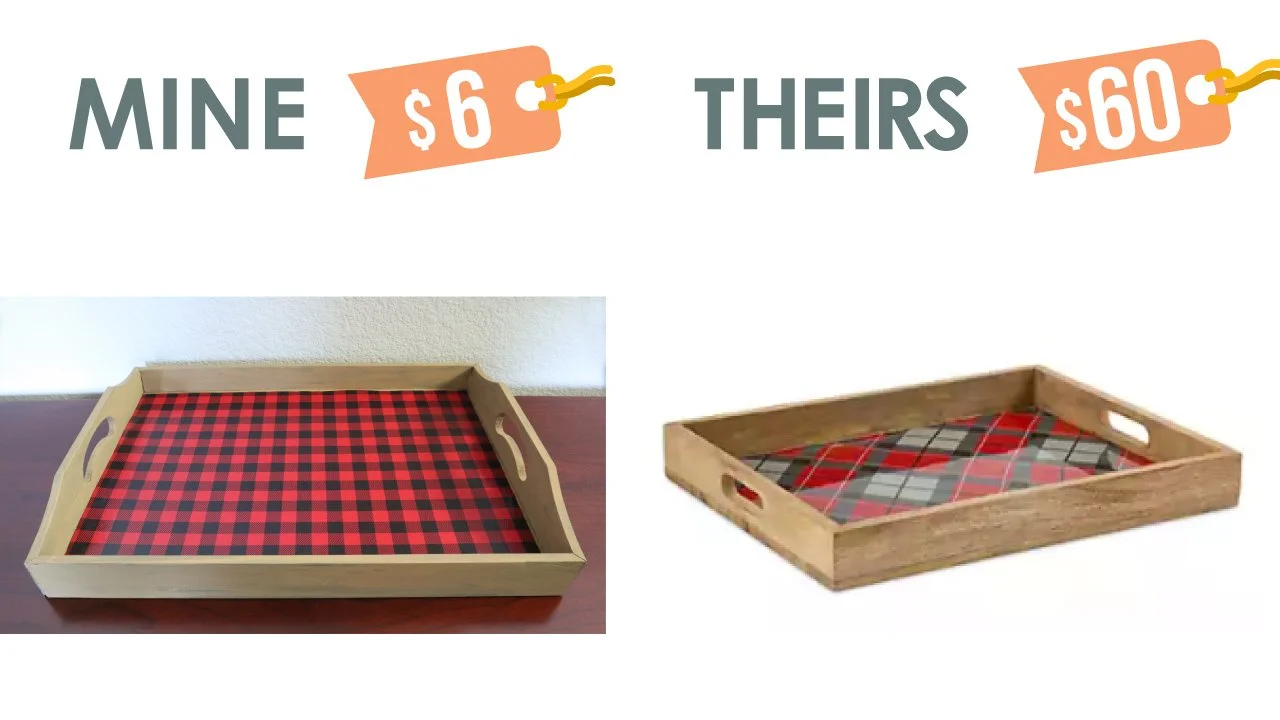
I thought these trays from Kirkland’s were so fun and festive. I’m going to decorate these with some cute Christmas items to really dress mine up. But I only want to make one of these trays, so let’s just say for the large one, it may be around $60. And we’ll try to get our price way under that.

I found this tray in the new $5 section at Dollar Tree. When I bought it, it was a raw wood color, but as you can see here, I already had fun decorating it. But one corner is starting to come loose, which will actually come in handy when we’re reworking this into the new tray.


I did want to show you another option in case you can’t find those wooden trays at your Dollar Tree. This was a small pan I had picked up from Dollar Tree and decorated. I’ve been using this to hold jewelry and perfume bottles and this would be a great size if you wanted a smaller tray. It will use a similar method that we’re going to use to decorate the wooden tray.

I measured the inside of the tray and cut out some wrapping paper in that size.

Now to make it the same wood color as our inspiration piece. If you just mix brown and white paint, it can come off looking a little pink, so I’m adding some yellow to tone down the pink and it will end up looking a lot closer to the paint color on the Kirkland’s version.


All that’s left to do is use some spray mount to attach the wrapping paper to the inside of the tray.
If you want to make sure that paper doesn’t get stained, you could use some waterproof Mod Podge over the top of your wrapping paper.

Here were the supplies for this tray.

And here is mine next to the Kirkland’s version.
And here it is styled with a few festive items.

I want to let you know this is my last post for the year. I figure everyone will have their Christmas decorations up shortly and the holidays are meant to spend time with family, so I want that for all of you. I have a lot of fun things planned for the beginning of the year, like giveaways and more creative inspiration for your home. So, definitely stay tuned for all that I have for you in 2022.
If you were inspired by these DIYs then fill out the form below for inspiration straight to your inbox. I promise I only occasionally send emails, because I don’t want to overwhelm your inbox! I hope you have a very creative day and a beautiful holiday season with your family and friends.


FTC: Not Sponsored. All opinions are always 100% honest and my own. Some links may be affiliate links. If you click a link and buy something, I receive a small commission for the sale. It doesn’t cost you anything extra and you are free to use the link or not as you choose. If you do use my links, I appreciate your support.
How about some Target Dollar Spot crafts and Dollar Tree coastal transformations. We’ll be putting together tiered tray miniatures to decorate our little coastal vignette.