
Turning My Closet Into a CRAFT Room
If you don’t have a whole room to dedicate to your craft supplies, but you need some craft supplies storage hacks, then check out how I’m turned my tiny closet into a craft room.
We are going to go from start to finish with this craft room closet makeover. You’ll see the best steps to take for this type of a project and then I’ll share the big reveal of my newly organized craft closet along with a peek at the rest of my home office.
I’m a full time graphic designer for a big company but I love doing YouTube on the side, so I can share crafts and home decor with all my artsy friends. I’m a big believer that everyone is creative, sometimes you just need a little inspiration to bring it out.
Make sure to check out the video below for all the action that went into this craft closet makeover.
subscribe to my youtube channel here

I do my crafts in my home office because there is a huge window, so I get lots of light. And I store my craft supplies in this closet. You can only slide one half open at a time which makes it a super awkward space to work with. You may have a similar situation where you just have a small dedicated space to your arts and crafts. I’m hoping this craft room closet makeover will give you a few ideas.

Awhile back I had shown you my new craft storage system, which I was super proud of because I already had some hanging closet organizers that I repurposed for my craft supplies. And well, just look how nice these fabric organizers are for storing florals.
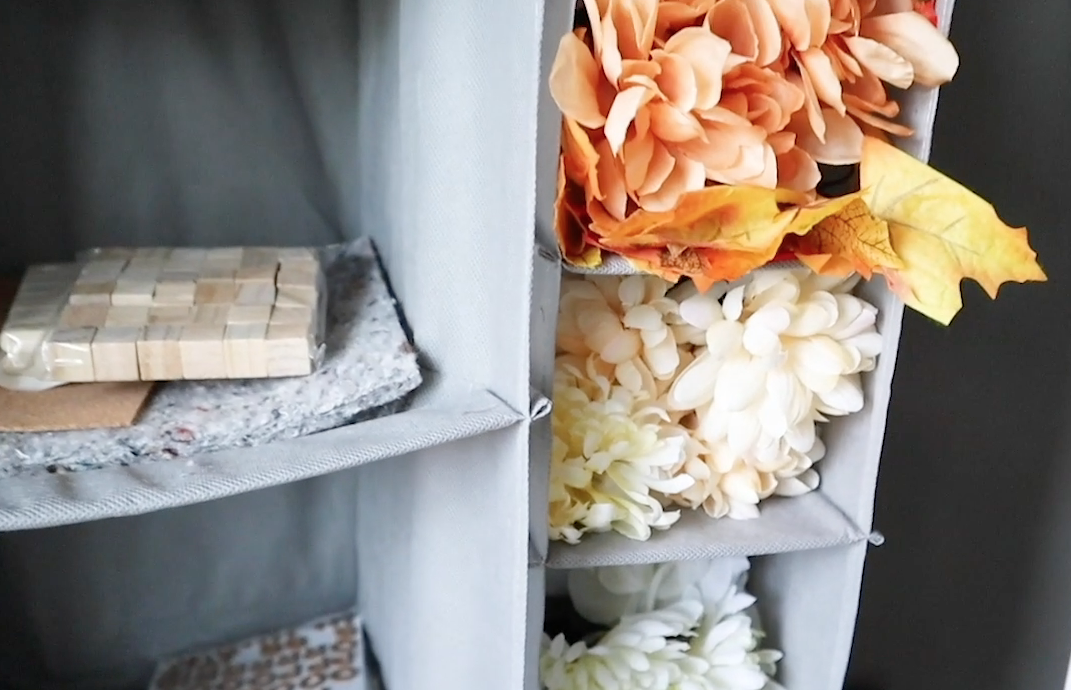
But then Christmas crafting happened! And things got crazy in that little closet of mine. The florals didn’t get too out of hand, and…I’m a little embarrassed to show you this, but hey, it’s real life and nobody’s perfect so…here it is.

Oh my gosh, it’s SO bad. Everything is just crammed in those cubes. And the fact that they are made of a soft fabric is not helping the matter, because things get shoved behind other things and there’s just no order. I started with some order, trust me I did. But when the organization system itself is not physically sturdy, then the system is bound to fail.
Here are the 5 steps we will take to organize this space:
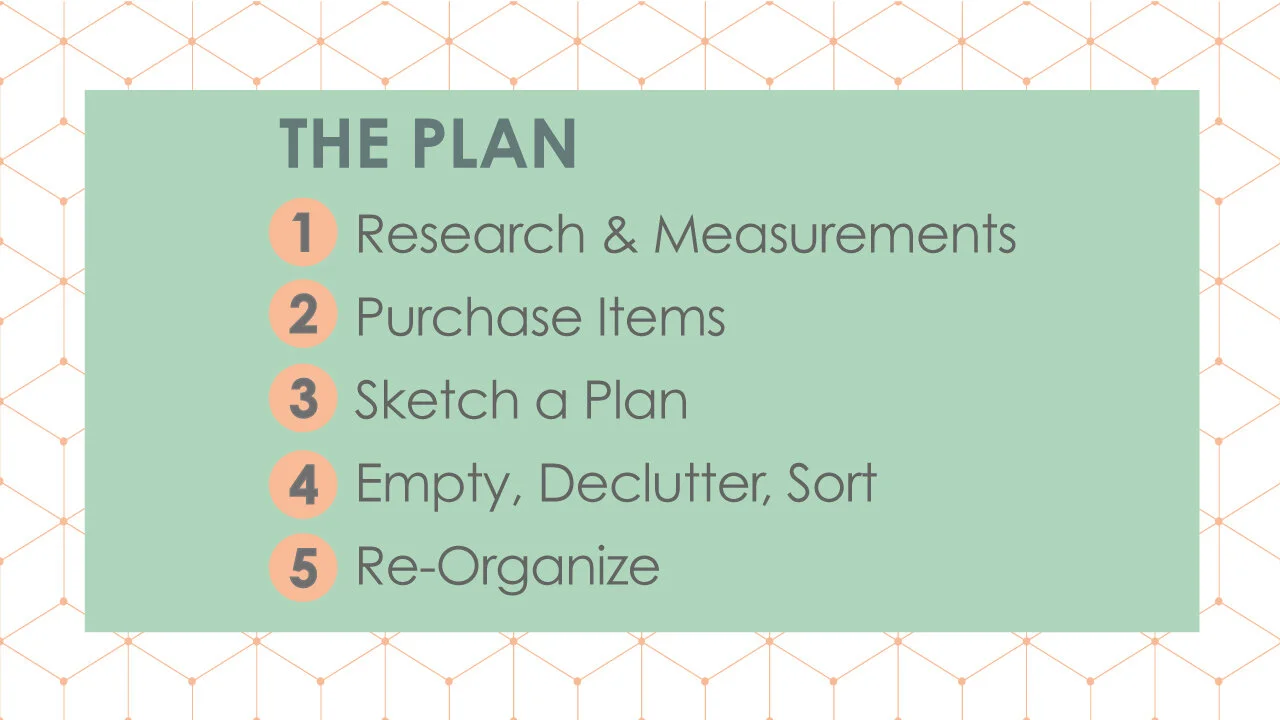
1 // research & measurements
The first thing I did was research on Pinterest. I was looking around for anyone that had done craft storage with a closet similar to mine.
But all the examples I found had doors that opened all the way or they had taken off the doors. I didn’t find any examples with the sliding doors like mine.
I didn’t want to spend money getting new doors, and I didn’t want to remove the doors because I like a nice clean look. I don’t want to sit at my desk all day and look at paint tubes and boxes of stuff, no matter how pretty the boxes are or how well it is organized. So, we’re just going to have to work with those sliding doors.
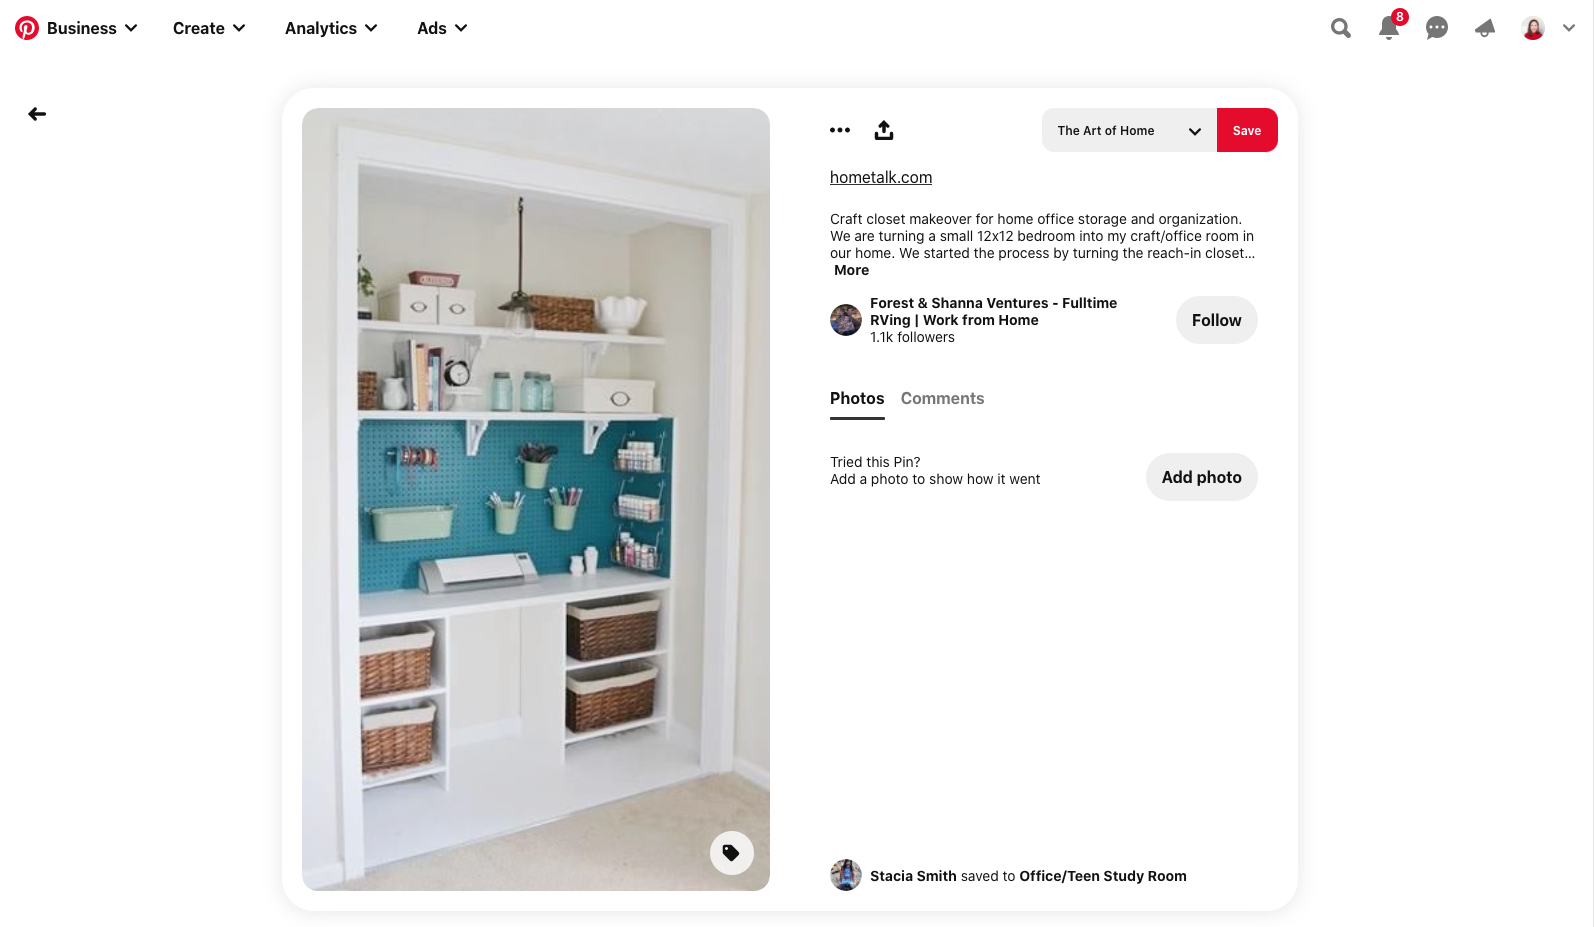
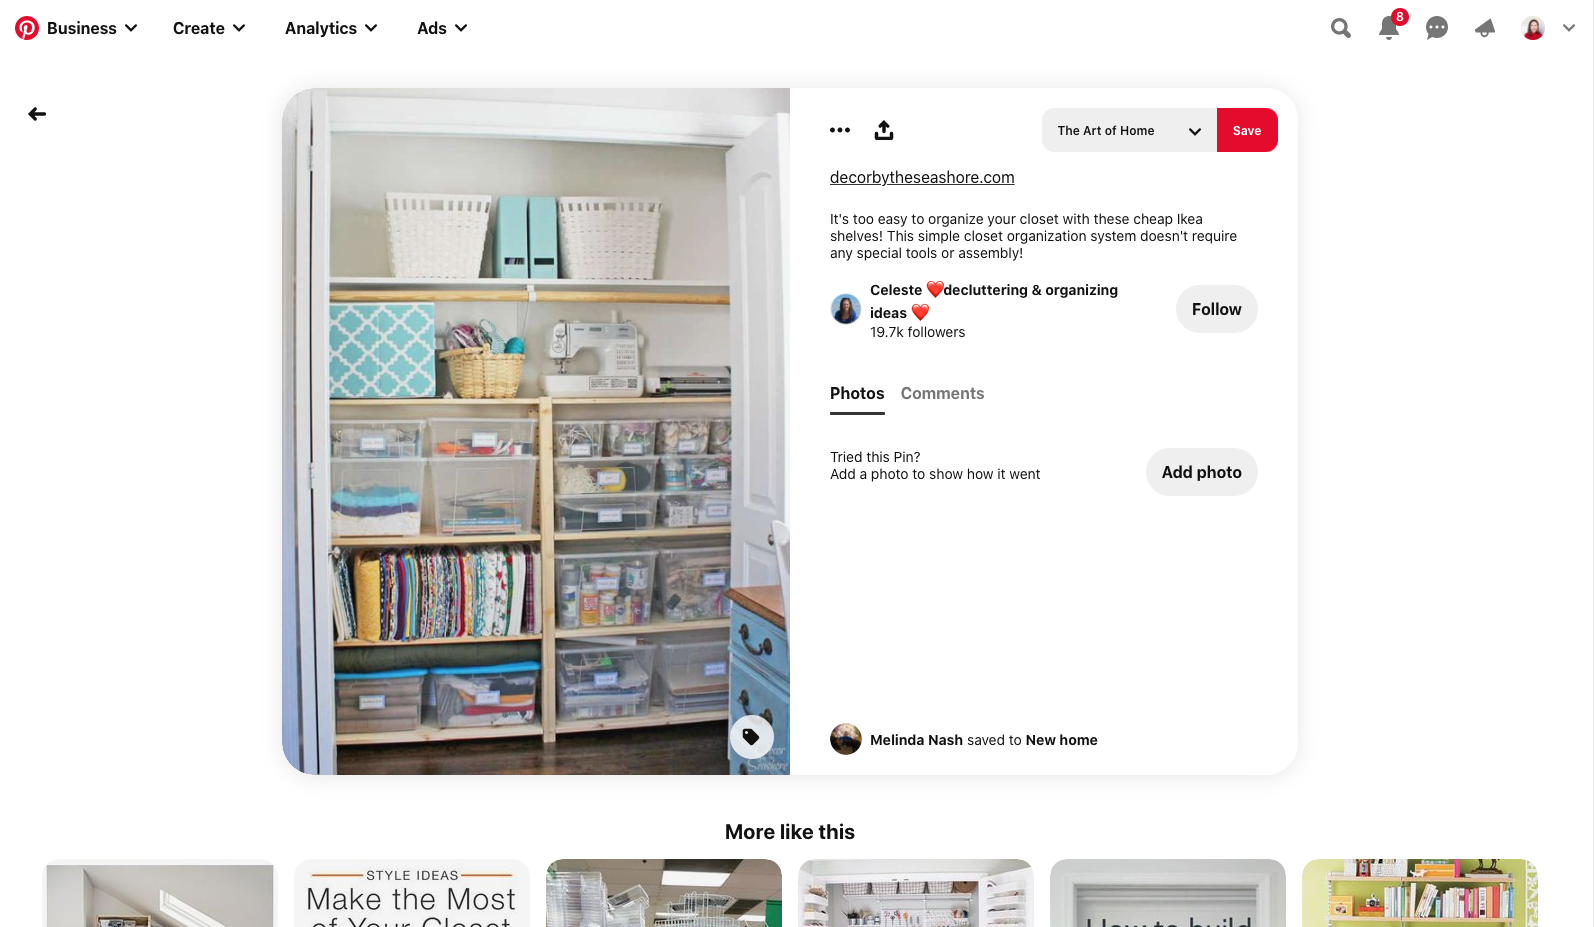

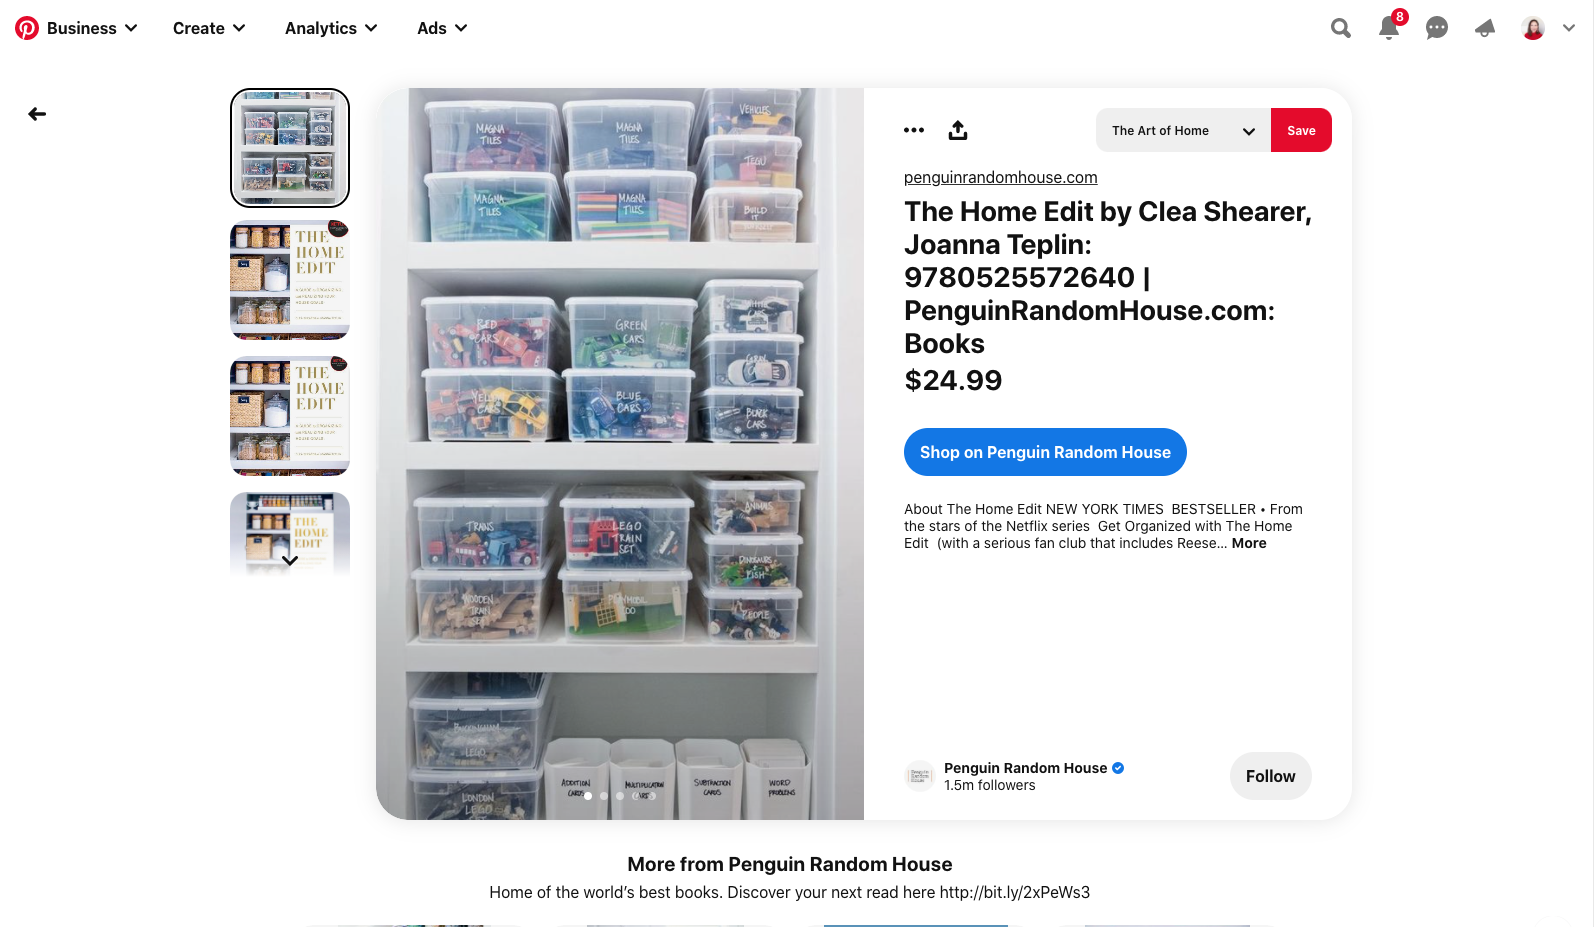
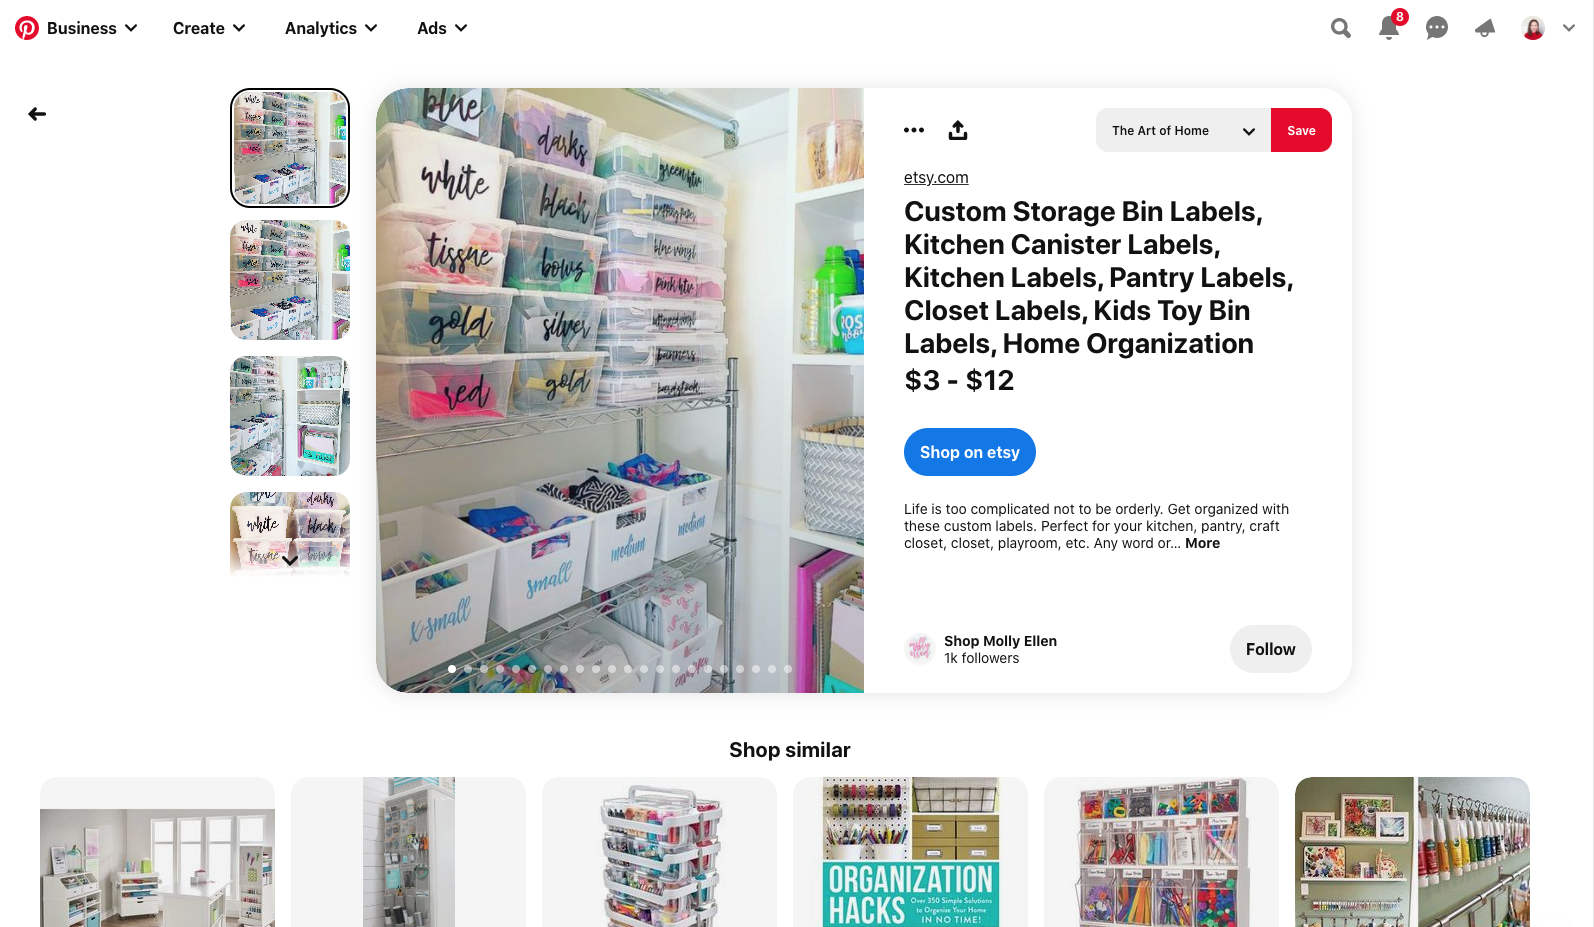
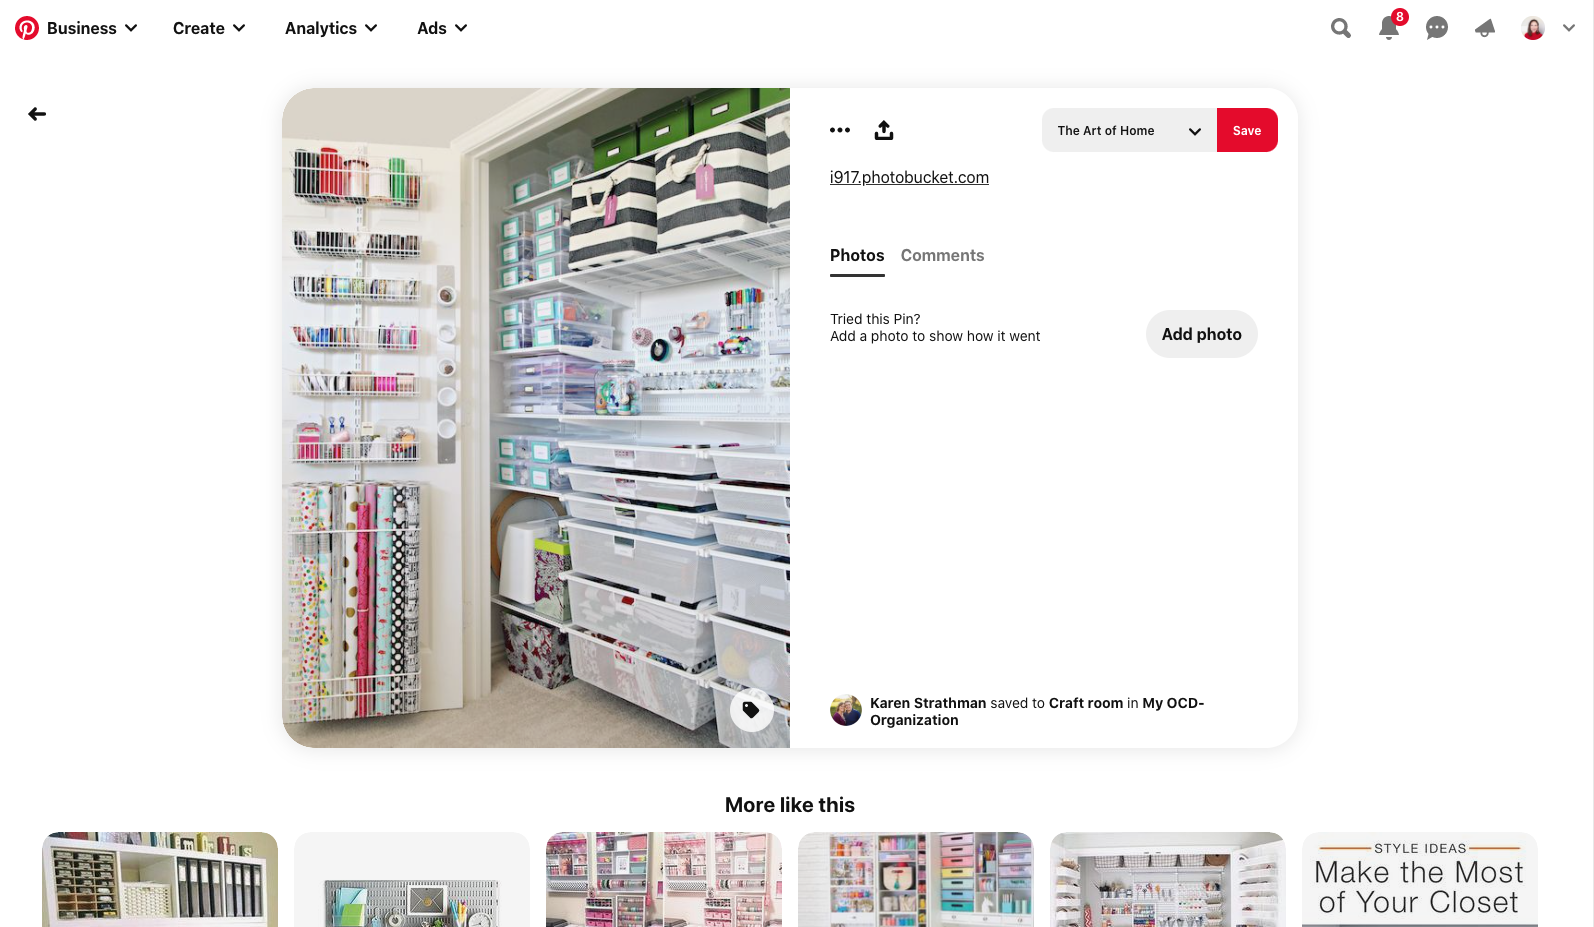
I did get a few ideas from Pinterest and knew I wanted to do some sort of cube storage system, but based on my experience with those soft closet organizers I knew the new system needed to be ultra sturdy.
I also don’t want it to look cluttered. Even though the doors are going to be closed most of the time, I still want as few things sitting out as possible.
I took some measurements and decided Amazon was the easiest way to find everything in the dimensions I needed. The total came to $240, but I know this is a system that will last, unlike my cheap hanging organizers. So, to me it was worth the $240. I think you could purchase some cheaper bins or a Cubemate system, if you wanted to save a little money.

2 // purchase items
The biggest purchase was this 8 cube organizer from Better Homes & Gardens. I liked how this organizer has thick edges and a wood texture. It doesn’t look cheap and is really solid. I thought $84 was actually a good price for the quality and size of this piece. Free shipping and pretty easy to put together too. I am going to put this on one side of the closet to organize larger items.
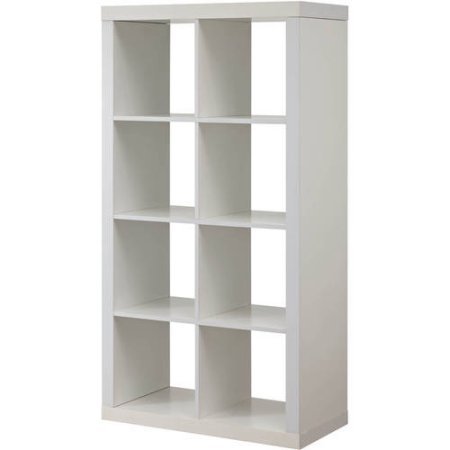
I got 2 sets of these bins to make a total of 8 and I was so pleased when I opened these up because they were just as sturdy as they looked in the photos. They also look really elegant because they have a slight sheen and those silver handles will hold up a long time.

The next item is this cute little rolling storage cart. I wasn’t sure what I would be using it for, but wait and see what it ended up being perfect for!
This closet has 2 dead spaces on the left and right where the wall is. I appreciate that extra room, but it makes it a little hard to access especially on the one side after those shelves go in. I thought this could be slipped into those dead spaces, since it is so slim.

I have a lot of tiny things for my craft projects. Little letter stickers, clothespins, glue sticks, buttons. Just lots of small items that need organizing and were getting lost in that previous storage system. I liked the clear drawers on this storage box, because I can easily see inside without having to add any labels.
I originally planned on putting labels on everything. But I decided I want this as clean looking at possible and since its just me using this craft space, well, I think I have a decent enough memory to remember where everything is!

I also ordered this Art Bin paint organizer and it has room to grow, since I don’t have too many bottles of paint in this size.

3 // sketch a plan
Now that I had everything I needed, I did a quick sketch to make sure I liked the layout. It’s ok if things change when we get in there, but I wanted a general plan to get started. It’s always good to have a plan!

4 // empty, declutter, sort
The emptying, decluttering and sorting all happens simultaneously. It’s tiring, but fun! I’m just going to share a couple highlights of my emptying and decluttering process, since you may have different items that you are organizing. But hopefully, you will get a few ideas from these tips.
I have all these half used rolls of Dollar Tree felt, so I trimmed off the scrappy edges and combined the rolls of the same colors.

If I had an item that was pretty beat up looking, like this poor styrofoam ball that had been poked one too many times, then I just tossed it.

Or this twine that had gotten glue all over it. I ended up just throwing that away too, since it was all stuck together. Gross, it basically turned into one big glob of twine. I think that happened when I was creating that balloon topiary.

As I’m taking stuff out of the closet, I’m placing it in my office either on my desk or on the floor and I’m sorting and grouping everything. I know it doesn’t look like it, but things are grouped!

I want to put all of my seasonal items like Summer, Christmas or Valentine’s day in one bin. That way I can keep the clutter away from my other supplies and only reach for that seasonal bin when needed during those few times of the year.

I had all these bunches of twine, so I went ahead and combined those.

I kept a pile for a few items that ended up moving completely out of this room. Things like gift bows went to the basement where I keep my gift wrapping supplies. Those gift wrapping supplies don’t get used very often, so I don’t want them taking up precious space in my craft closet.

Here’s how I ended up using that rolling storage cart. It was the perfect size for my rolls of ribbon. I added a small piece of tape to each roll of ribbon to keep the edges in place. I combined any ribbons that were the same into one roll and I moved any gift wrap type of ribbons to the basement, since I usually only use fabric ribbons in my home DIYs.


I had these sticky letter sheets that were too big for my new plastic drawers, so I cut them to fit. It was really fun organizing all those tiny items and putting them in those clear plastic storage drawers.

I figured out what to put in all of my large bins and dedicated two bins to just florals. I used some metal Dollar Tree baskets of various sizes to hold the stems in place.

5 // re-organize
And now for the most satisfying part…seeing how everything got reorganized!
Since I work full time from home, I spend A LOT of time in my office, so I am happy to have the brightest lightest room at the front of the house.


Ok, now to the good stuff. Here is the before and after of the worst offender…that left hand side of the closet! What a perfect fit!

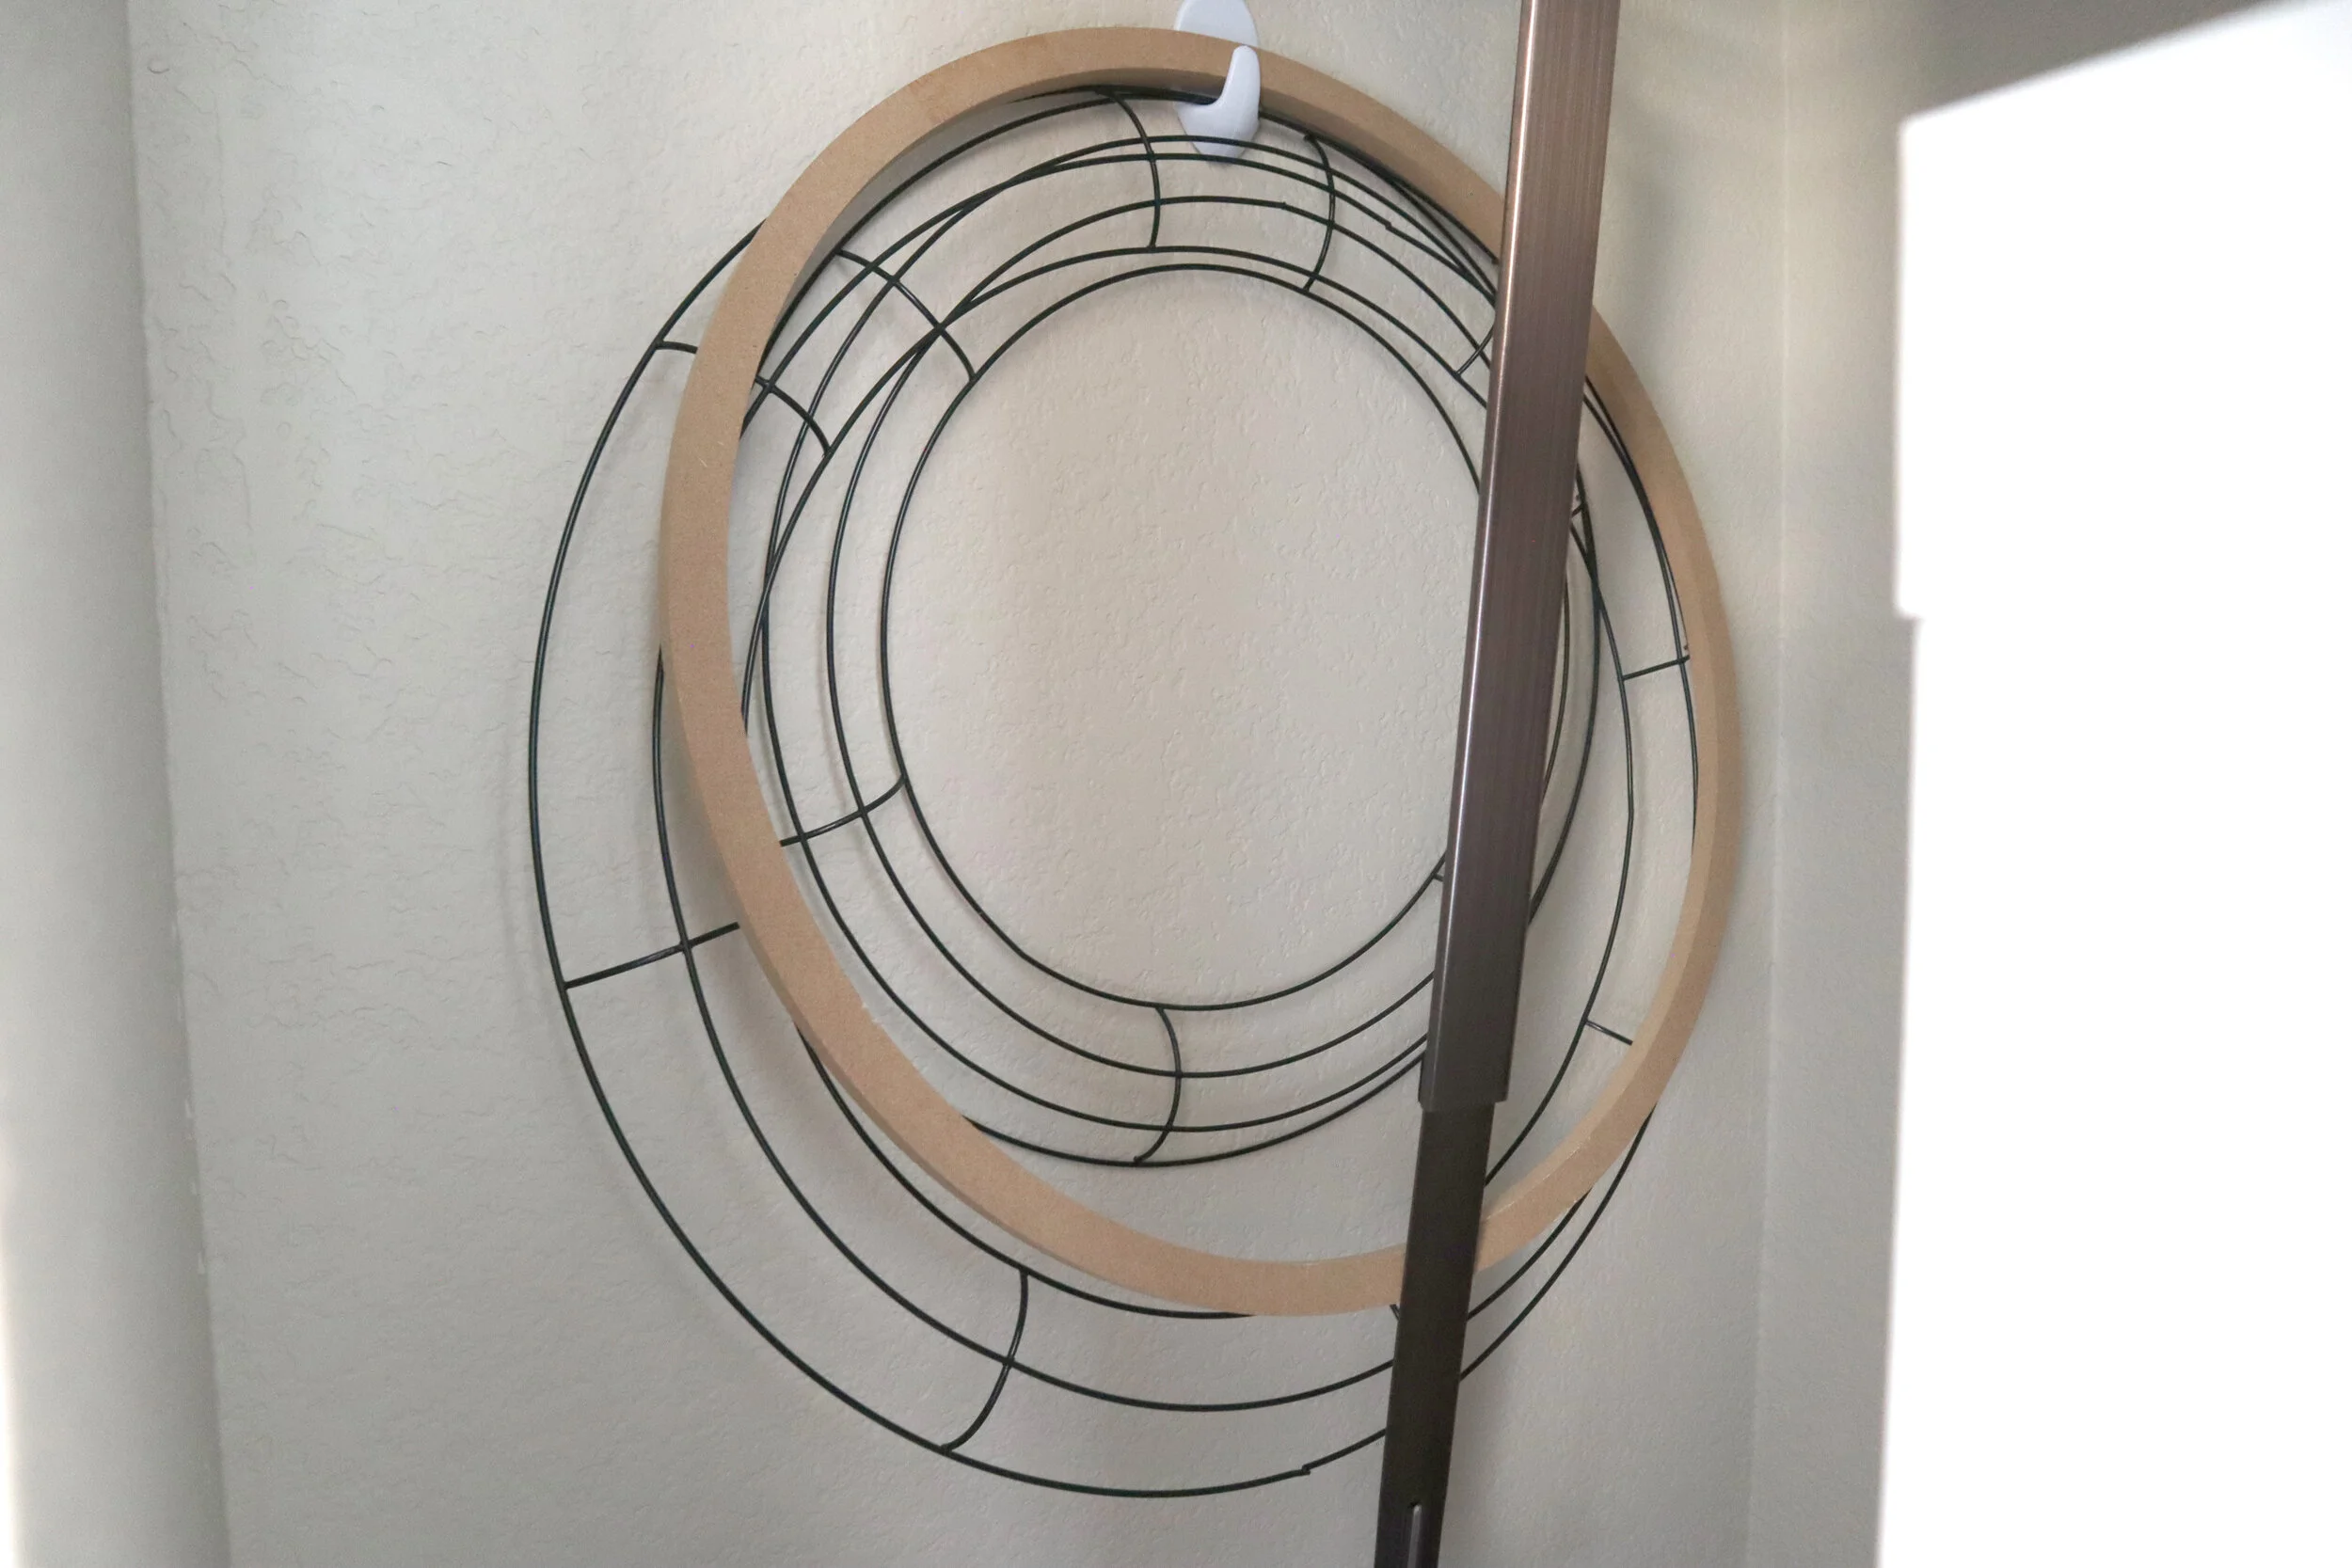
And that dead space on the left side, I ended up putting a hook on the wall to hold my wreath frames.
I love how these drawers are at eye level, so I really didn’t need to label them since I can just look straight in there and see what is in each drawer. I did kind of organize by putting wooden items in the top 2 rows, then I have another whole row dedicated to sewing items.
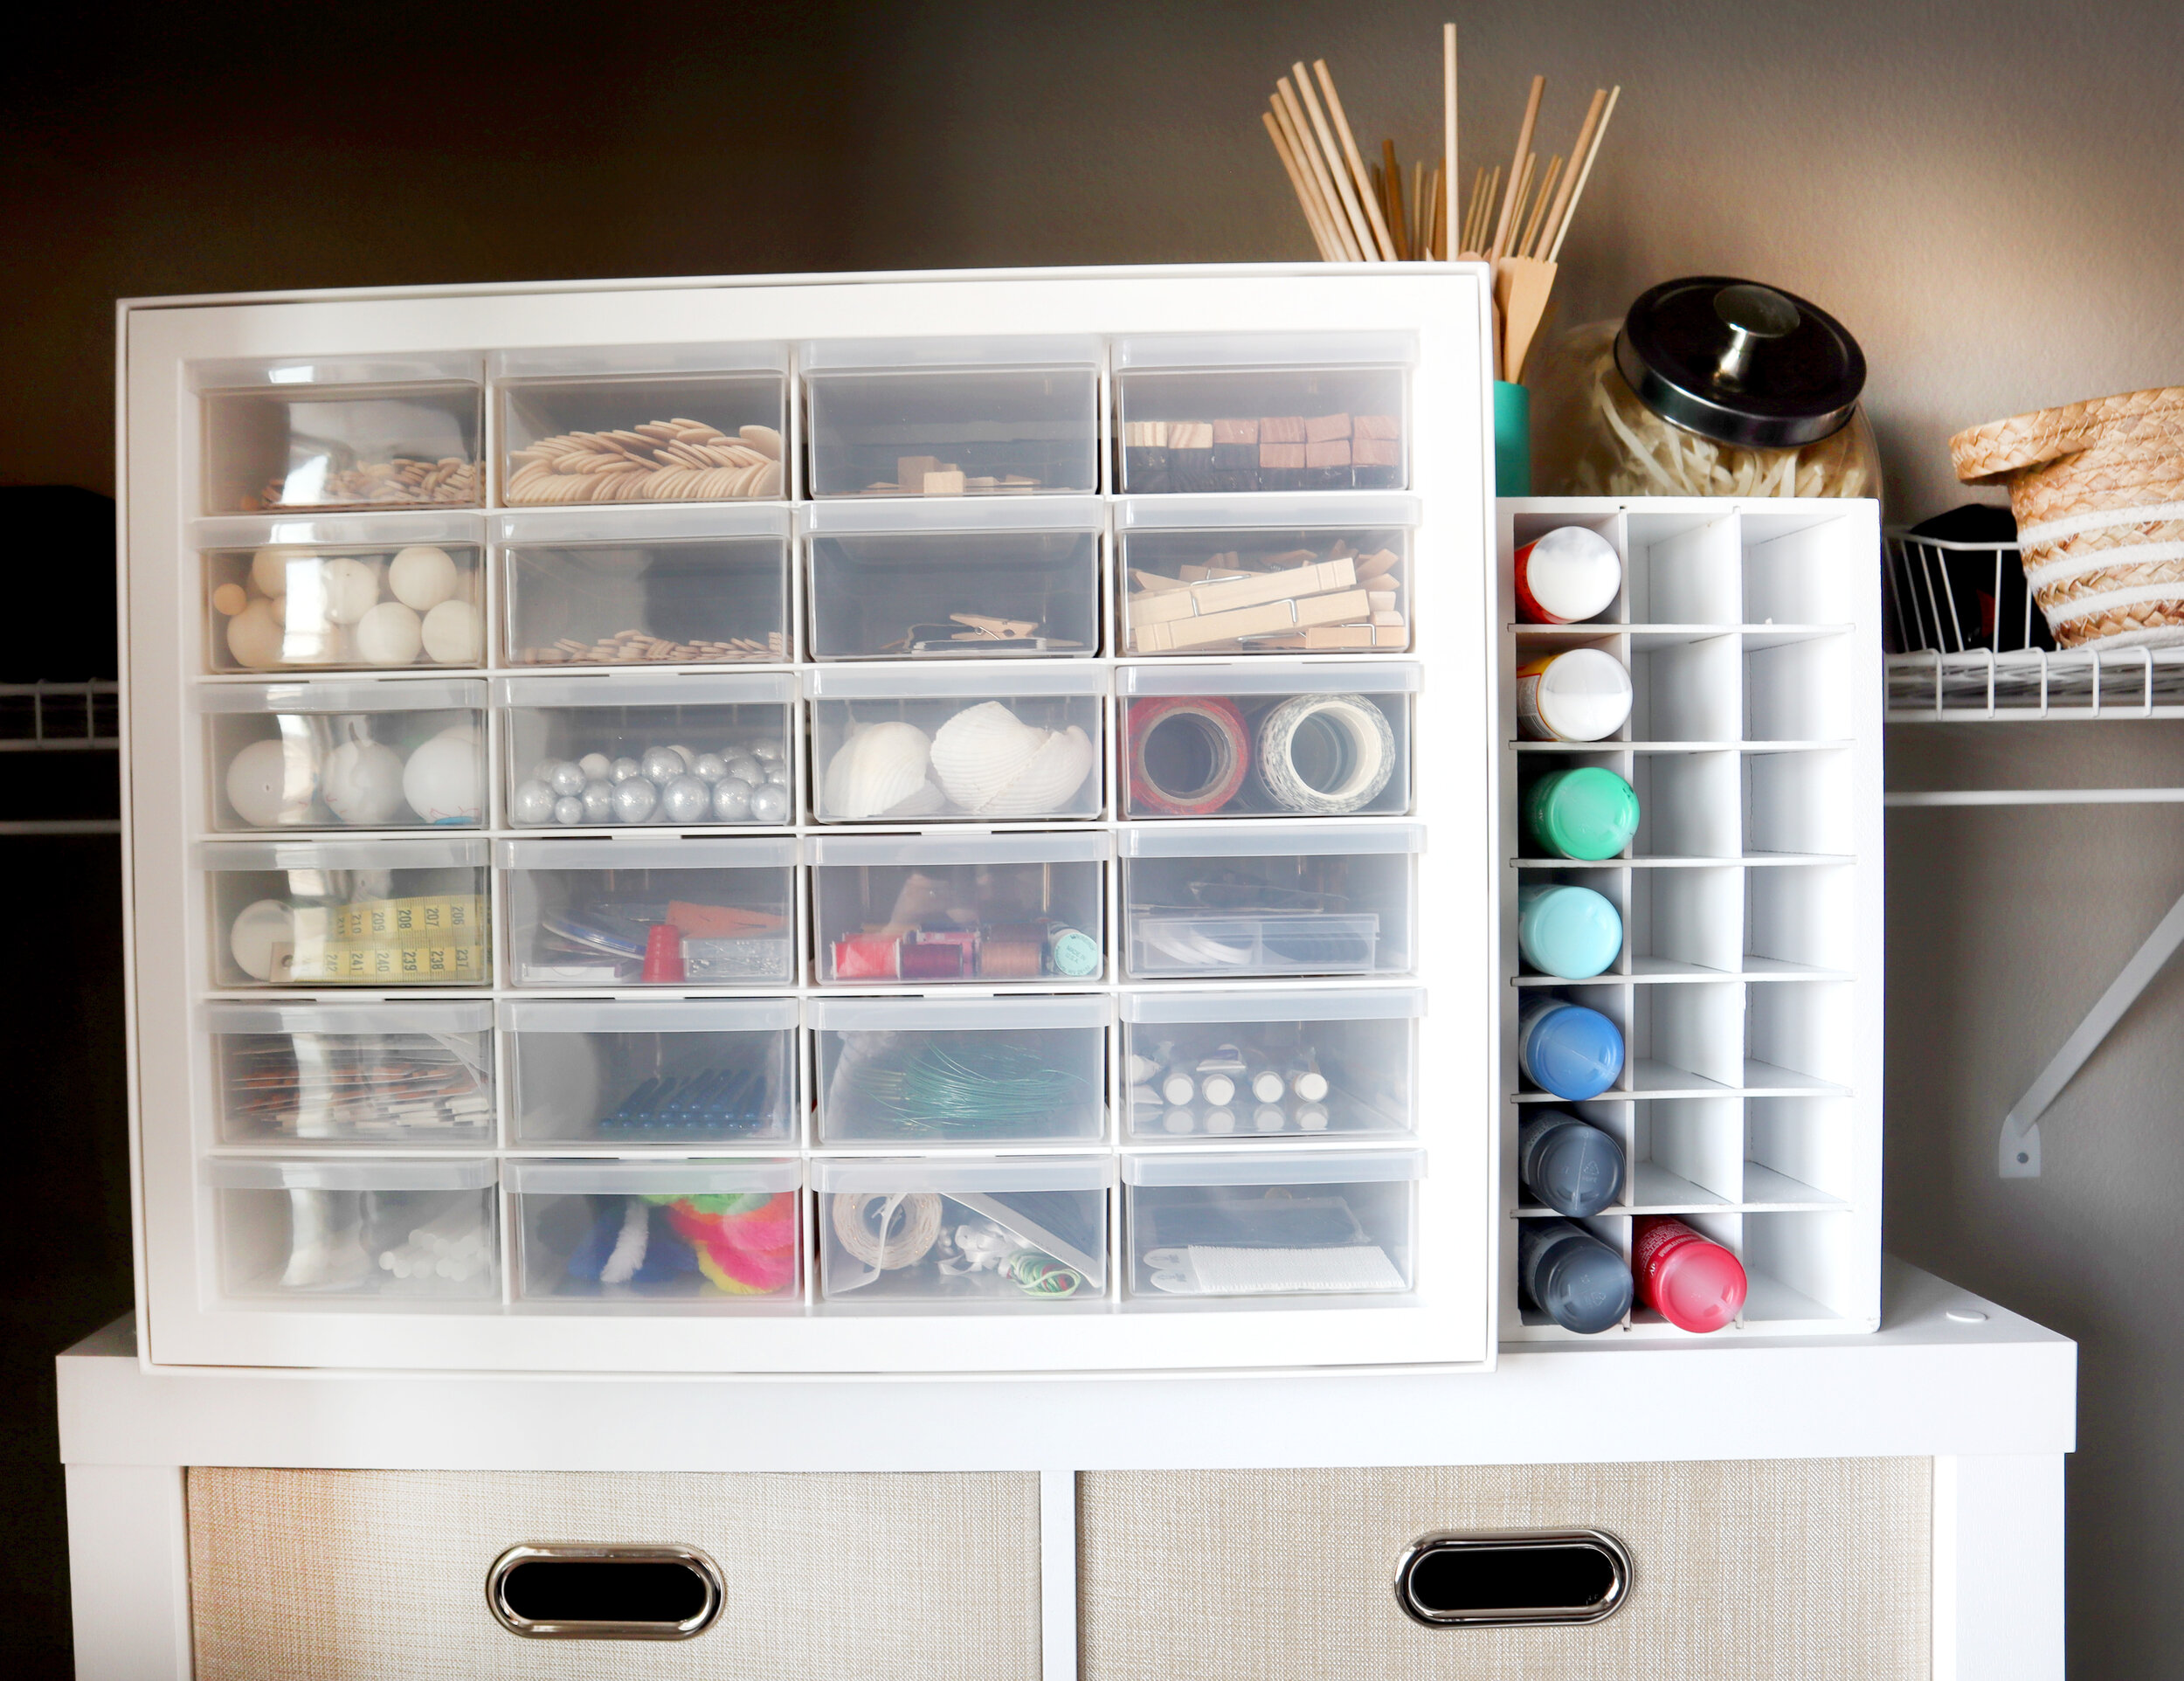
You can easily remove each drawer too, so if I needed these Dollar Tree Jenga blocks for a project, I can just carry the whole drawer over until I’m done with them.

These bins are SO nice and have a snug fit in the Better Homes and Gardens wooden cubes. They feel so sturdy and I’m really happy with them.

I wanted to keep the right side very open because I store my tripod in there and its footprint takes up a lot of room.
If you’re like me, things may get messy in your craft room, especially when you have a couple projects going. So, I put a trash bag in this huge bin before I start a project and have it out while I’m crafting. That way I can just toss stuff in there and believe me, it is FULL after filming one of my videos!
This ribbon storage fits nicely here and I have poster board and foam core tucked behind the cube organizer.

On the shelves at the top of the white wooden cubes, I have those bottles of paint all organized. Aren’t they pretty?!
Now I want to go buy all the colors just so I can organize them in proper rainbow fashion.

That big bin up there is all my seasonal stuff. It’s so nice to have it all in one place. Plus, it is really lightweight, so easy to bring down when needed.

On the top shelf, I also have paper towels and trash bags in that woven basket, so they are easy to grab.

I put my Dollar Tree hula skirt, which is basically raffia, in this glass storage bin I had because it makes it look pretty! And then some dowels and clay tools in a little bin I had.

Now, you may be wondering, “Where are your basic items like glue, tape, X-acto knives and those Sharpie paint pens you’re always talking about?”. Well, I decided to keep items that I use pretty much every day in my desk, so I could easily access them. I like to grab my box cutter, when I bring in an Amazon box (which is every day haha!) or have my scissors, pens and notepads handy while I am working at my desk during the day.
And yes, those are maracas. Gotta make those Zoom meetings interesting!

The newly organized closet is more specific for DIYs, crafts and filming. I like having that separation and distinction between my office supplies and craft supplies.

I hope you have a creative day and thank you so much for reading. I hope you got a few ideas for organizing your own space. Make sure to leave me a comment below letting me know if you plan on organizing your craft supplies. I am curious what kind of a space you have to work with for your arts and crafts supplies.


FTC: Not Sponsored. All opinions are always 100% honest and my own. Some links may be affiliate links. If you click a link and buy something, I receive a small commission for the sale. It doesn’t cost you anything extra and you are free to use the link or not as you choose. If you do use my links, I appreciate your support.
How about some Target Dollar Spot crafts and Dollar Tree coastal transformations. We’ll be putting together tiered tray miniatures to decorate our little coastal vignette.