
Sweet Valentine's Day Dollar Tree DIYs
Hello to all my artsy friends! Today I have the sweetest and easiest Valentine's Day DIYs just for you. Dollar Tree had the cutest Valentine's Day decor this year and I'm really excited to show you that. If you want to see the video tutorial and also my little Dollar Tree shopping trip, then click the thumbnail below.

I created a free printable for the bus banner, which you can download below. Ok, now onto the tutorials!

// wooden valentine’s day beads
I found this heart sign at Dollar Tree and it came in a set of two, but we're just going to use one today. It's a really nice hard material. I started by figuring out how many wooden balls I wanted to use.
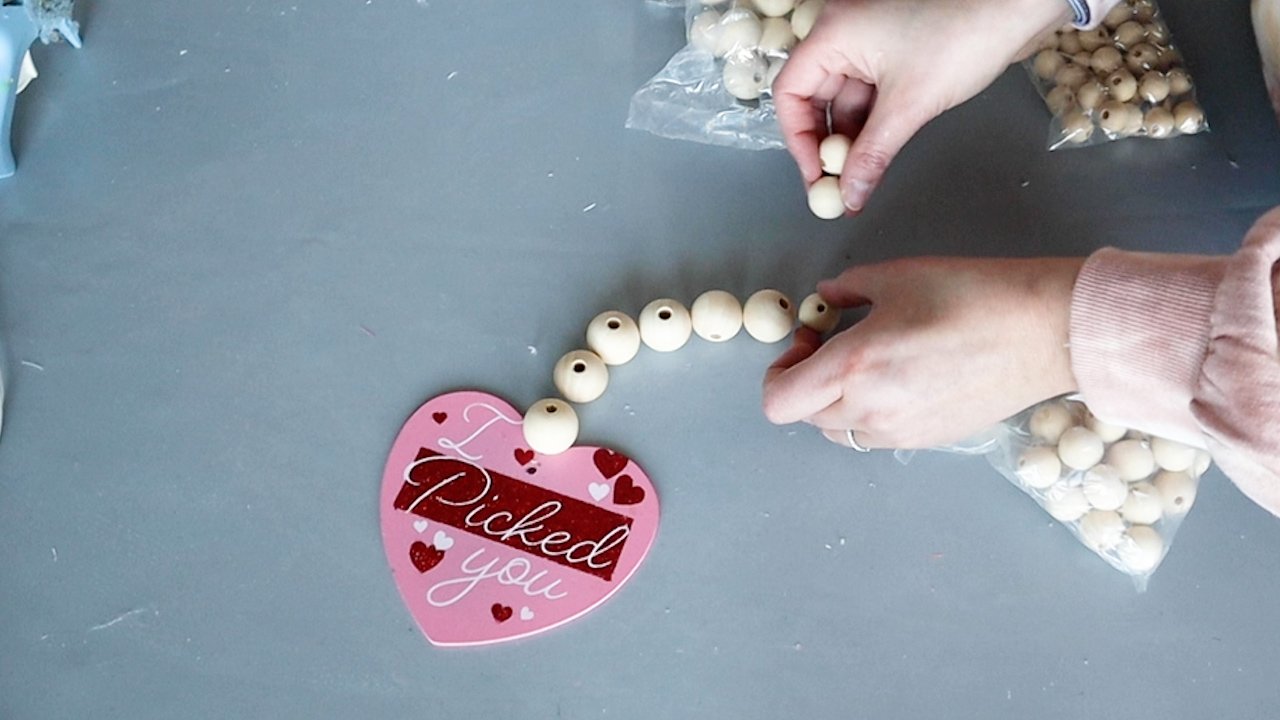
This is the set of wooden balls I bought on Amazon. I liked that they had so many different sizes, so I knew I would get a lot of use out of this for several projects. And they are perfect for this DIY!

The trick I have figured out to paint these balls to keep them from rolling all over the place was I just took a stem from a Dollar Tree floral and I stuck it in the center and just kind of rotated the ball around with the brush as I painted it. Chalk paint works perfectly for this and it dries really fast.

I decided instead of just the wooden balls, I would mix it up with some pink pom-poms.

Next, we're going to weave everything through with a thick craft needle and that actually did go right through the pom-poms as well.

I added my white home made pom-pom at the very end. I love making these myself and I use this pom-pom making kit to put them together.


I’m so happy with how this looks and there are so many different ways you can style it!

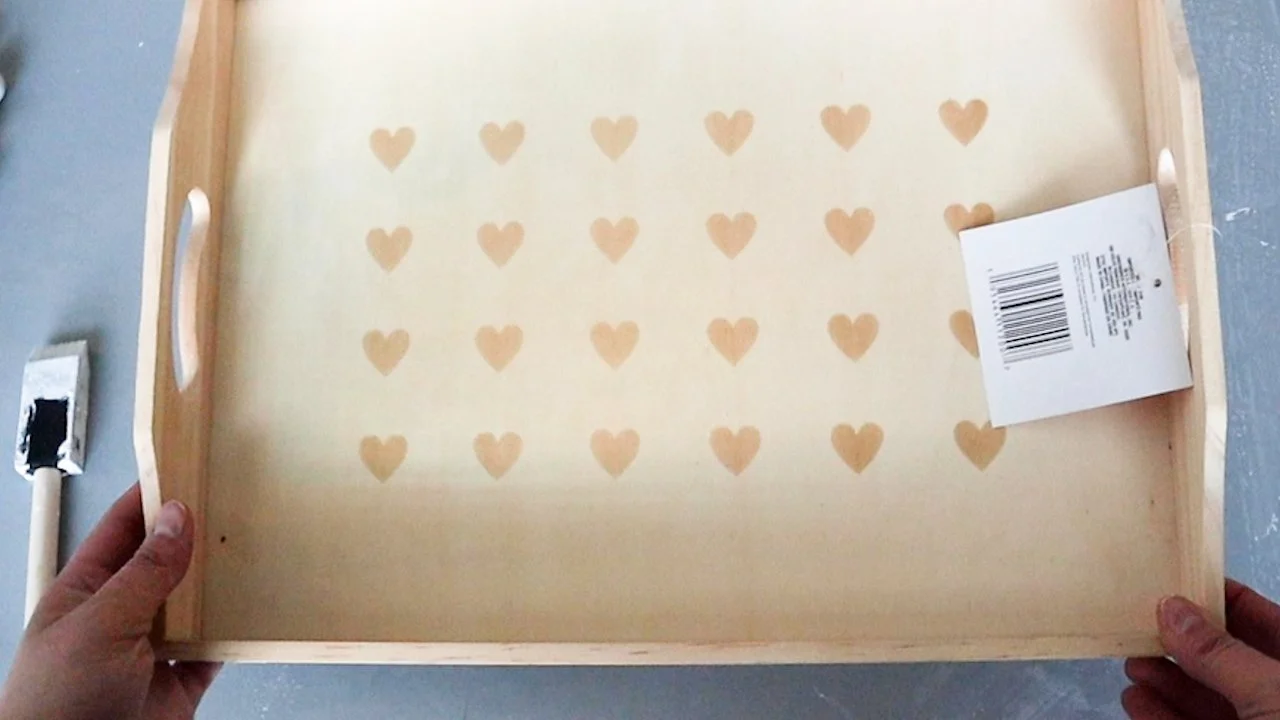
// valentines day heart tray
I knew I could make this Dollar Tree tray really cute and fun for Valentine's Day. I found it in the $3/$5 section in my Dollar Tree.
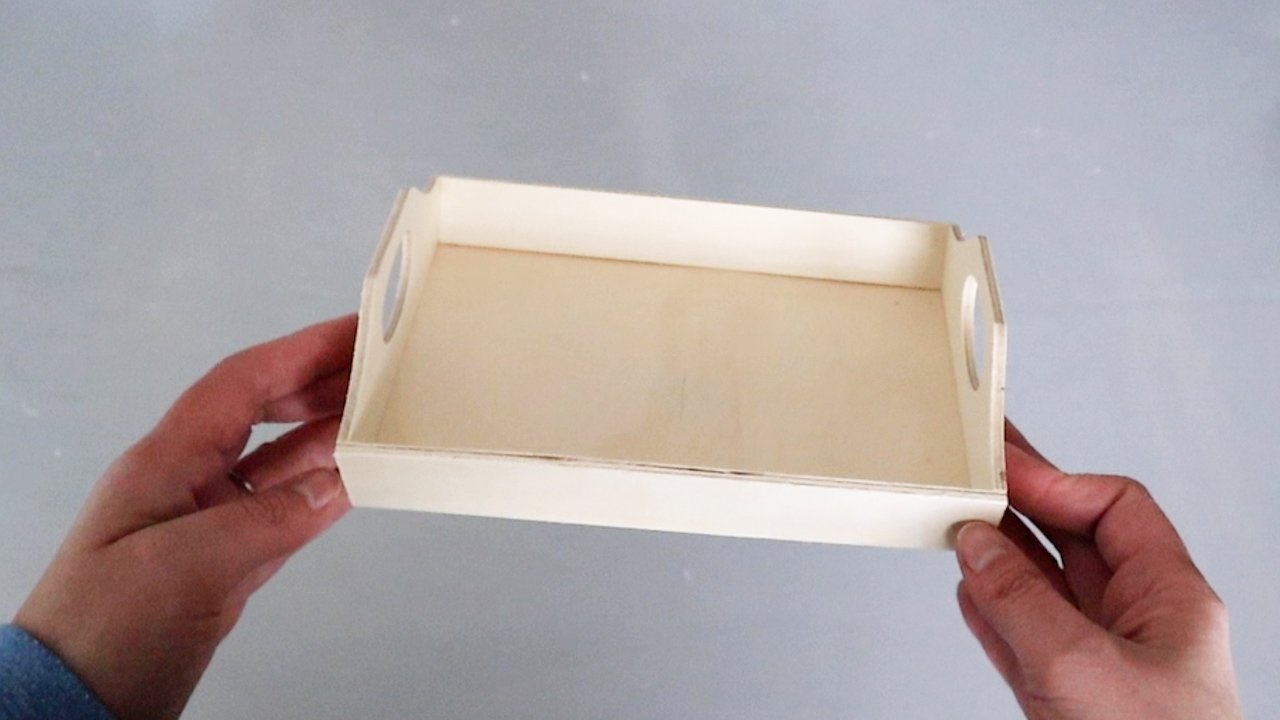
I want to give this a whitewash to where you'll still be able to see the hearts, but it won't look so yellowy with the wood.
Dollar Tree does have smaller trays like this and this is only one dollar, so if you wanted a smaller tray you could definitely do the same technique that I'm gonna do with the white washing on the smaller one.
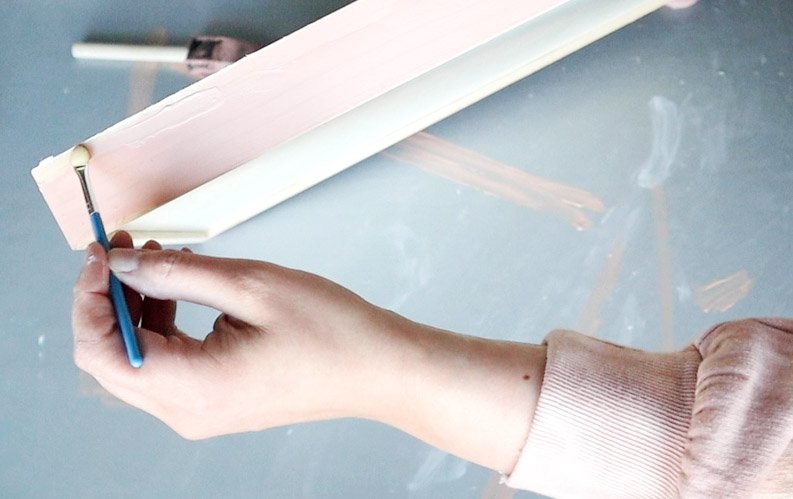
I'm using some white acrylic paint and I wet my brush to help distribute the paint a little bit more smoothly and it will also make it not so thick. Just that little bit of water on the brush really thins out the paint enough to where you can still see the heart design below.

I painted the sides pink and I'm using an eyeshadow brush to get into the small areas on the handles and along the edges.
I used a paint pen from DecoArt and I decided to trace just a few of those hearts. I liked the way some of them had the white washed look, but I wanted a few hearts to stand out.


To decorate the sides of our tray I tied red polka dot ribbon into bows and hot glued those onto the sides near the handles.

Here is the final look for the tray. I think it looks great with the beads and a few flowers on top!

// valentine bus
Another find in that five dollar section at Dollar Tree was this cute little bus. I just love it and its wheels actually roll around. I'm going to start by giving this a coat of white paint.
There were so many nooks and crannies on this thing, that I did end up taking it outside to finish with a coat of spray paint.

You could decorate this however you want, I'm just showing to give you one idea here. But you could do red and white or all neutrals. I wanted white and pink but the pink paint didn't come out as nice and thick as I wanted. The Mondo Llama paints from Target are hit or miss with their colors. Some of the colors go on nice and even, but other colors are kind of sketchy.

I thought how cute would it be to have a little love banner hanging on the side of the bus. I printed out some triangles with the words love and two little hearts (I ended up not having enough space for the hearts). This banner can be downloaded at the top of this post, if you fill out that form.

After cutting out the banner and gluing it to some felt, I cut them out and attached to a piece of yarn.

For the finishing touch, I decided to use that same paint pen to paint some hearts onto the wheels. I also added some letter stickers to the top and a bow on the back.

If you make this bus with your own style, I would love to see it! Make sure to tag me over on Instagram with your creation!


FTC: Not Sponsored. All opinions are always 100% honest and my own. Some links may be affiliate links. If you click a link and buy something, I receive a small commission for the sale. It doesn’t cost you anything extra and you are free to use the link or not as you choose. If you do use my links, I appreciate your support.
How about some Target Dollar Spot crafts and Dollar Tree coastal transformations. We’ll be putting together tiered tray miniatures to decorate our little coastal vignette.