
Winter Porch Decor After Christmas
Are you wondering how to decorate after the holidays? I have 3 porch decorations that are great after Christmas. Even better, these are all made with low cost materials!
Here is the form to fill out for the “Hello Winter” printable, which we use in the hoop wreath tutorial below:

And if you want to see all these crafts come together, I made a video tutorial for you right here.

// winter hoop wreath
We are going to start with this hoop I found at Michael’s. I wrapped some Dollar Tree twine around the hoop and used a little hot glue to secure it in place. I trimmed off any scraggly looking pieces of twine because sometimes it gets messy looking when you rough up that twine.

I found these florals at Michael’s in the Christmas sale they had going on and I think they look perfect for in between Winter and Spring. I attached a few sprigs around the edge of the wreath.

I found this sign at Dollar Tree and really just want that circle from the center, so I popped that off and will save the frame for another craft.

I painted the sign with a coat of white paint to prevent any show through from the piece of paper I will be putting on top. Then I measured the circle and created a little Winter sign that I cut out and attached with Super 77.


I’ve been using this Dollar Tree mop head as trim on some of my recent projects. It is such a nice bright white. I think it looks great as edging, so that’s what I’m doing here – just attaching it to the edges with some hot glue to finish off the look. Then I used some hot glue to attach it to the twine.

I was going back and forth on if I wanted to add a little burlap bow, but sometimes the most simple designs are the most elegant so I decided to leave the bow off.

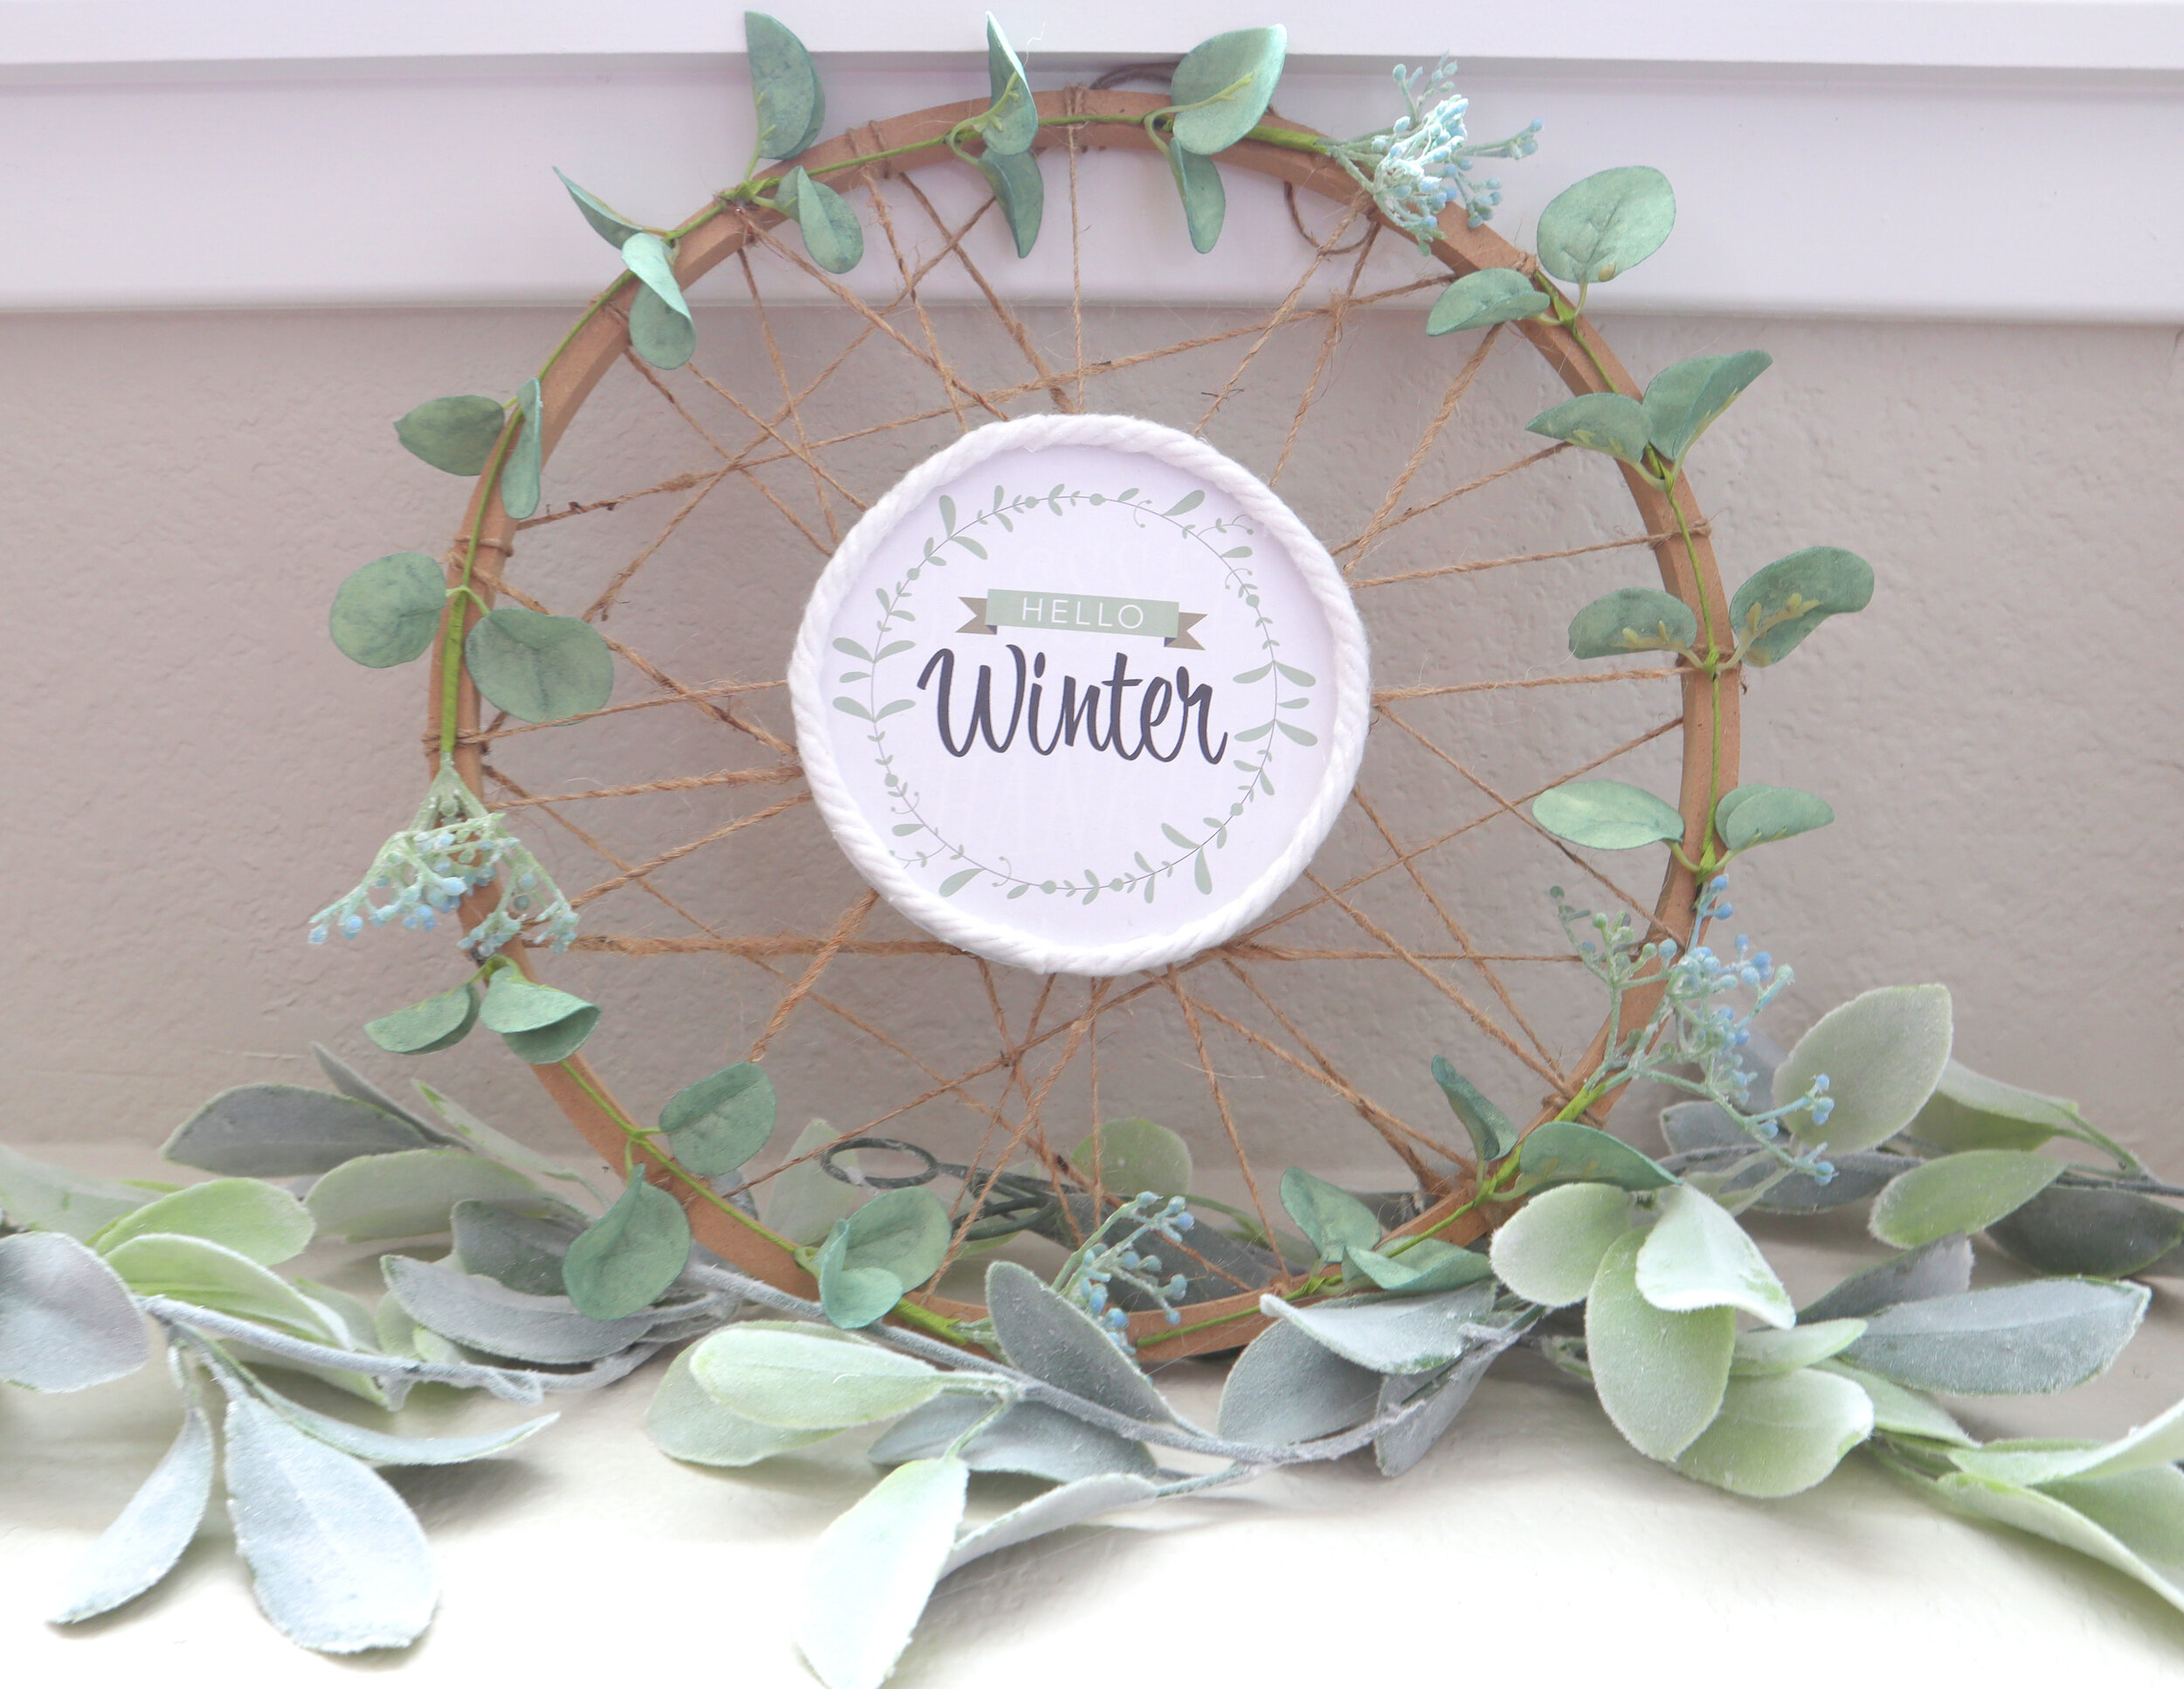
The most expensive item was the hoop, but I plan on reusing that. Here was the final cost for this cute winter sign.

// winter basket for front door
Next, we will be making a basket style front door hanging that we will fill with wintery florals.
I love finding creative ways to use the Dollar Tree foam core. We will be cutting out a few pieces of this foam core to use as the base for our basket. I hot glued the pieces together and don’t worry about the sides because we will be wrapping this all with a Dollar Tree hula skirt!

I just wrapped in sections and hot glued the hula skirt in place, not worrying too much about what the back looks like.

I added a little piece of foam on the inside to help keep all the florals in place. I just used what I had – a few feathers I found on Amazon and some florals from Michael’s and Dollar Tree.
Then I attached a burlap ribbon. I did get that ribbon at Dollar Tree.


I think this came out so full and beautiful and not very expensive, which I always like!

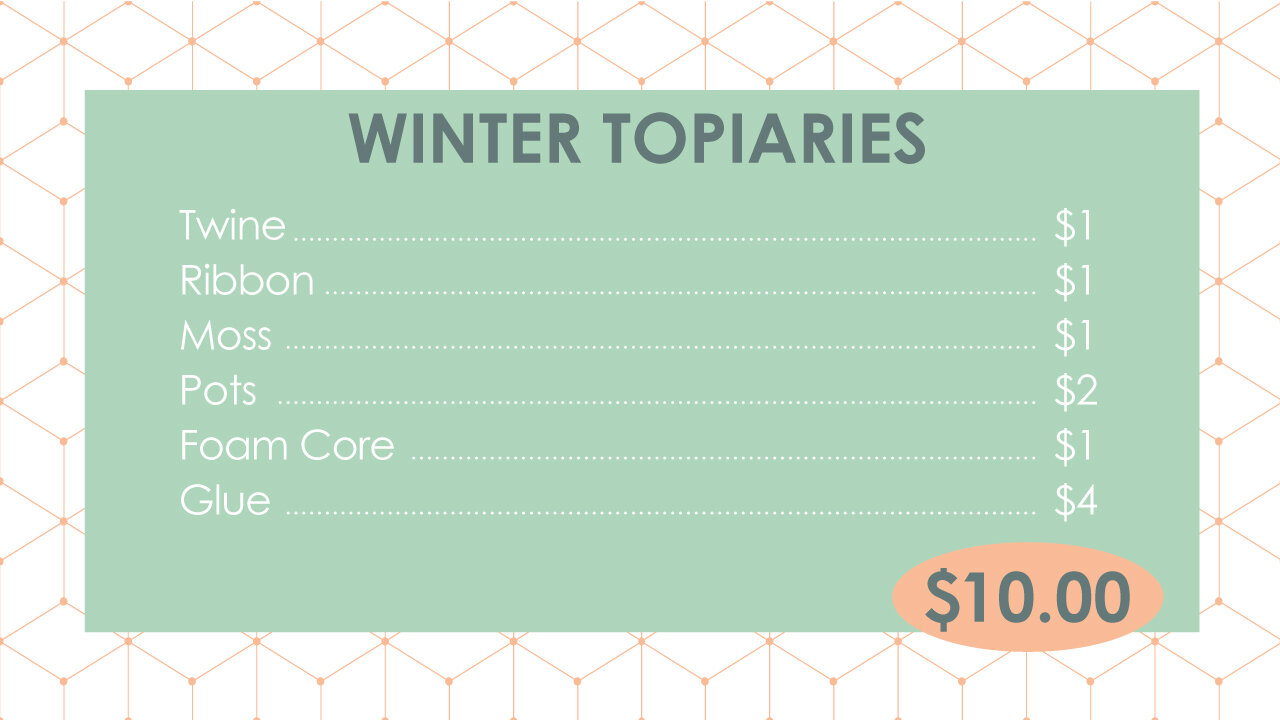
// winter porch topiaries
Next, we’re going to make a set of topiaries that will look great on the front porch during the winter. Plus, they will go nicely with either one of the door decorations we just made. I was excited to find these large plastic pots at Dollar Tree with a nice pattern on them.

I also found this nice wrapping paper at Dollar Tree, but I am going for whats in the center on these! This sturdy tube will be perfect for our topiaries.

I wrapped some twine around the part that would show above the top of the pot.

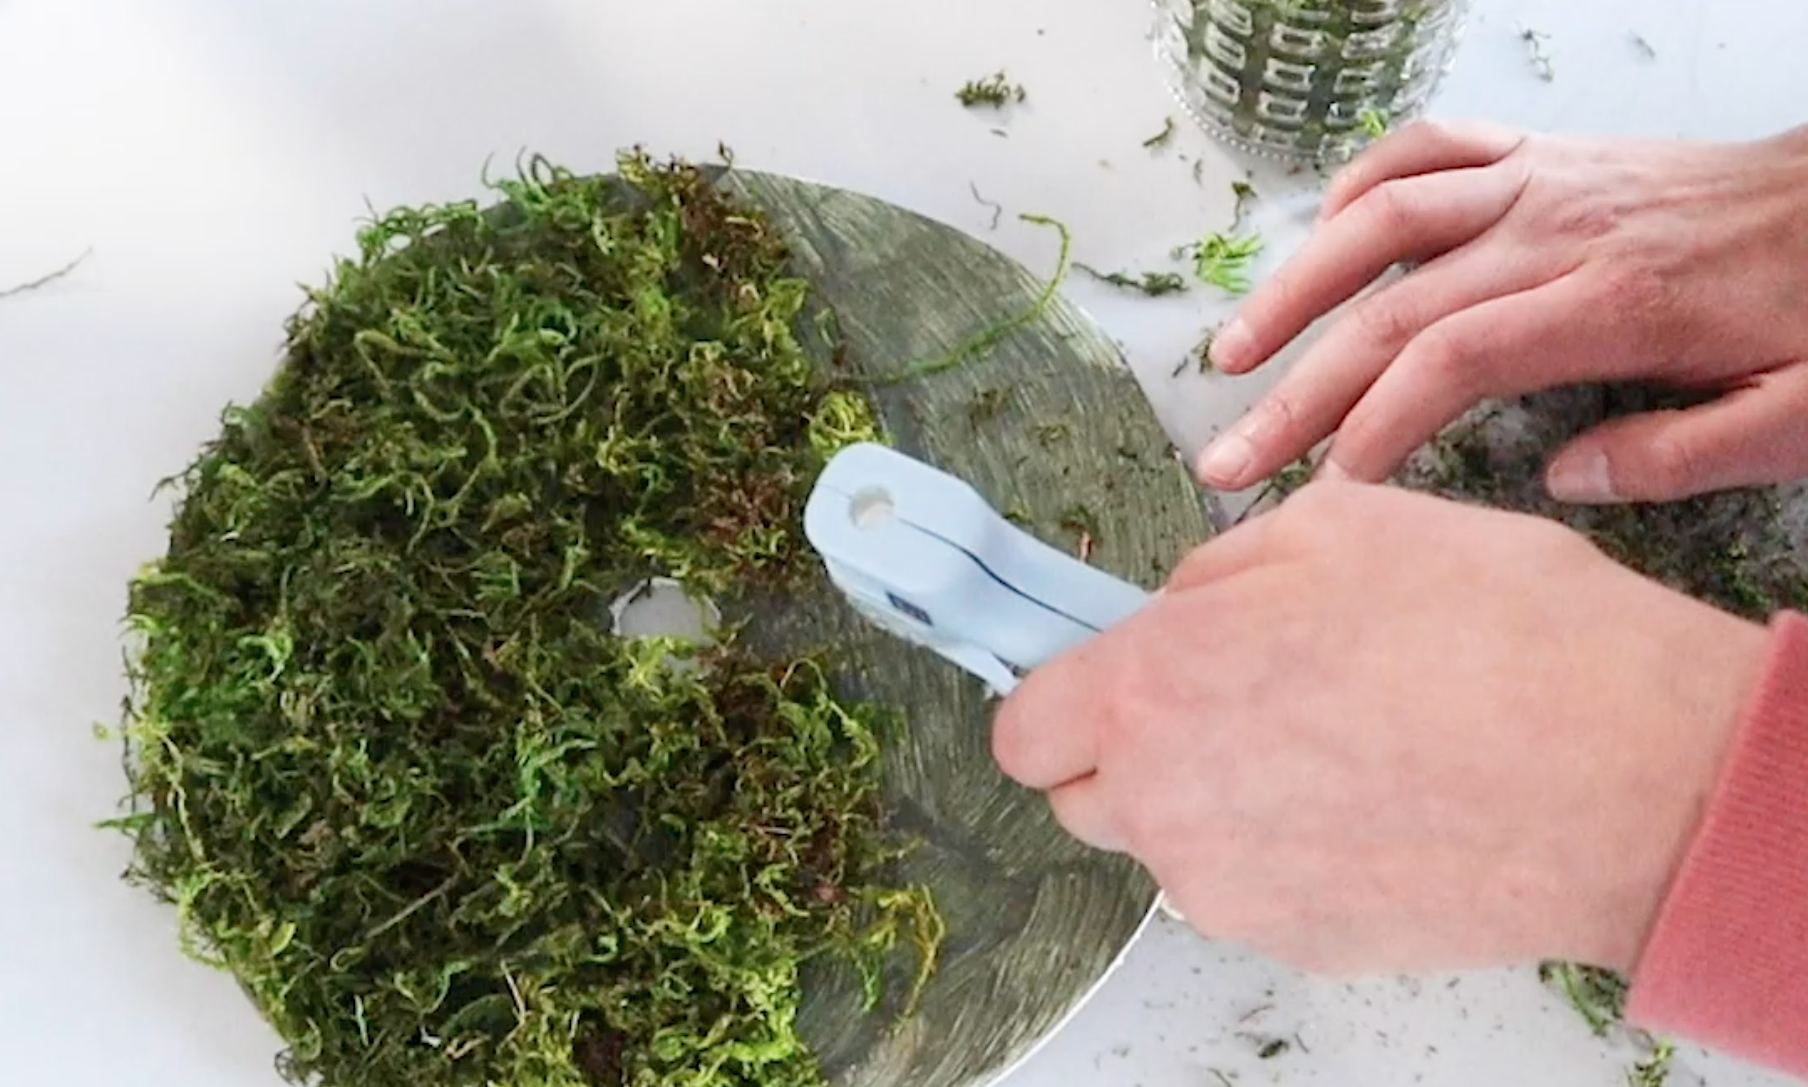
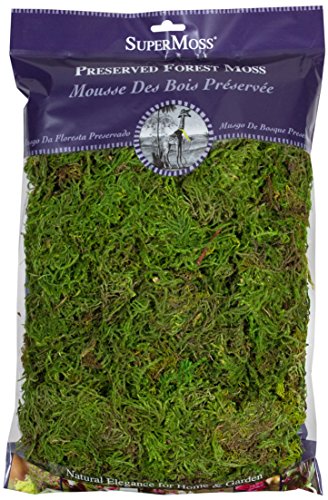
I cut some foam core out and gave it a rough coat of green paint and then placed some Dollar Tree moss on top with some hot glue.
Then I created a couple bows that will dress up these topiaries a bit more. I did find this ribbon at Dollar Tree.

Ok, now for the messy part. I blew up a balloon and took some twine and glue and wrapped it around the balloon. I used an indoor/outdoor waterproof glue.
I got my fingers wet with the glue and kind of smeared it on the twine before I wrapped it around the balloon. I kept going until I was happy with the amount of twine I had wrapped.

After letting these dry overnight, I pushed the balloon in to loosen and detach it a bit from any stuck on pieces of twine. Then I popped the balloon. There were some pieces of glue stuck on the edges, so I went around and peeled those off.

I decided to add a little edging to the top of the painted pot and then assembled everything together.

I post regularly on YouTube, so make sure to “Subscribe” to me over there!
SUBSCRIBE TO ARTSY CUPCAKE on YOUTUBE


FTC: Not Sponsored. All opinions are always 100% honest and my own. Some links may be affiliate links. If you click a link and buy something, I receive a small commission for the sale. It doesn’t cost you anything extra and you are free to use the link or not as you choose. If you do use my links, I appreciate your support.
How about some Target Dollar Spot crafts and Dollar Tree coastal transformations. We’ll be putting together tiered tray miniatures to decorate our little coastal vignette.