
Neutral Colored Fall DIYs | Using What Could Have Been Trash
You may think twice before throwing out an old food container after seeing these 3 crafts made with old trash. Yes, trash that I was about to throw out in the garbage, made over into something beautiful. Prepare to be amazed with how classy these come out, thanks to their neutral color palette.
I have a video tutorial right here, if you want to click the thumbnail below. And don’t forget to “Subscribe” while you’re on YouTube, because I post new videos every week.

// How to Make a Textured Candle Holder
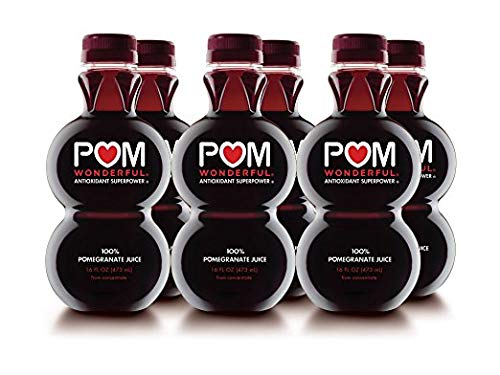
Do you guys drink pomegranate juice? If you haven’t and you like cranberry juice, this is really similar and is filled with lots of antioxidants. I have two empty bottles here that I washed and let air dry. We’ll be making a textured candle holder, which will work year round, but I’ll also show you how to dress it up for Fall.
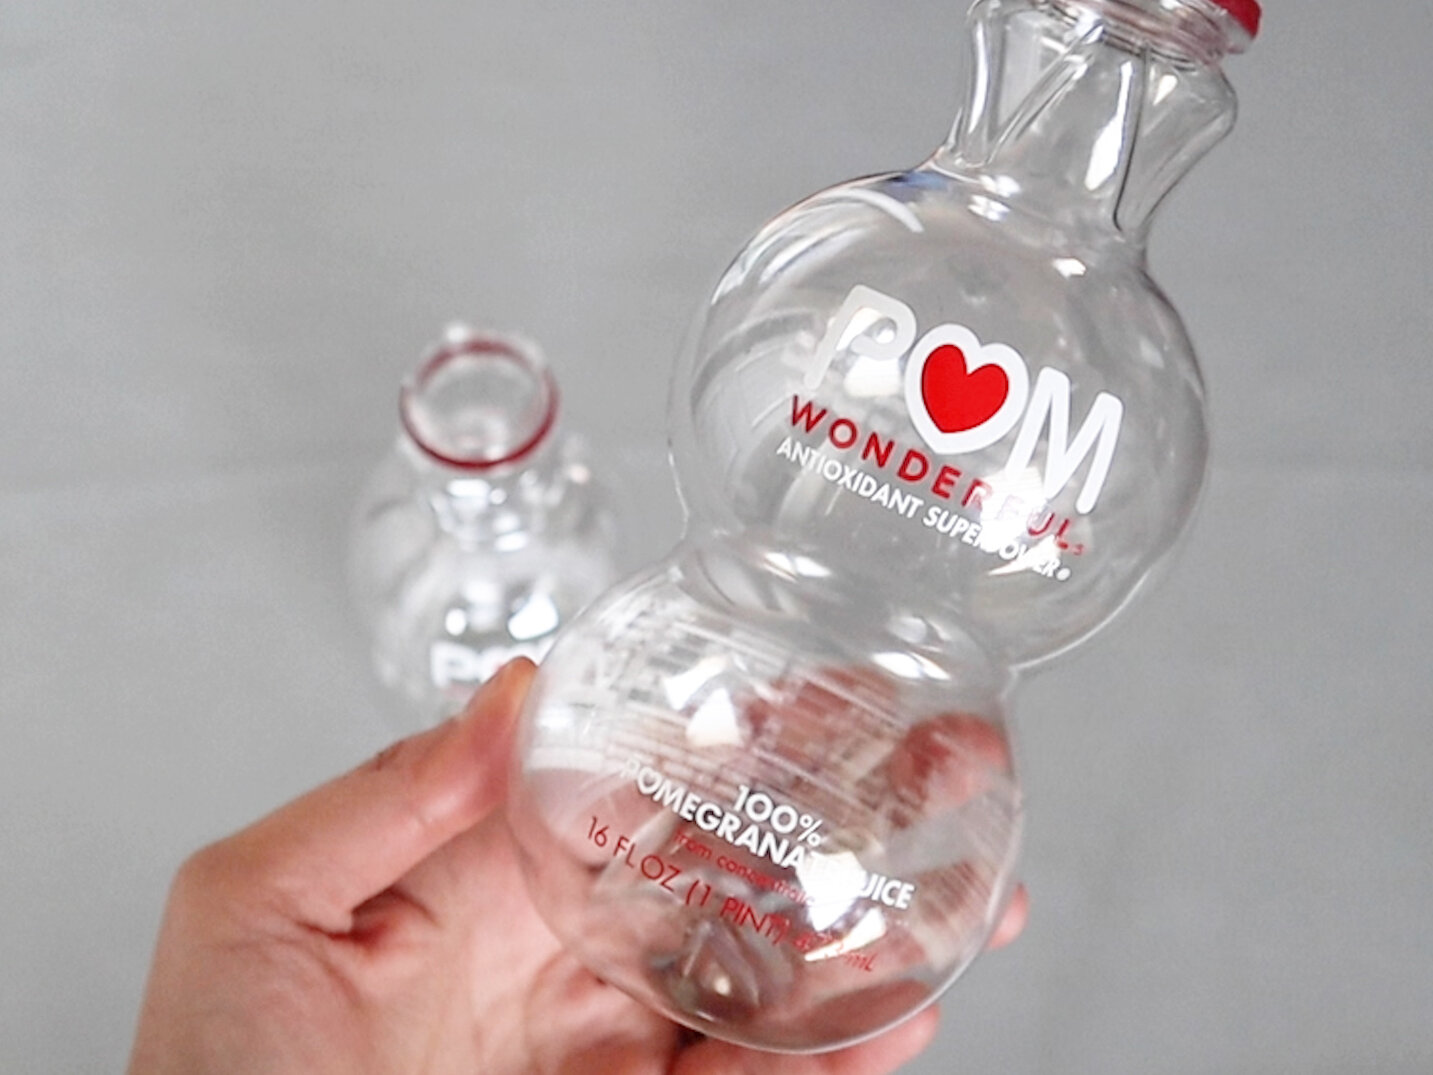
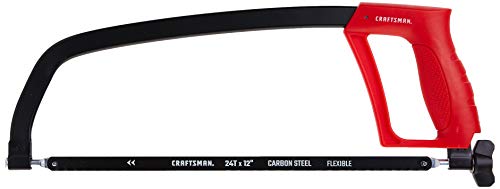
First, we’ll saw off the tops of these bottles.

Sand the edges and make sure they are cut straight across, so the candle holder will sit up straight.

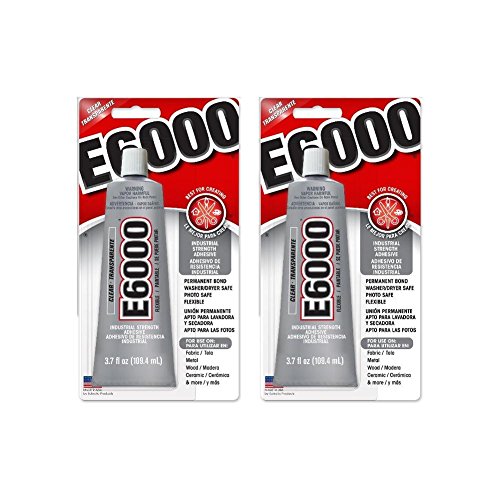
I used hot glue because I’m all out of E6000. We’re just attaching the 2 pieces together.
To make sure they were straight, I have my cutting mat with straight lines on it to line it up perfectly straight.

You’ll also want to attach a dish or tray or even a simple piece of wood to the top to hold the candle. I have this porcelain dish, which I found in the Target dollar spot. It was originally plain white, but I’ve painted it several times now for various projects. And it’s about to get painted again!
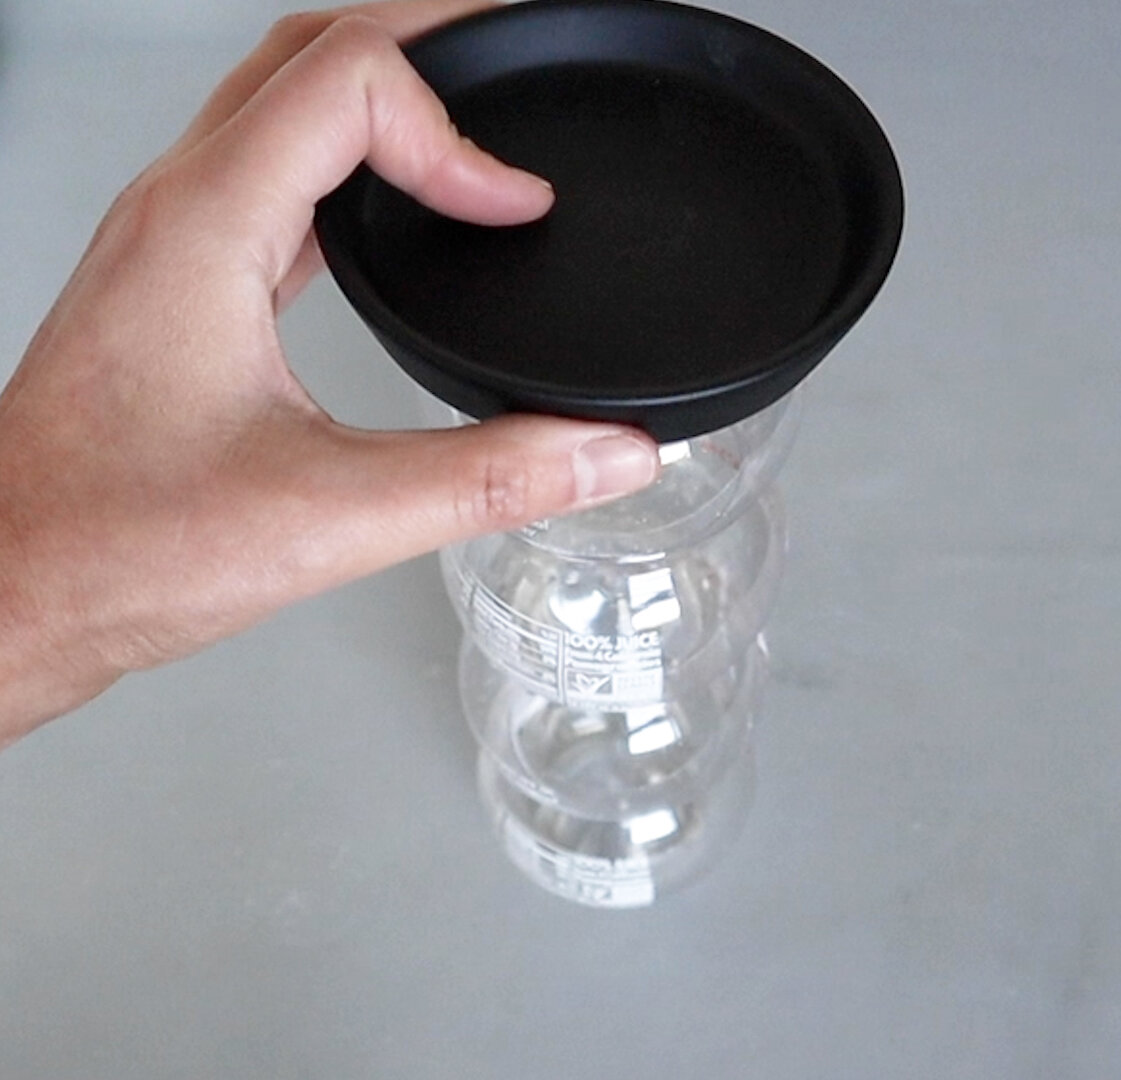
Either in just the bottom, or in both plastic bottles, add some pebbles or sand to weigh it down, so it doesn’t get top heavy and topple over once you add a candle.

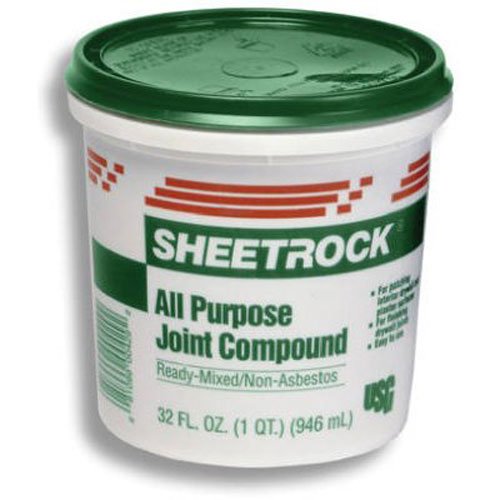
You’ll want to remove any jewelry for the next part because it’s a bit messy. You’ll need joint compound, which you can get for just a few dollars in this huge tub. This is for smoothing panel joints, but it’s also perfect for creating texture on home decor because of the consistency and it can be sanded to a smooth finish too.

I left the bottom untouched so it will sit nice and flat, but for all the sides I dabbed some of this joint compound on. You can create as much or as little texture as you want. I’m smoothing it on, but creating a few little peaks by tapping with my fingers.
When you get to the tray on top, try to keep the inside somewhat smooth, so that when you place the candle it won’t be lopsided. After this dries for a few hours, then you can paint it with your color of choice.
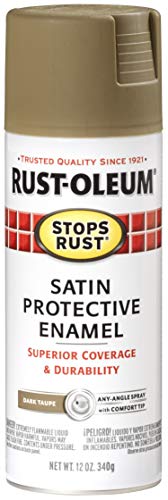
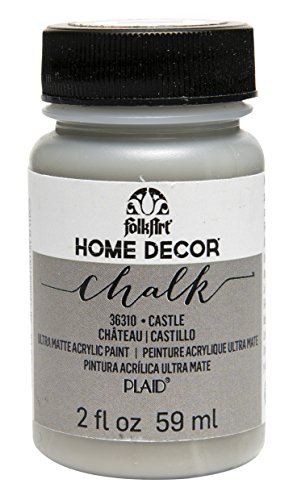
I did taupe paint to match my fireplace where I will be displaying this. But I feel it looks a little flat even with that texture, so I’m going to use a little bit of a lighter paint dry brushed on.

To make this Fall themed, I added a few sprigs of greenery, but you could definitely accent this with any decor to make it work any time of year.
You can see on the left the stone on the fireplace and how well it goes with my candle holder.

// woven fall sign
For this next DIY, we’re going to make a wreath out of paper bags and this Dollar Tree wreath frame.

First we’ll want to wrap this frame with a soft fabric. I’m going to try something new and use these microfiber cloths from Dollar Tree as fabric. Hopefully, we’ll have enough fabric with these 4 cloths.

We’ll cut this into strips and wrap this around the wire frame. Glue any seams on the back, so the front looks nice and pretty.
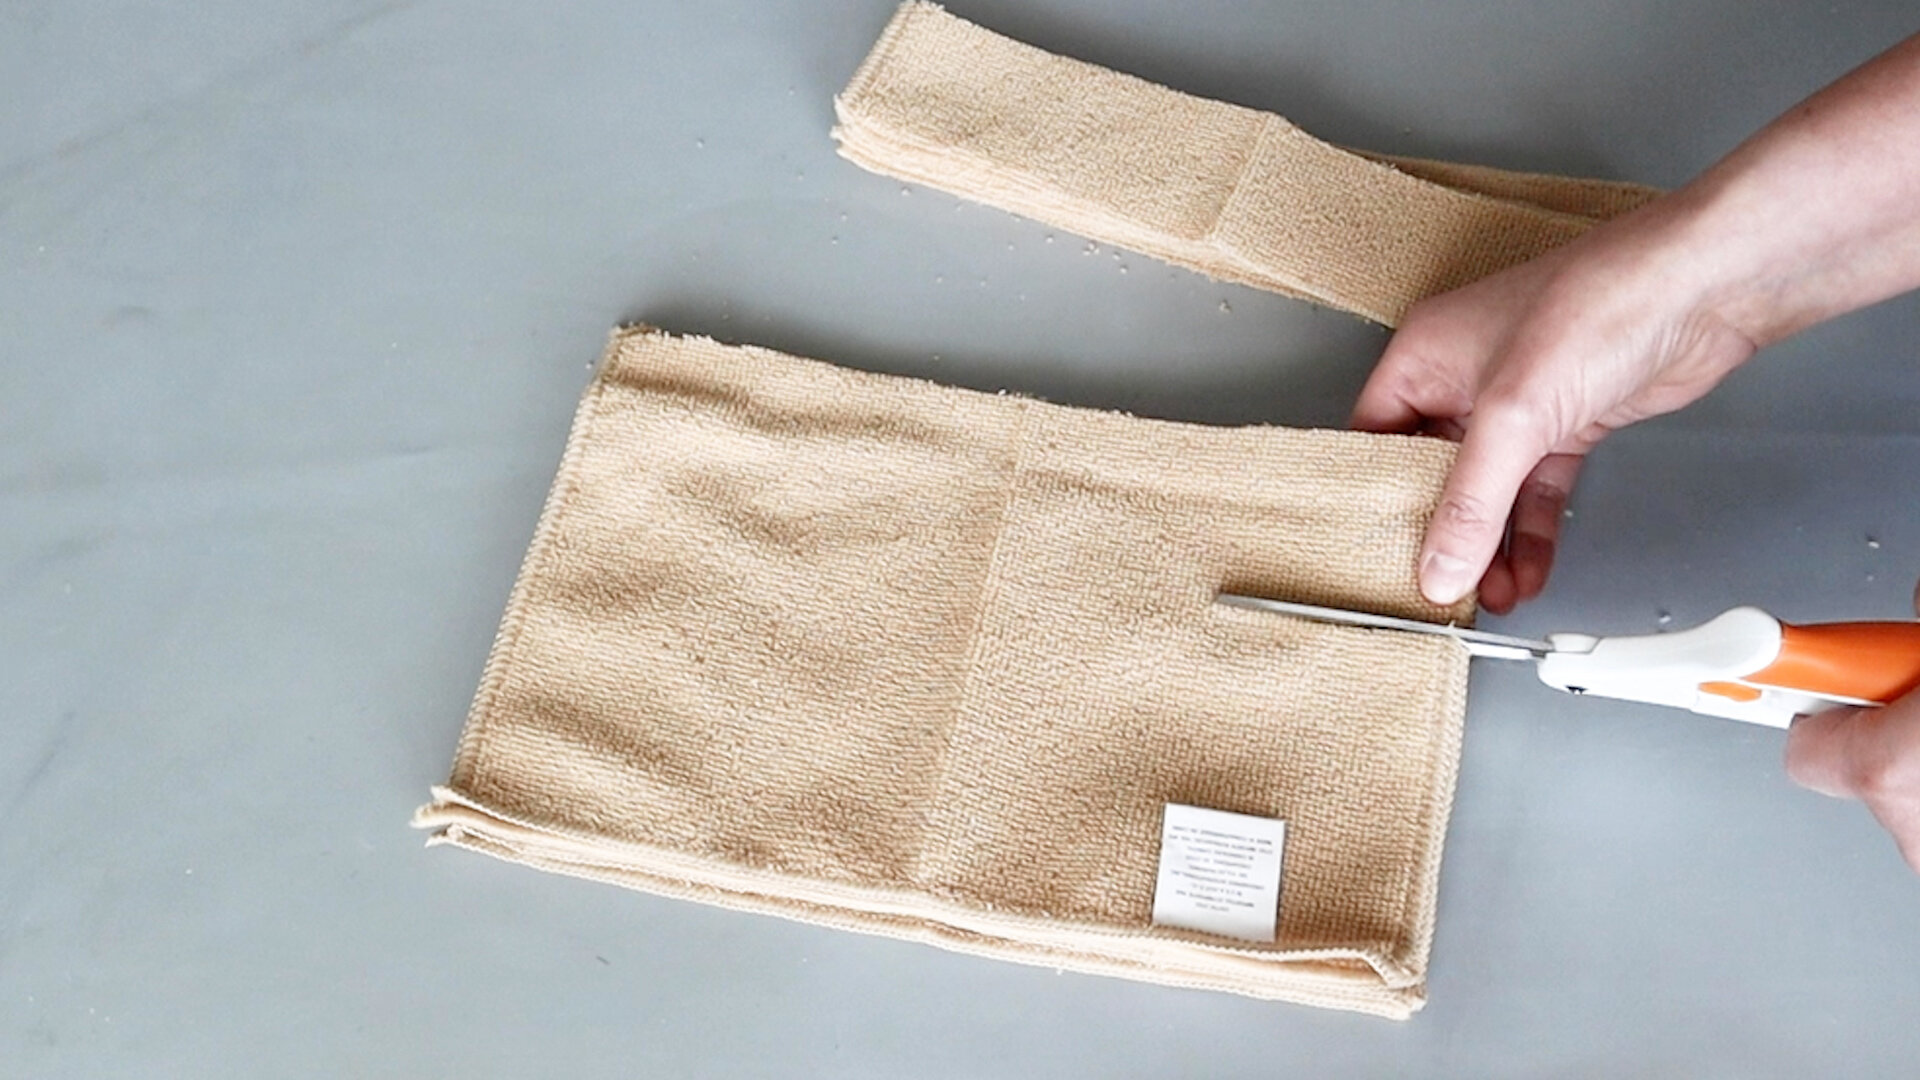

One pack of those microfiber cloths ended up being perfect. I even had a few strips leftover.

Now to dress this wreath frame up even more we’re going to add in our trash item.
I got these paper bags with my Amazon Prime food delivery. Whole Foods has free delivery with Amazon Prime, so I like to take advantage of that, which is why I have so many Amazon paper bags!

I had made a bunch of these paper bag strips for a previous craft and you guys really seemed to like that tutorial, so I’m going to use them again, but in a slightly different way.
Start by cutting your paper bag into strips about 3” wide. Then score and fold them into 1” strips and add a bit of glue to keep them sealed closed.

Next we’ll glue these strips onto the back of our wreath frame.
After these strips finish drying, you can start weaving the other strips through and secure them into place.
And when you’re weaving, you may find a few that didn’t stick so well, so this is the time to secure everything in place as best you can.

I had gotten this pumpkin off another Dollar Tree sign and painted it white. I’m going to decorate this with some items you can also find at Dollar Tree.

Then for the finishing touches, I think some black and white flowers will compliment the beige and white nicely.
I’m going to add these at the bottom, along with some greenery and a ribbon to hang it.


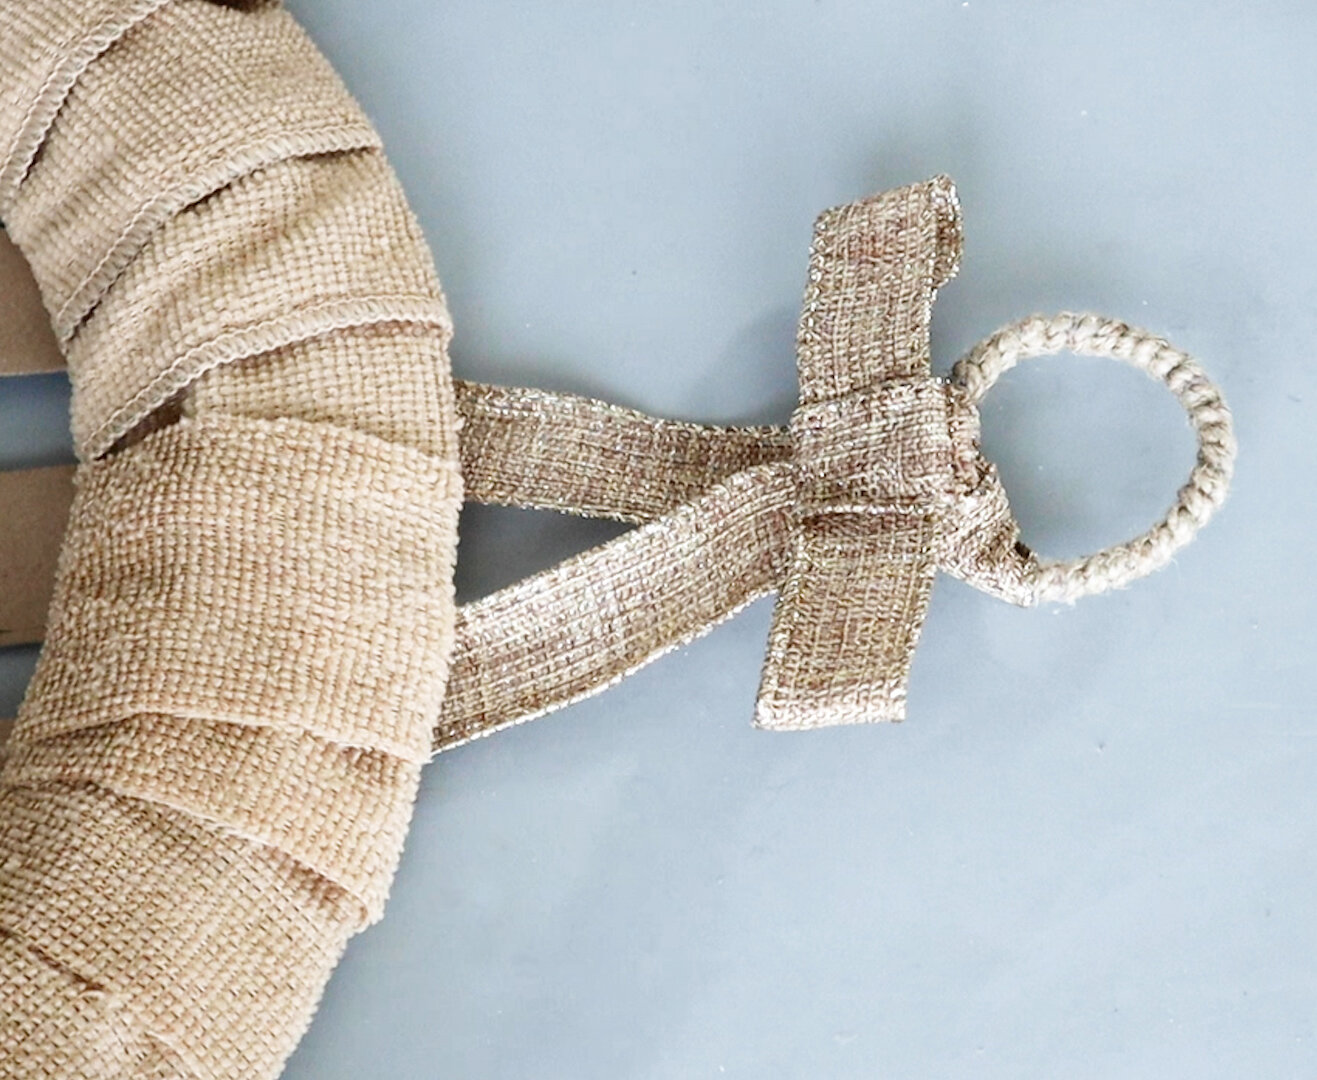
And here is how the final Fall wreath came out. I love it! It definitely says “Fall”, but uses a neutral color palette, so it doesn’t look like every other Fall wreath out there. Plus, it was so cheap to make!

// fall sign made from an old box
Have you ever purchased something and it came in such a nice box that you didn’t want to throw it away. This is the perfect project for those instances.
I got a cheap pair of sunglasses off of Amazon. I needed a pair for when I exercise outside, because mine were always slipping off my nose.

The box those sunglasses came in was sturdy and has a nice texture on it, so I felt like I could use it for something else. I’m going to paint this and it’s going to be like a little basket for some florals on our Fall sign.
The foil embossed logo will be on the bottom, so no worries about that showing through the paint.

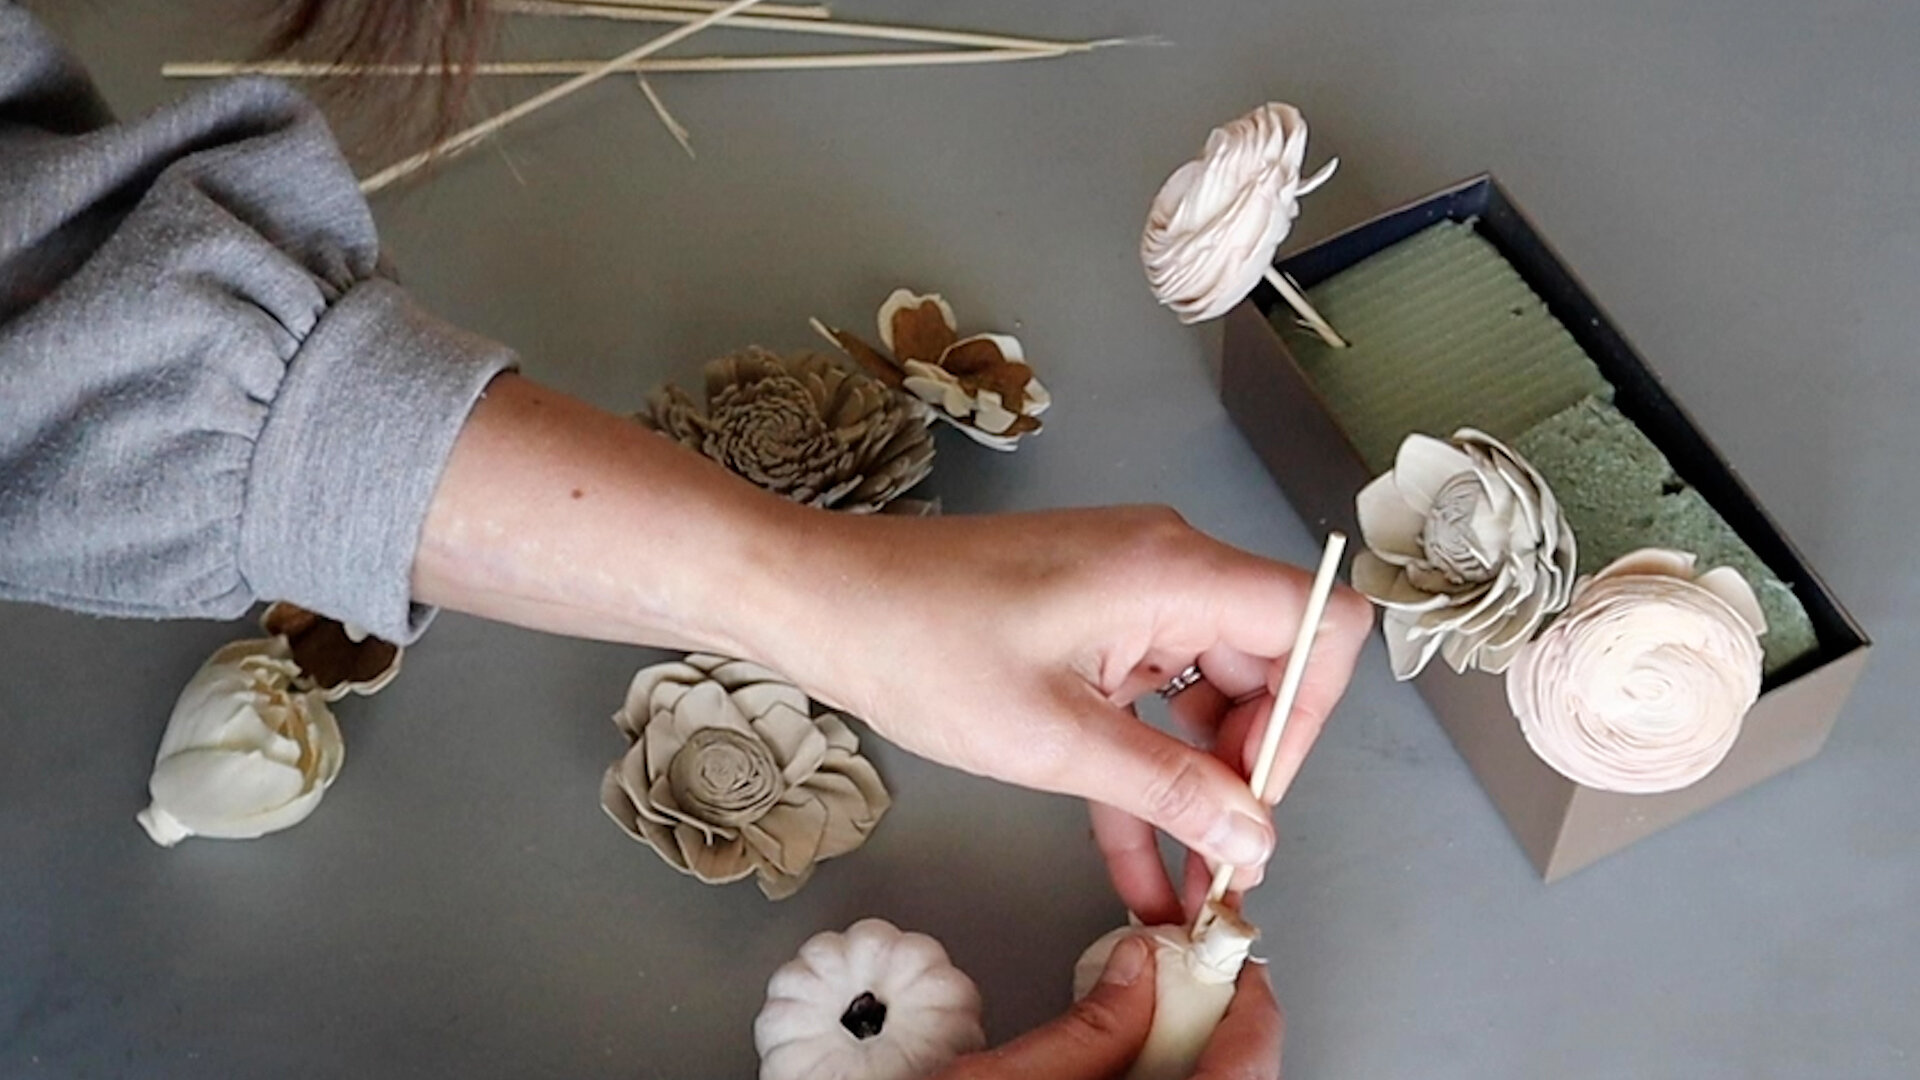
After painting the box a taupe color, I used some thin floral wire to slice a few pieces of floral foam.

I’ve been loving these Sola wood flowers. We’ll create a stem for these so we can use them in the floral foam for our little flower box.
I have these bamboo skewers from Dollar Tree and they have a pointed end that you can stick right into the foamy section at the bottom of the Sola flowers. I did paint the bamboo sticks white, so they would blend in with the white background of the sign better, just in case any of the stems happen to show.

This wooden sign came from the dollar spot at Target. It was only 3 dollars and has 2 sides, so you can be sure you’ll be seeing the other side in a future DIY. This has a really nice wood texture on both sides, so I think I will leave this as is.


Now it’s just a matter of assembling everything together with some finishing touches to make something beautiful.

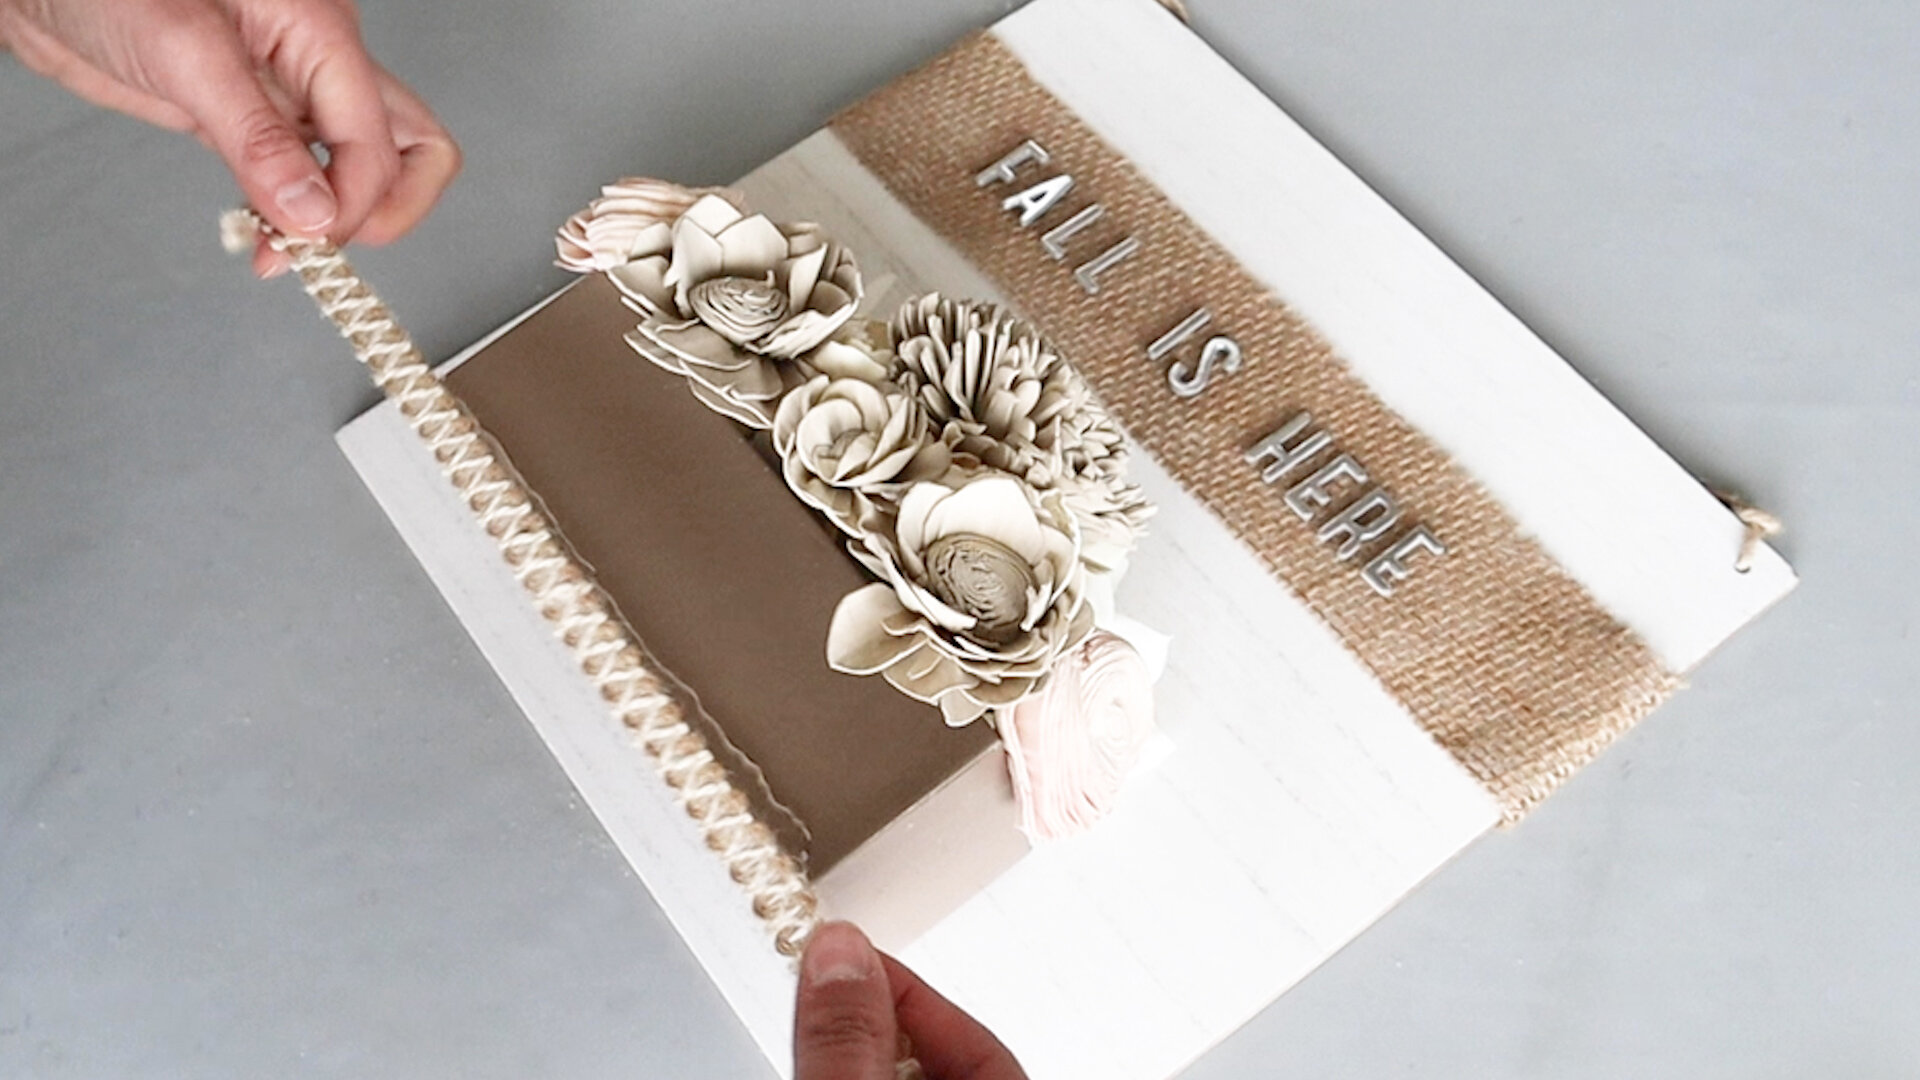
And here is how the final sign came out. I think it looks so good, considering we used a box that would have been in the trash can!

Don’t forget to subscribe, so you can get updated on new posts. Thanks for reading and I hope you have a creative day!
// get creative inspiration to your inbox
I never spam and updates are usually once a month.


FTC: Not Sponsored. All opinions are always 100% honest and my own. Some links may be affiliate links. If you click a link and buy something, I receive a small commission for the sale. It doesn’t cost you anything extra and you are free to use the link or not as you choose. If you do use my links, I appreciate your support.
How about some Target Dollar Spot crafts and Dollar Tree coastal transformations. We’ll be putting together tiered tray miniatures to decorate our little coastal vignette.