
3 Vintage Thanksgiving Crafts for Adults
Hello to all my Artsy friends! I have some new decorating ideas for Autumn. These 3 Dollar Tree DIYs are made from wood and have a vintage Thanksgiving theme. I hope you like this rustic farmhouse Fall decor! If you want to see the video tutorial, click below.
And if you’re here for the FREE PRINTABLES, scroll down to the vintage blocks tutorial to download those.

1 // DIY Vintage House
Let’s get started with the first project. Since we are going for a vintage Thanksgiving theme, I am making a little house that looks like it’s from the 1800’s.
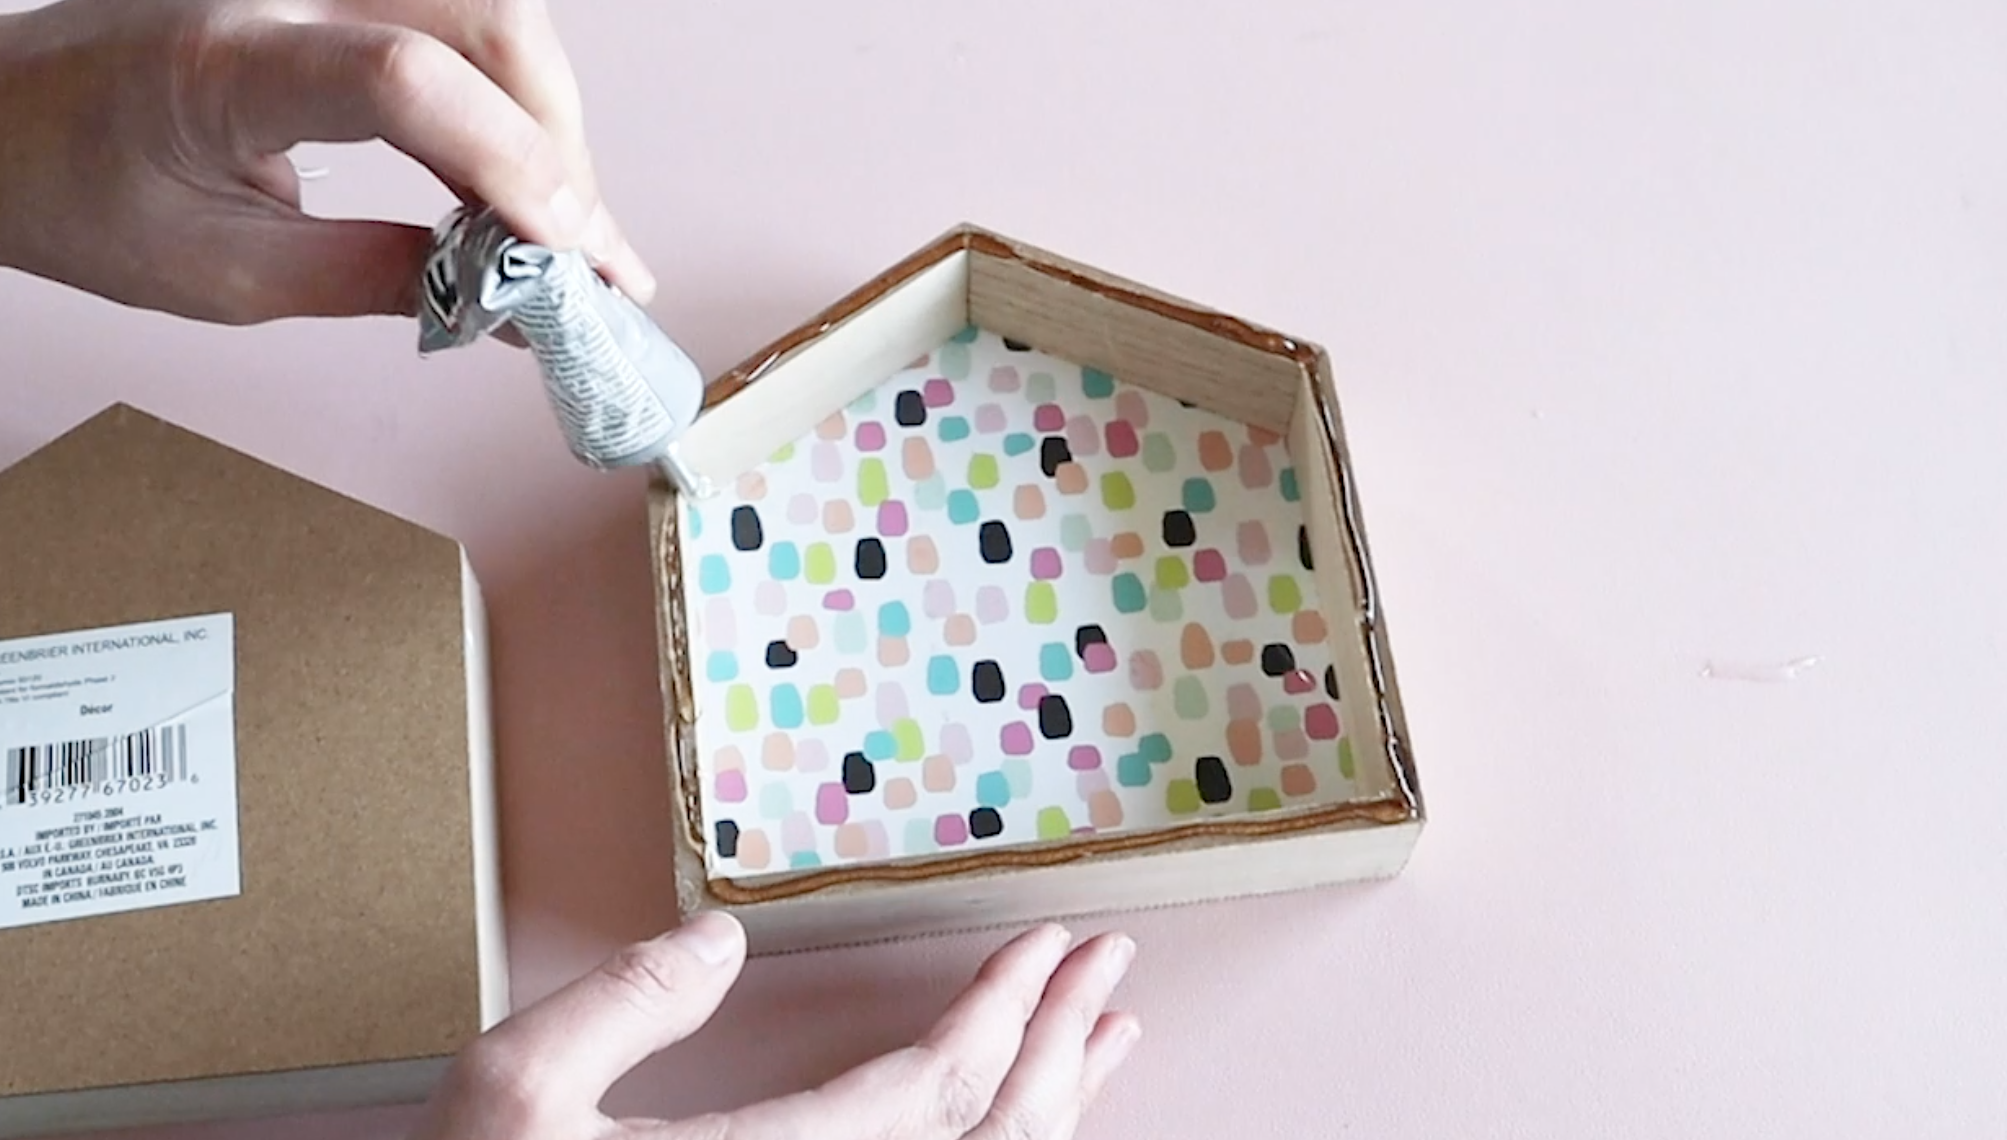
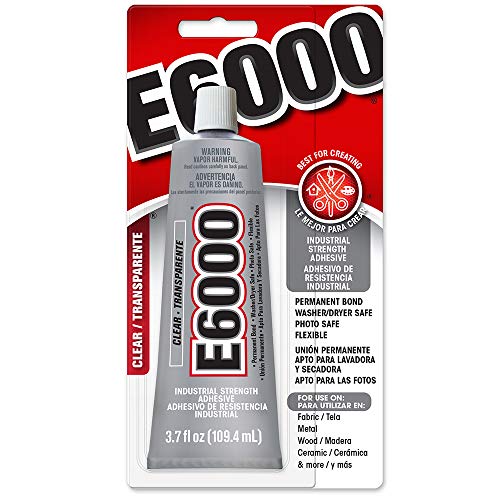
I’m starting with a base with two wooden signs I found at Dollar Tree. And I’m using E6000 to attach the pieces together. This glue is really good for crafting and holds wood pieces together really well.


Ok, small rant! One of pet peeves is price tag stickers that are on there SO good they won’t come off. So, instead of fiddling with scraping those off, I just used a piece of sandpaper to grind the sticker down. We are going to do some paint over top, so this should be good enough.

I want this to look like a really old house where the paint is peeling, so it will match the rest of our vintage crafts. I also want it to have the feeling that it was something passed down for generations.

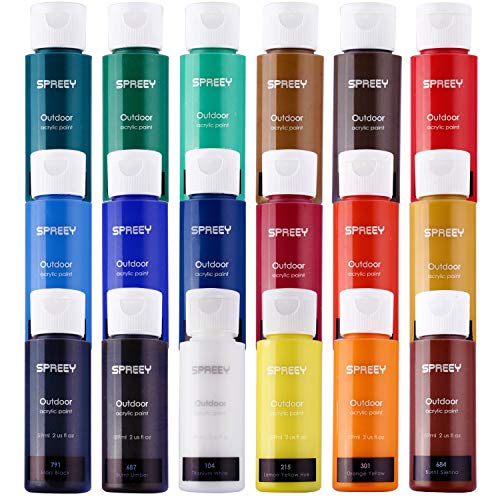
The base we are painting green to look like grass. I used a couple shades of green to help it not look so flat.

After attaching the house to the base with some E6000, this is feeling like a really sturdy centerpiece!
I have these super sticky letters, but gold doesn’t really go with our rustic theme so I gave them a coat of white paint. Once those were dry, I stuck them onto the front of the base.

Isn’t this so cute? I love this for a Thanksgiving centerpiece with little pumpkins around it. Or you could put it on the fireplace mantle. It is a really versatile piece of Thanksgiving decor!

2 // Thanksgiving Sign with Blocks
Next, we will be making some vintage blocks. I put these printables together and they have a super old school vibe to them. I ended up only using three because I liked the balance that 3 blocks had together. But I have all 4 images in the printable, which you can download below.


You can find these wooden cubes at Dollar Tree. They were unfinished wood when I bought them, but I already painted them for my Fall tablescape. The black and white is not what I’m going for with these vintage blocks, so we’ll be painting these a brown wood color.


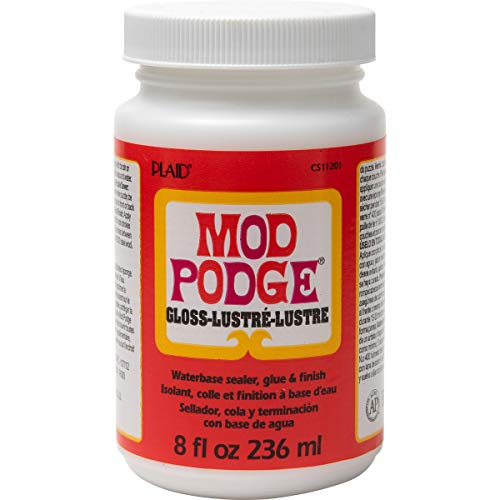
I used some Mod Podge to attach the printouts and after that dried I used a little more brown paint to blend the edges and give the paper some rough texture. We want these to look old, so they look like they’ve been around a long time.

All that is left to do is bring these blocks together somehow. I think I will use some burlap ribbon to do that.
I curled the edges of the ribbon and created a bow with hot glue and attached it to the top of the blocks.

I love how this came out. It is small enough to add a little Thanksgiving cheer anywhere in your home and has that sweet vintage look to it.

3 // Pilgrim and Turkey Sign
Whenever I think of old decorations my Grandparents had, a lot of them were ceramic or wood and lasted a long time, unlike the plastic stuff that’s out there today.
I had found these signs at Dollar Tree and I thought we could transform them into some cute Thanksgiving decor.

I started by removing the frame hook because this will be the front of our project. The smaller sign didn’t have a hook, so we’re good there.

I used a little wood filler on the holes and then sanded that down along with those pesky price tag stickers.


I had done a sketch of what I want these blocks to look like. A little pilgrim and a turkey. I may change this a bit once I start painting, but I wanted to get a rough sketch down so I had a direction to go in.
It’s always a good idea to do a sketch before starting a project, especially when painting something with some detail.

After using a pencil to draw the outlines onto the wood, we are ready to get painting.

I finished the pilgrim with a bow made from black raffia ribbon.

I think these came out so cute! Definitely a fun piece that will last a long time thanks to the wooden base.

If you liked these Dollar Tree DIYs, I have a whole playlist filled with more Fall DIYs and treats on my YouTube channel. Check out the link below!


FTC: Not Sponsored. All opinions are always 100% honest and my own. Some links may be affiliate links. If you click a link and buy something, I receive a small commission for the sale. It doesn’t cost you anything extra and you are free to use the link or not as you choose. If you do use my links, I appreciate your support.
How about some Target Dollar Spot crafts and Dollar Tree coastal transformations. We’ll be putting together tiered tray miniatures to decorate our little coastal vignette.