
Freaky Chic-y Halloween DIY Decorations | Dollar Tree DIY
Hello to all my artsy friends! I have some freaky chic-y Dollar Tree DIYs for you. These are made with Dollar Tree items, so they’re super cheap and so fun because they have that shabby chic look with a spooky spin. And keep reading to the end, because I have a fun and easy Halloween treat for you!
There are FREE PRINTABLES for these projects, so scroll down to download those. And there is a video tutorial right here, so you can see how to put these Halloween crafts together. If you haven’t already, make sure to check out my YouTube channel, because I add new DIYs and crafts every week.
subscribe to me here

// Halloween Dollar Tree Wreath
Let’s get started a creepy wreath. I found all my supplies at Dollar Tree.
The ends of the feathery boa have loops, so I used some hot glue to secure the boa to the floral ring.

Next, I took the second box and did the same thing as I had done with the first. If you wanted the boas to go all the way around, a third boa would be perfect. But I have different plans for this wreath.
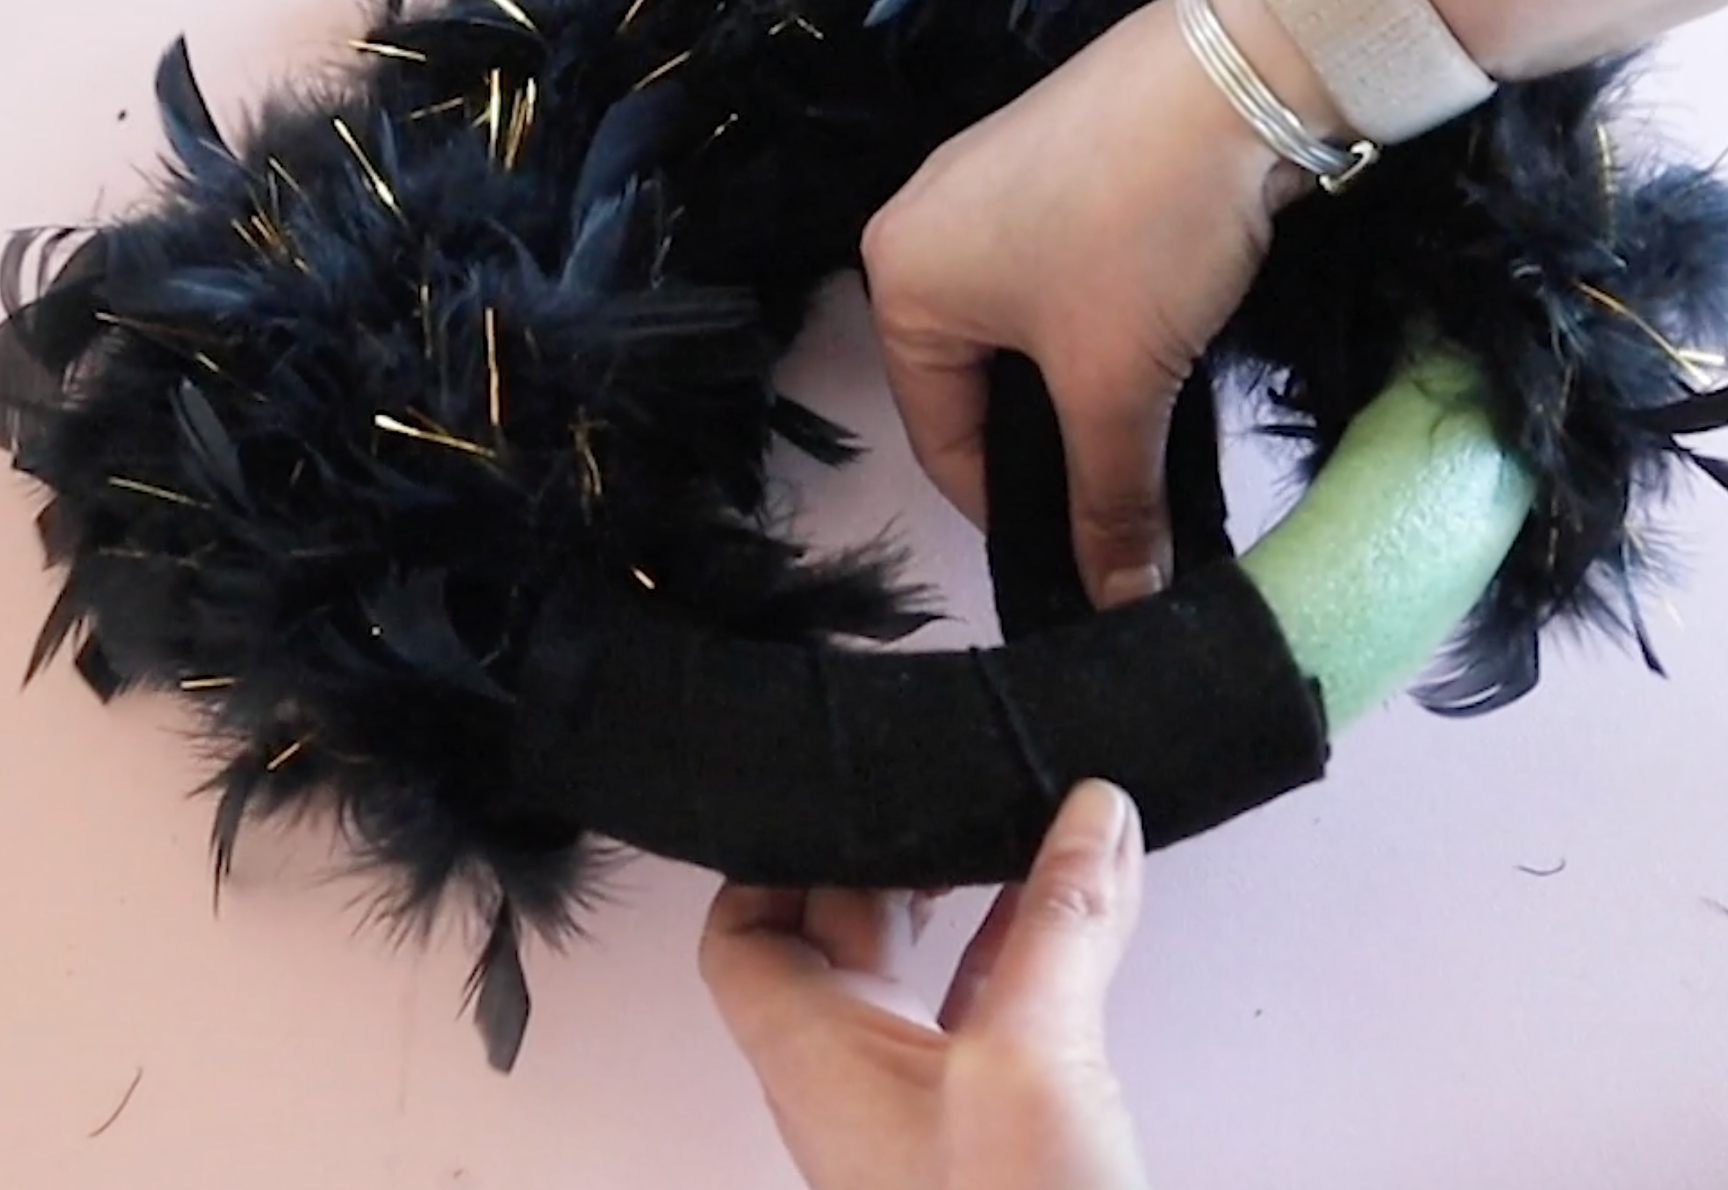
I took the black felt and trimmed it into strips. Then I wrapped and hot glued this into the empty spot on that ring.
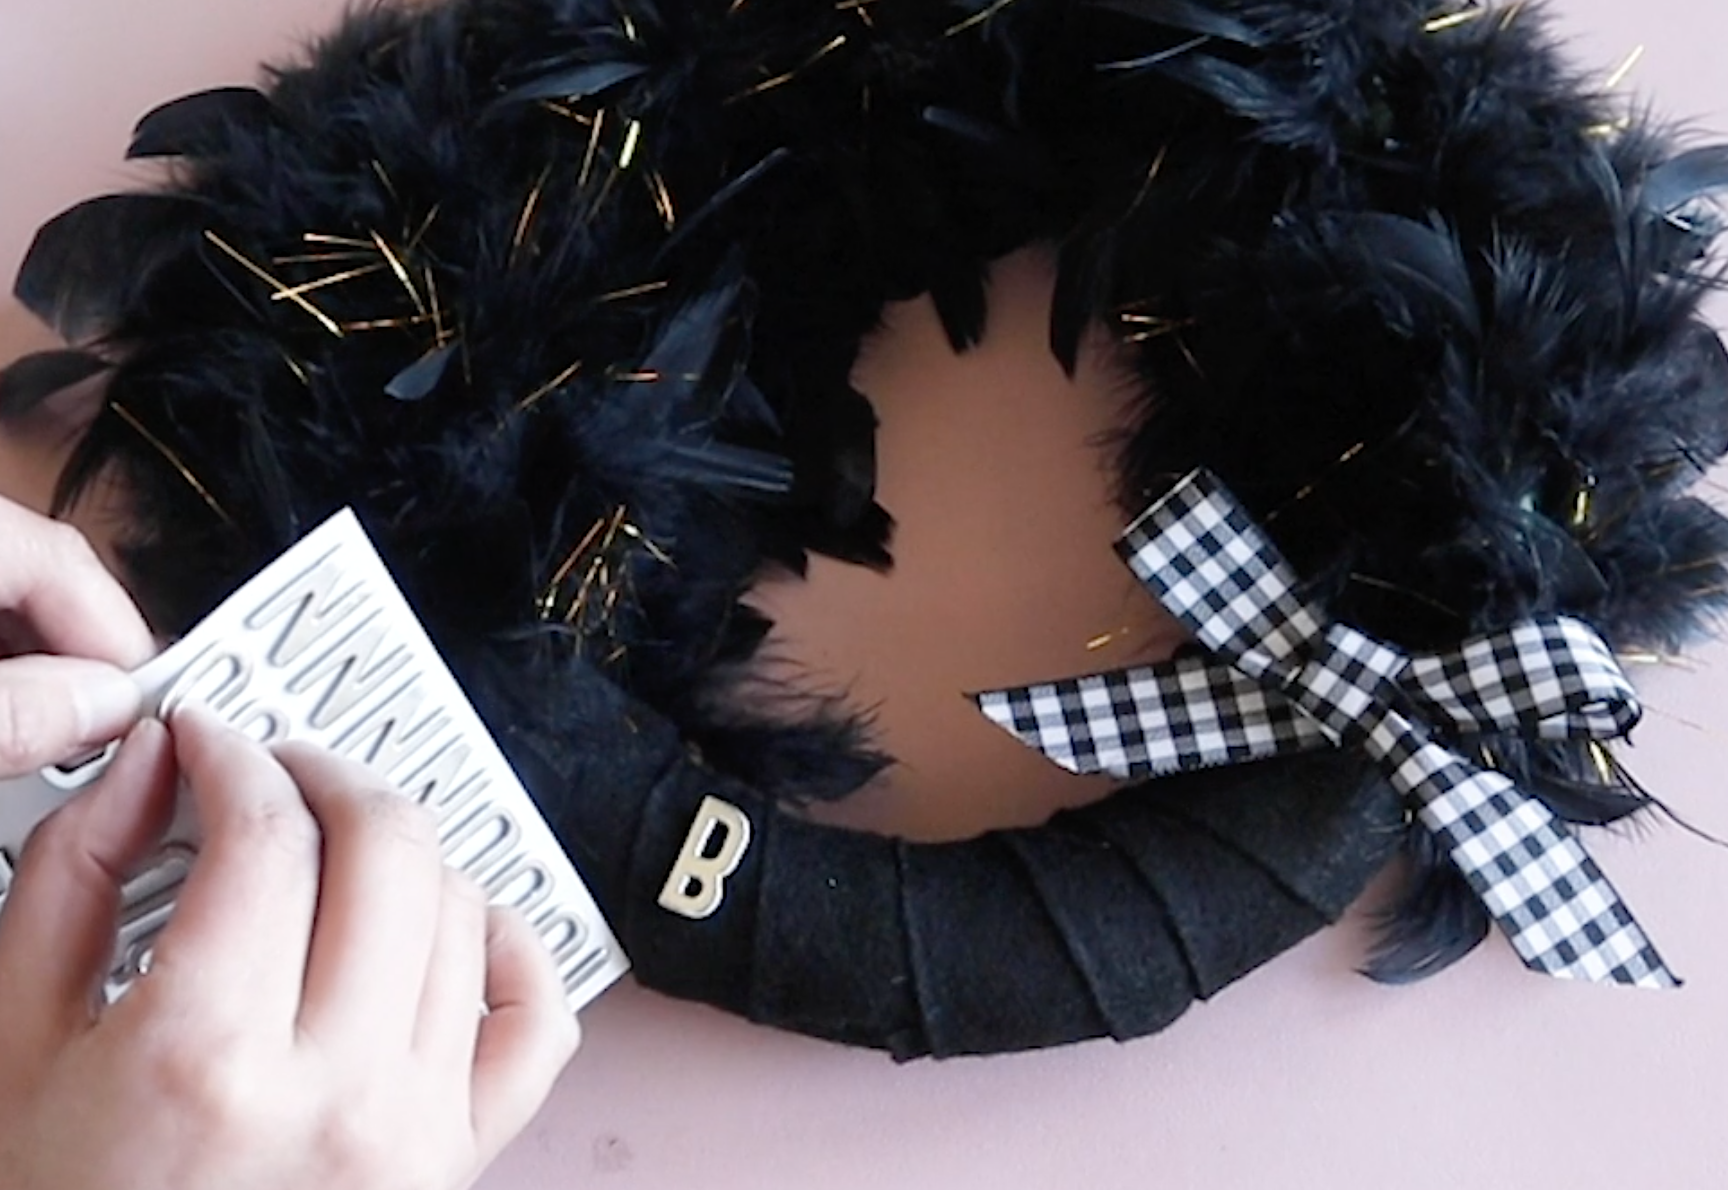
I added a gingham bow and some sticky letters. You can secure these letters better with some hot glue.
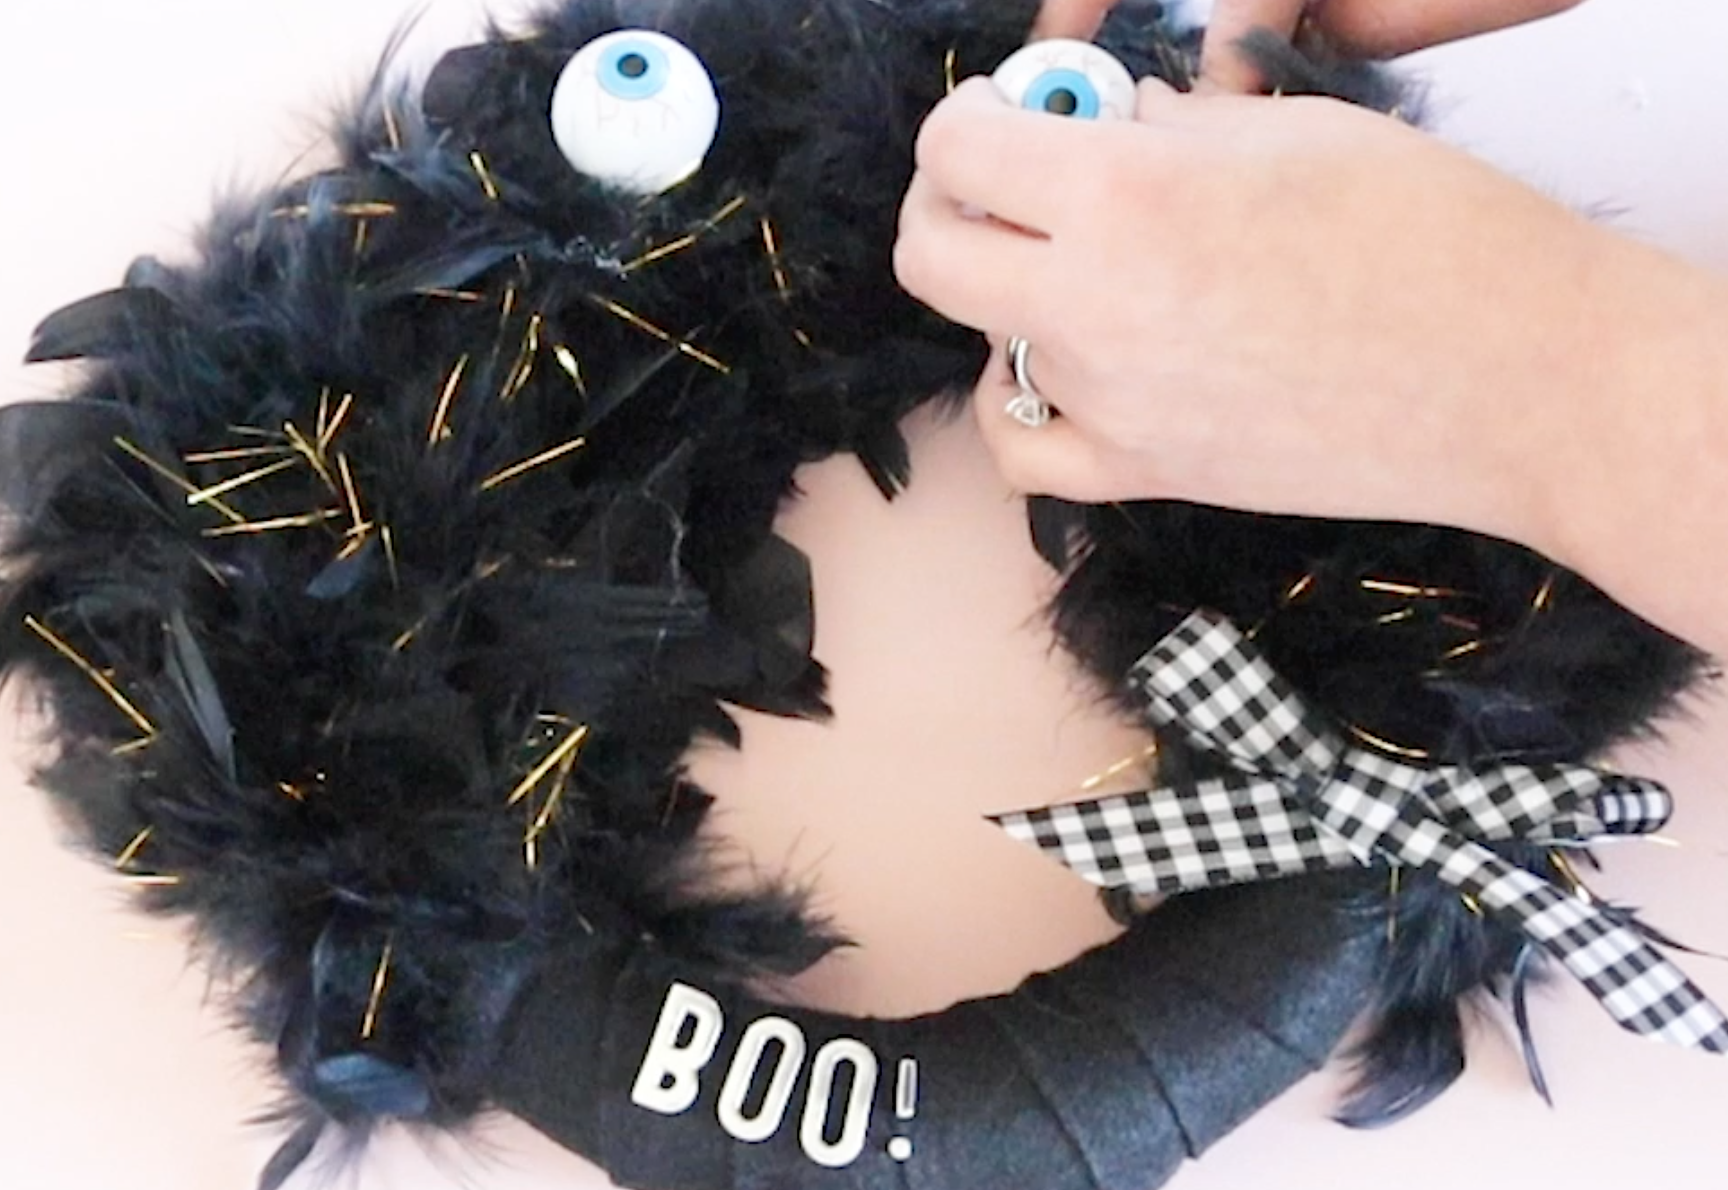
The last step is to add the scary eyes. Make sure to attach them to the floral ring and not the feathers, otherwise they will move around.
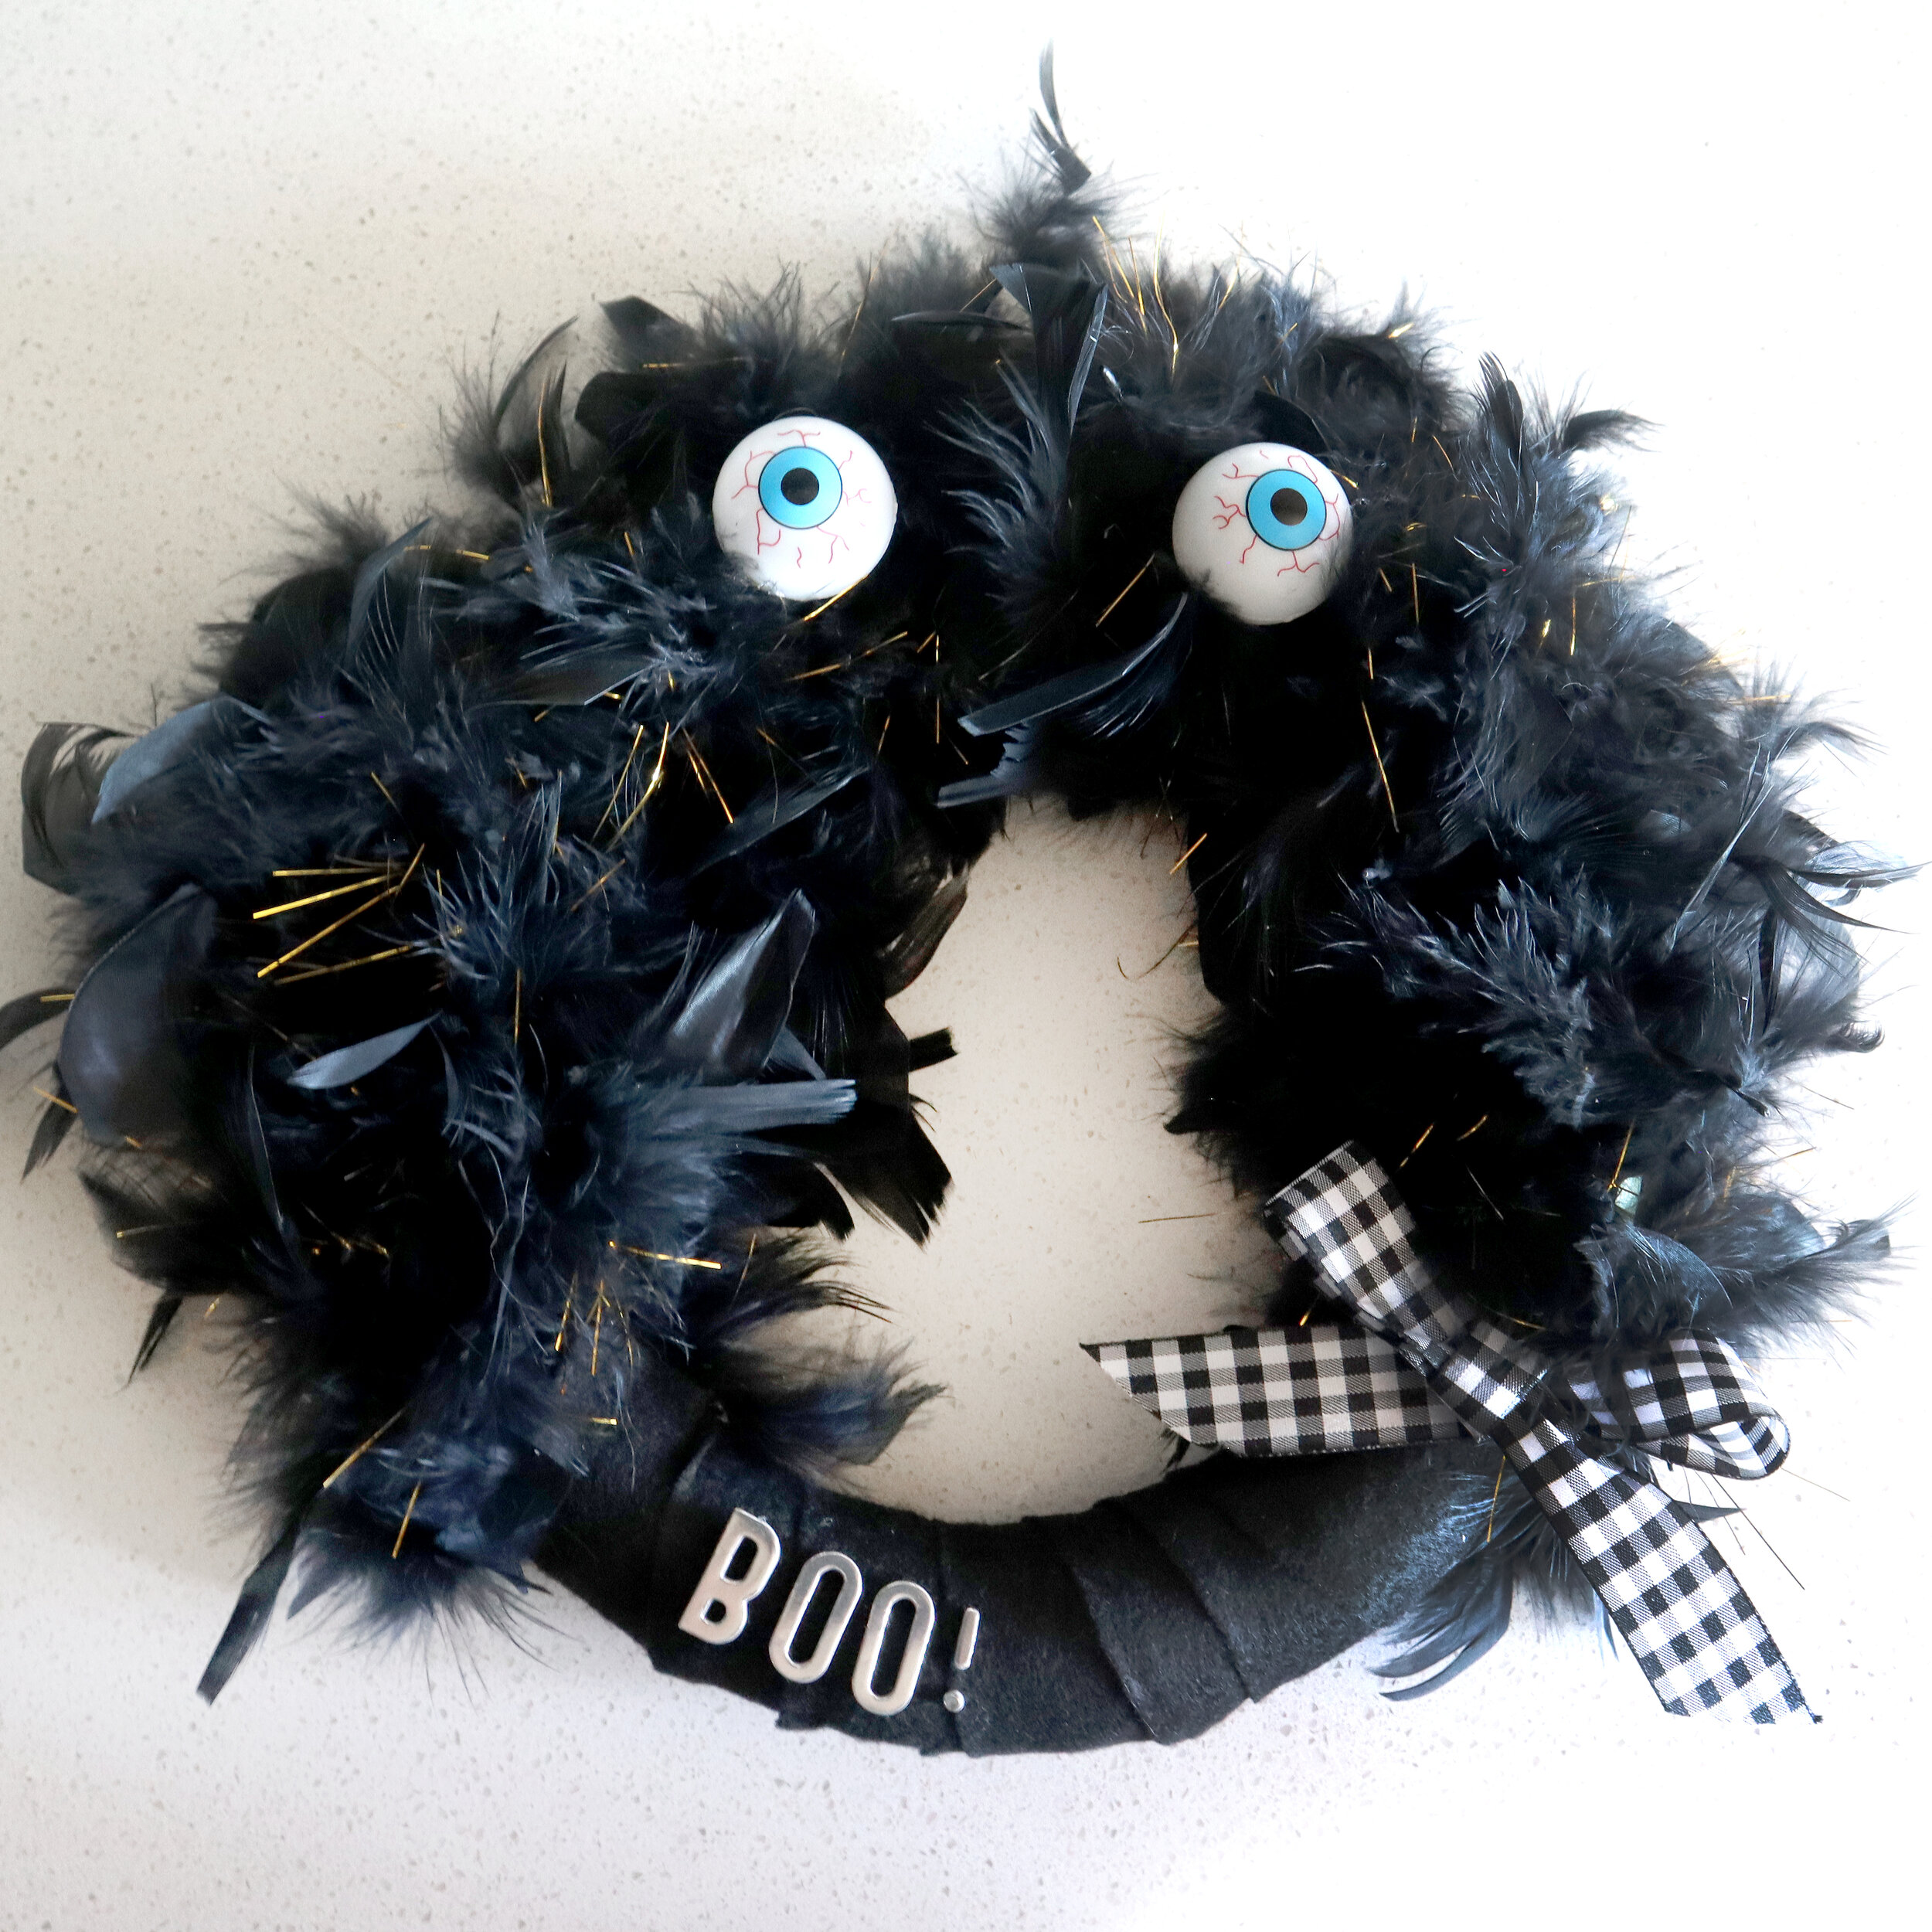
Here is the final Halloween wreath! It is so cute and spooky at the same time!
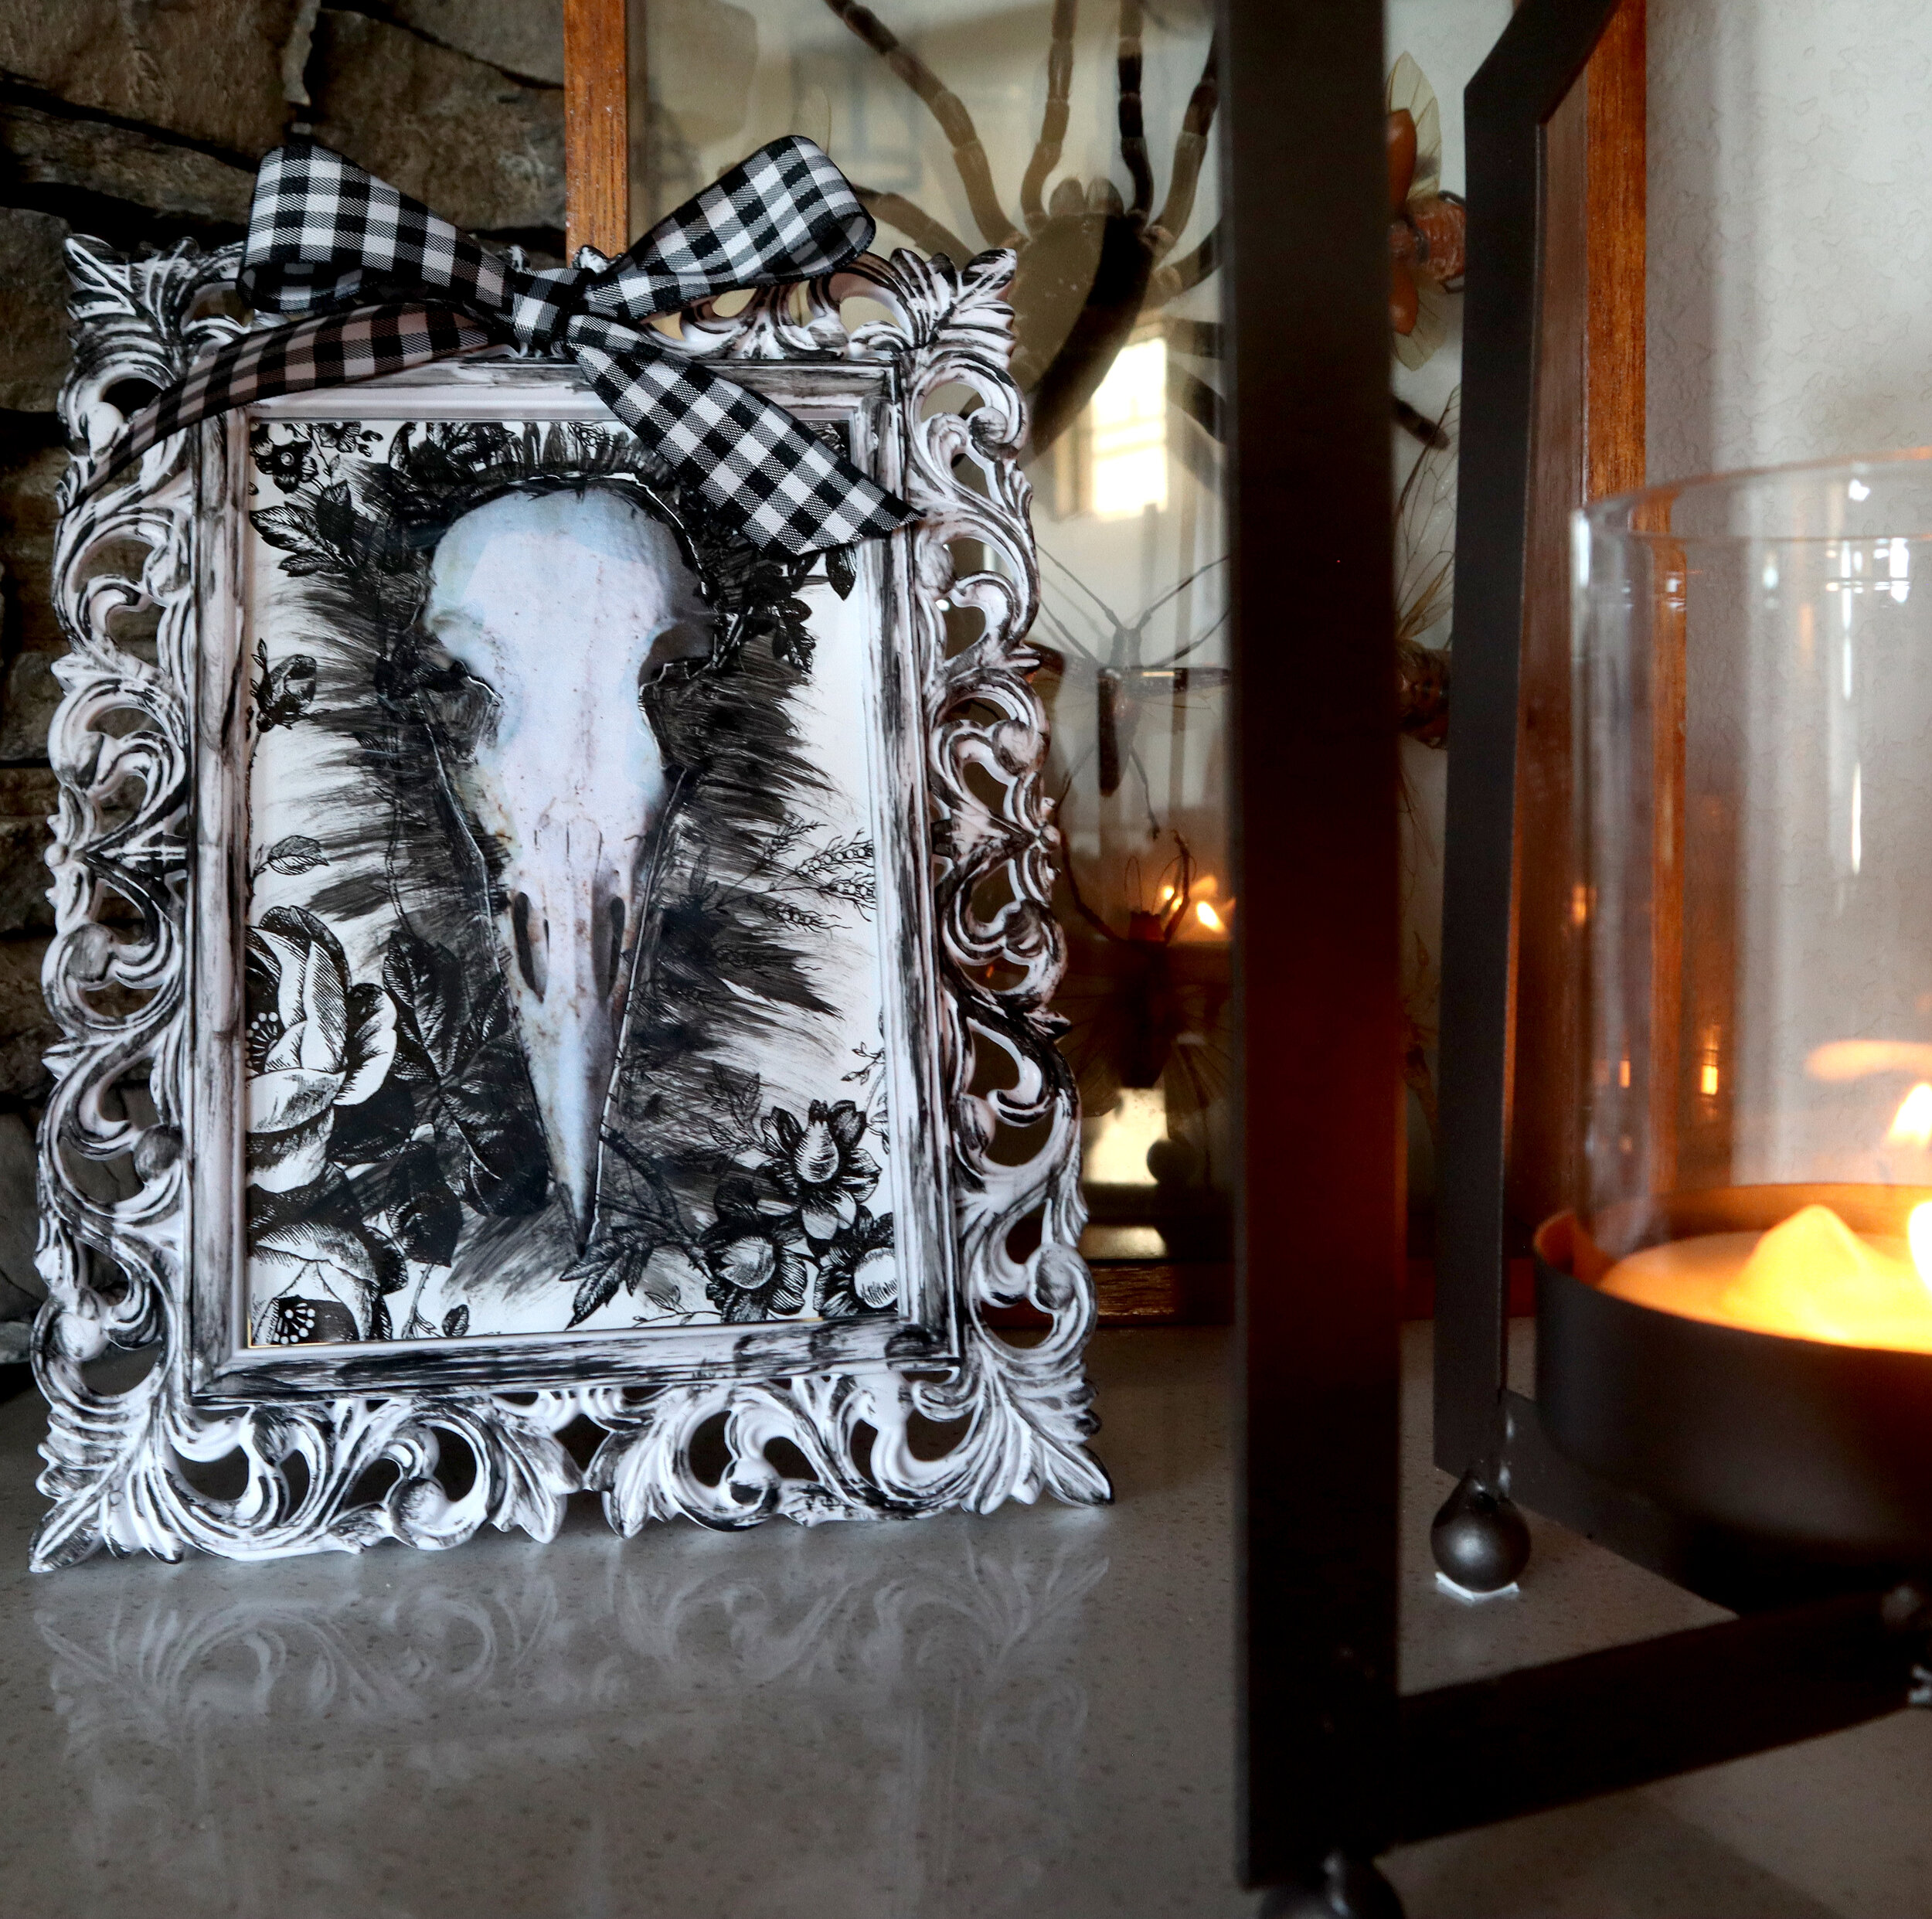
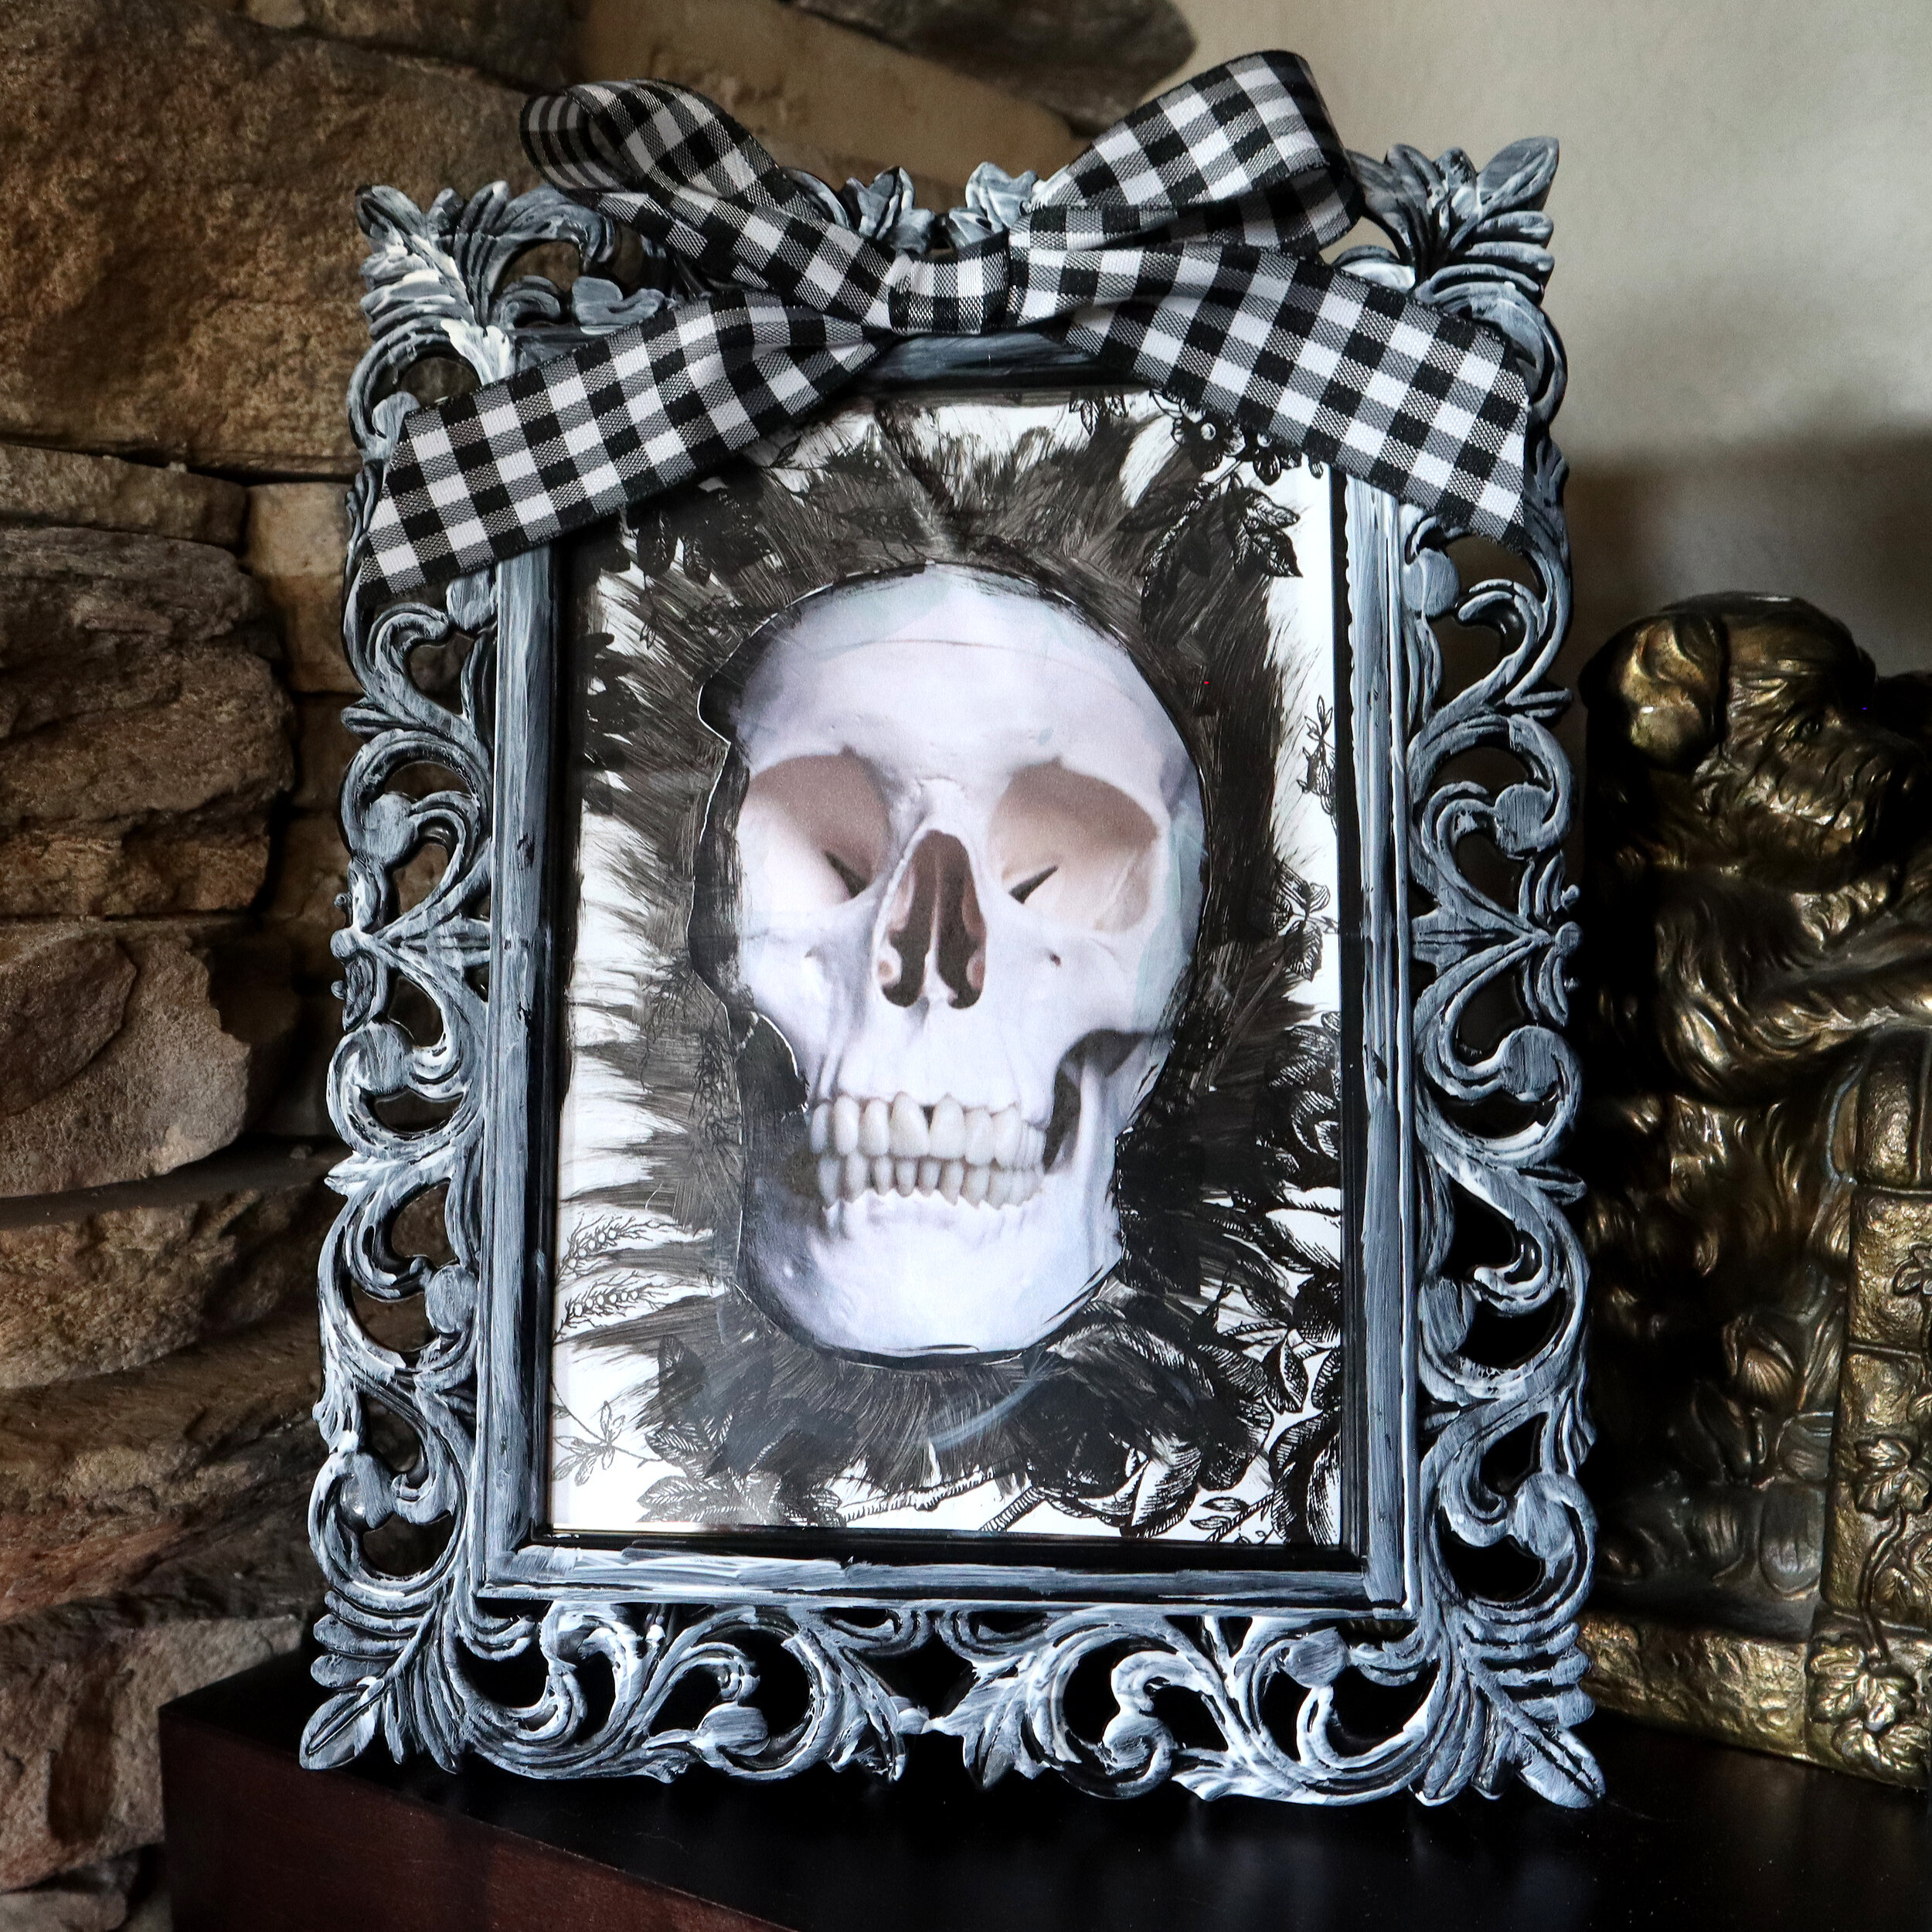
// Shabby Chic Skull Frames
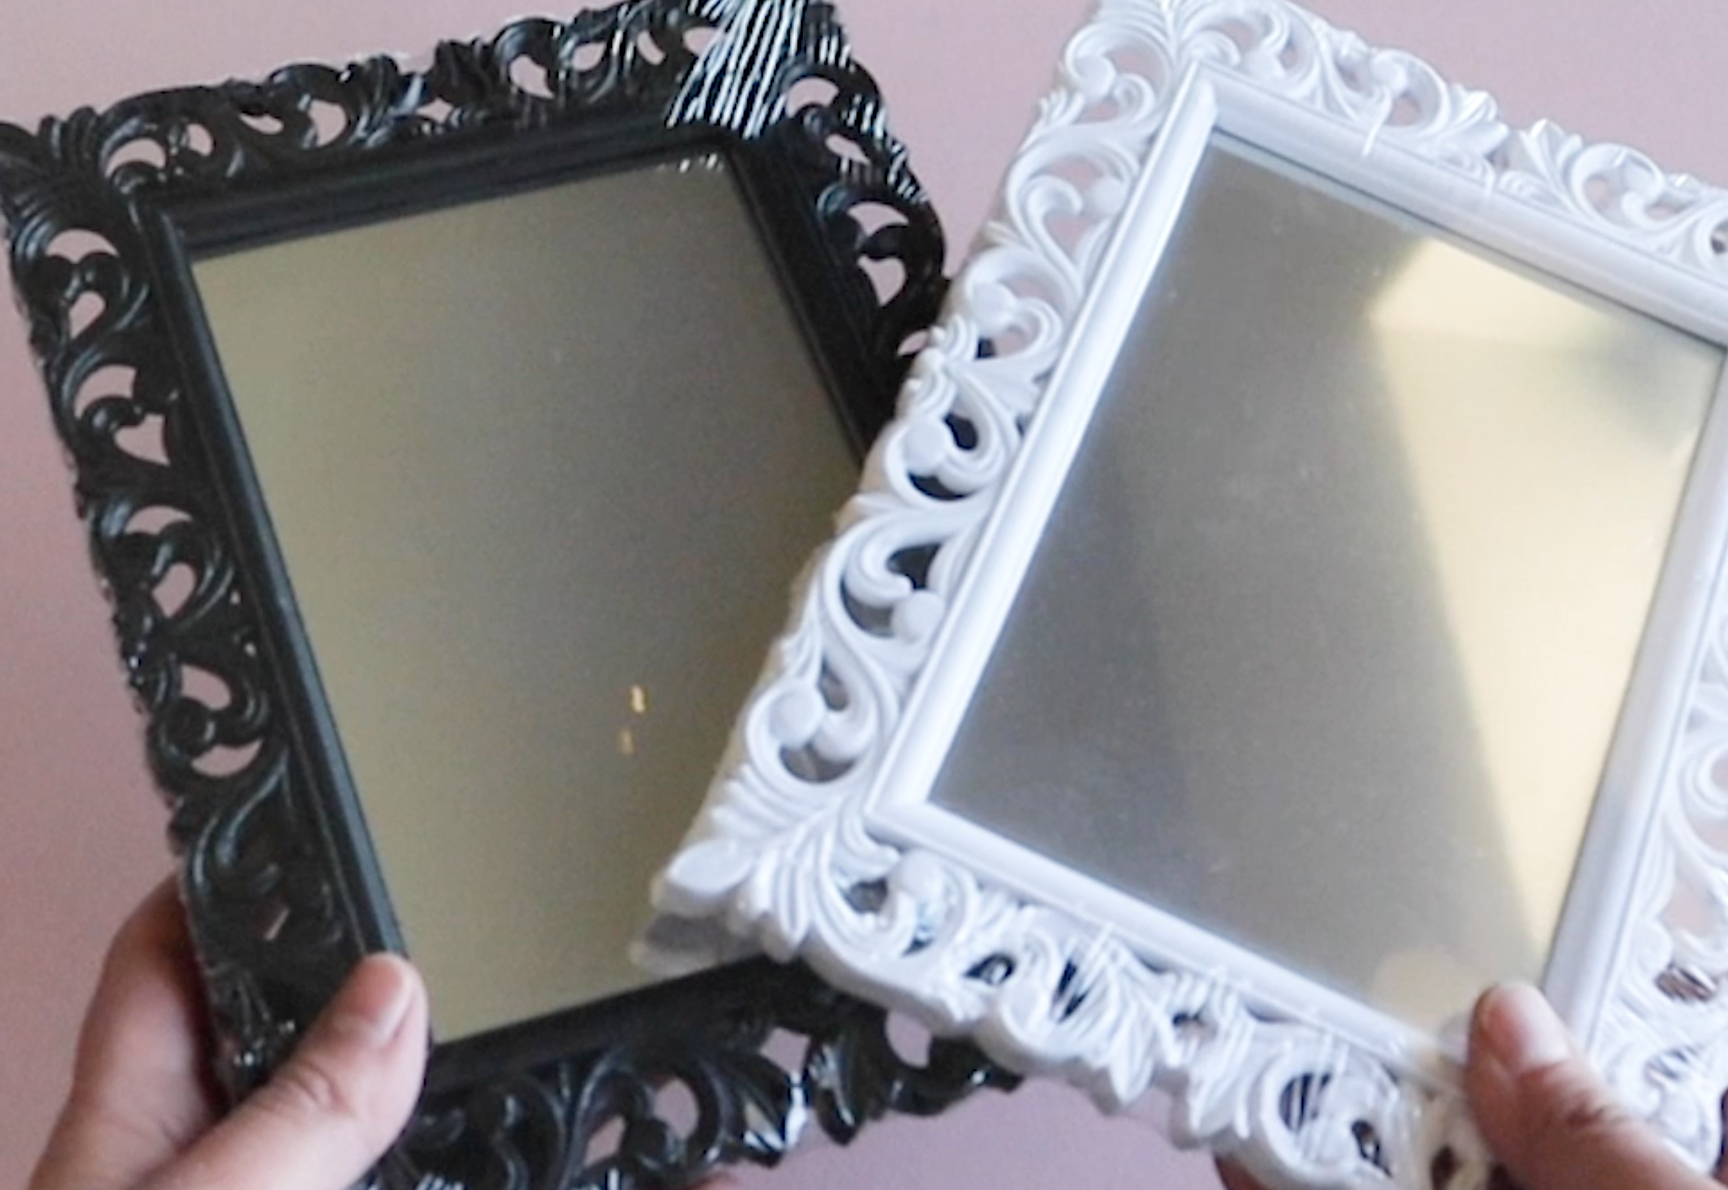
This next project is super shabby chic-y! I found these mirrors at Dollar Tree and couldn’t decide if I wanted black or white, so I got both.
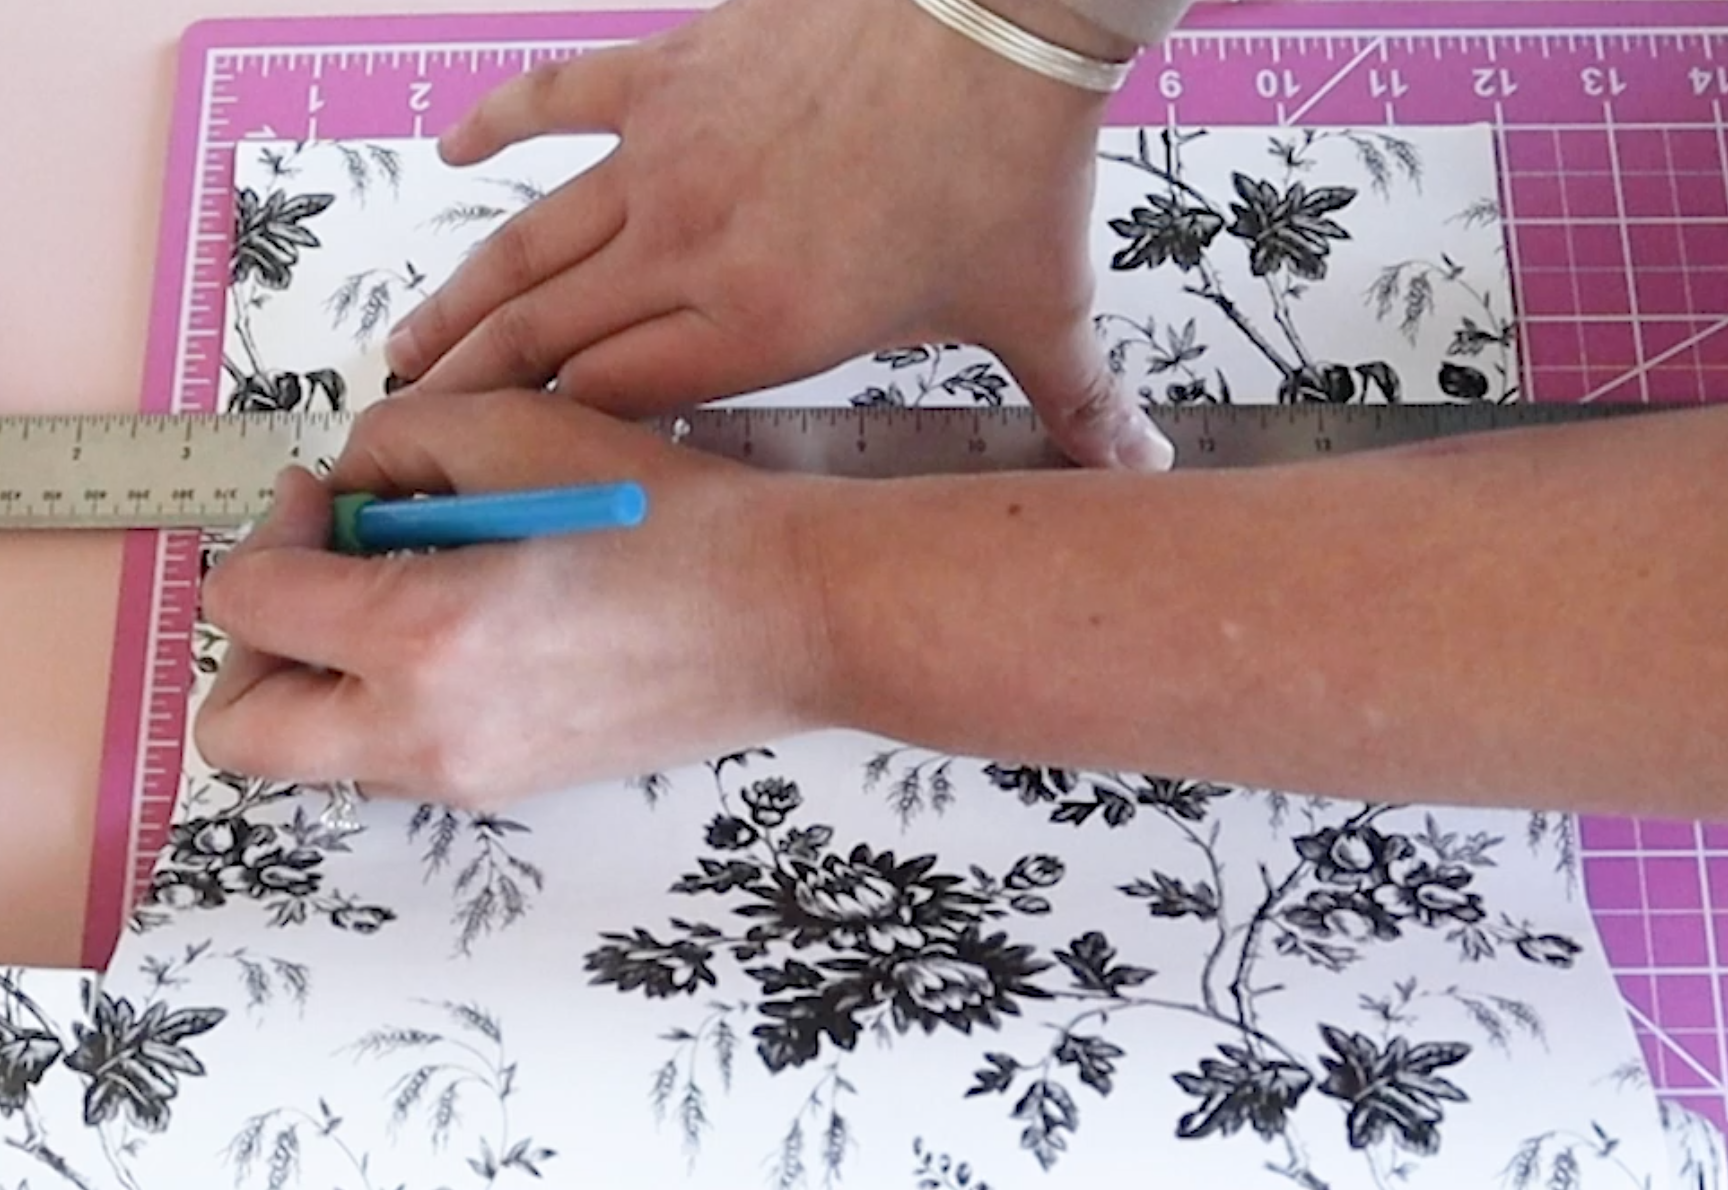
I trimmed out this contact paper from Dollar Tree to fit over the frame.
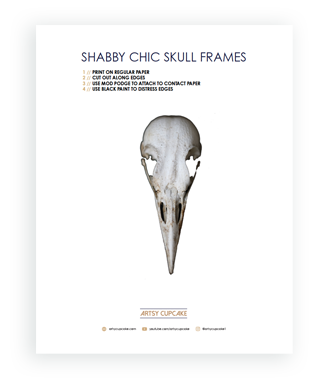
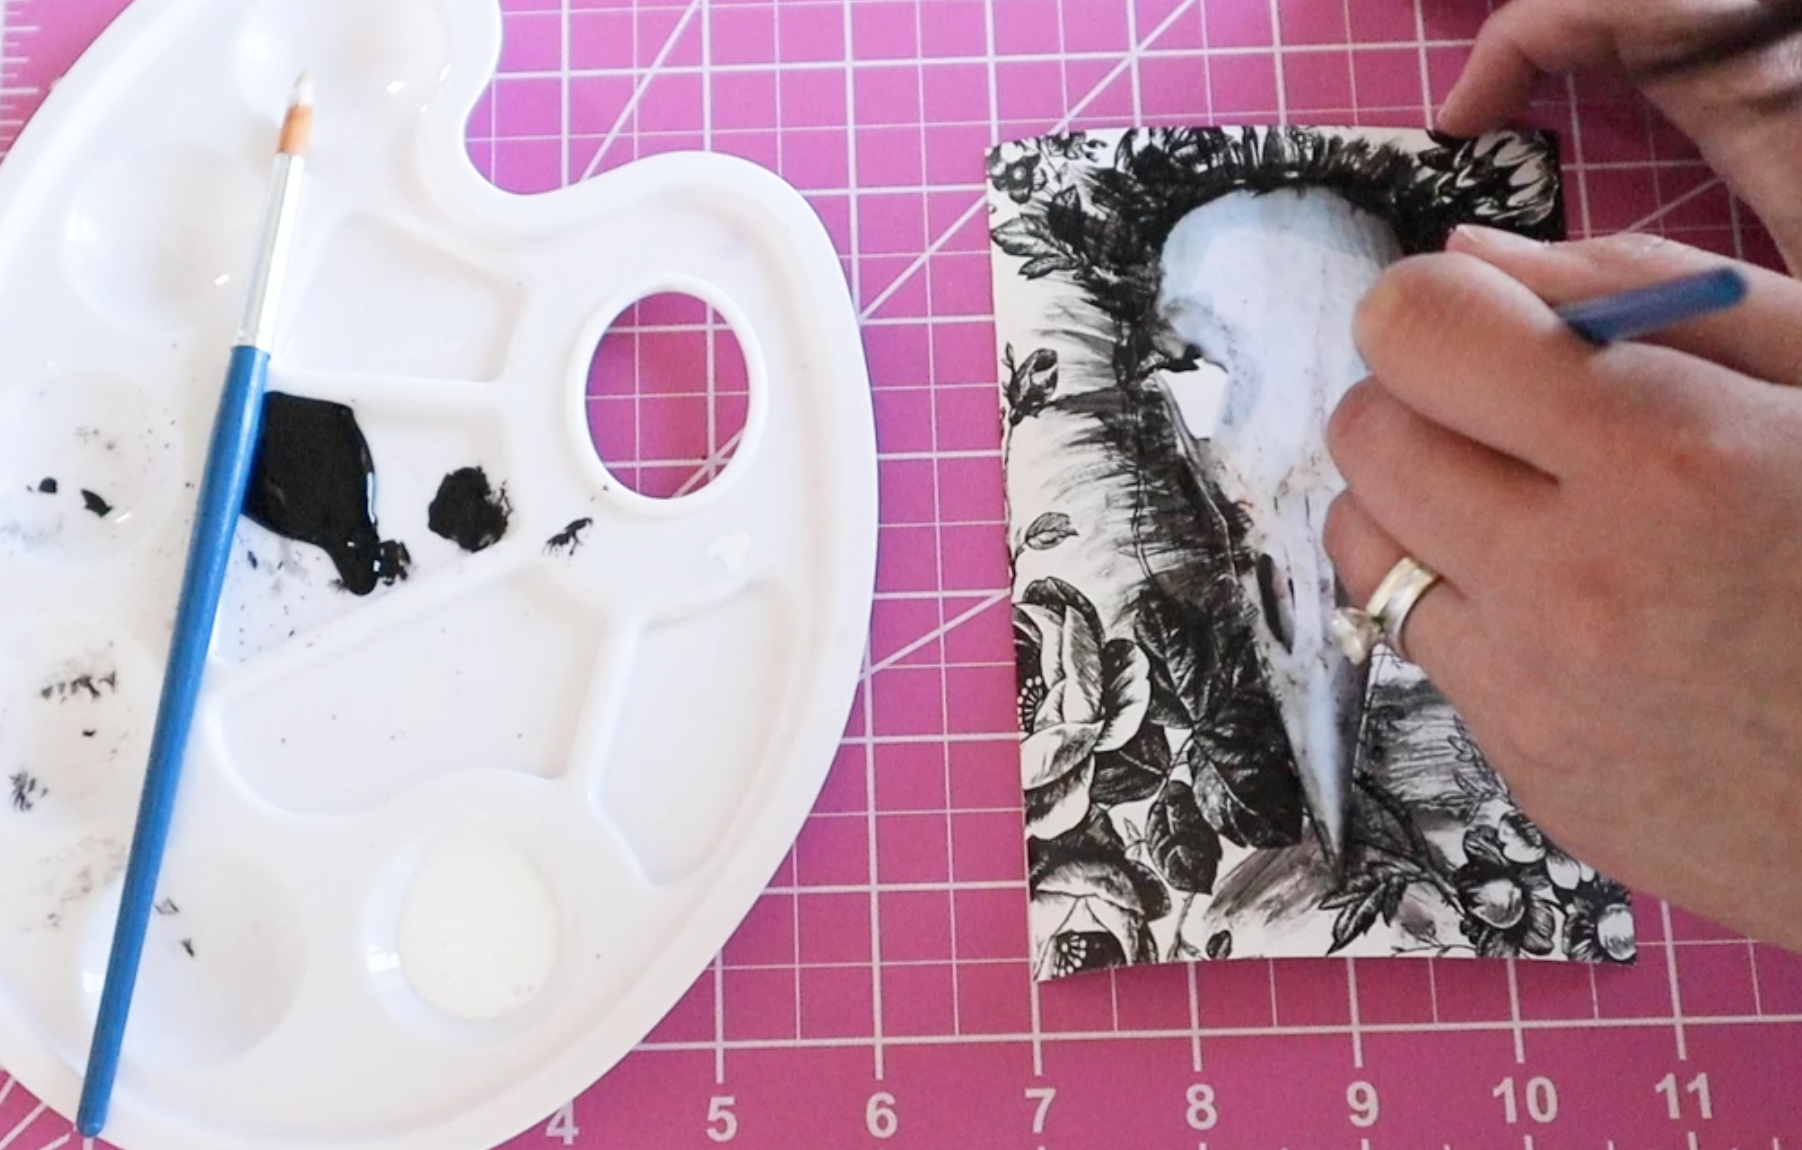
Next, I trimmed out some spooky skulls and I have a printable for you below, in case you want to print these out for yourself.
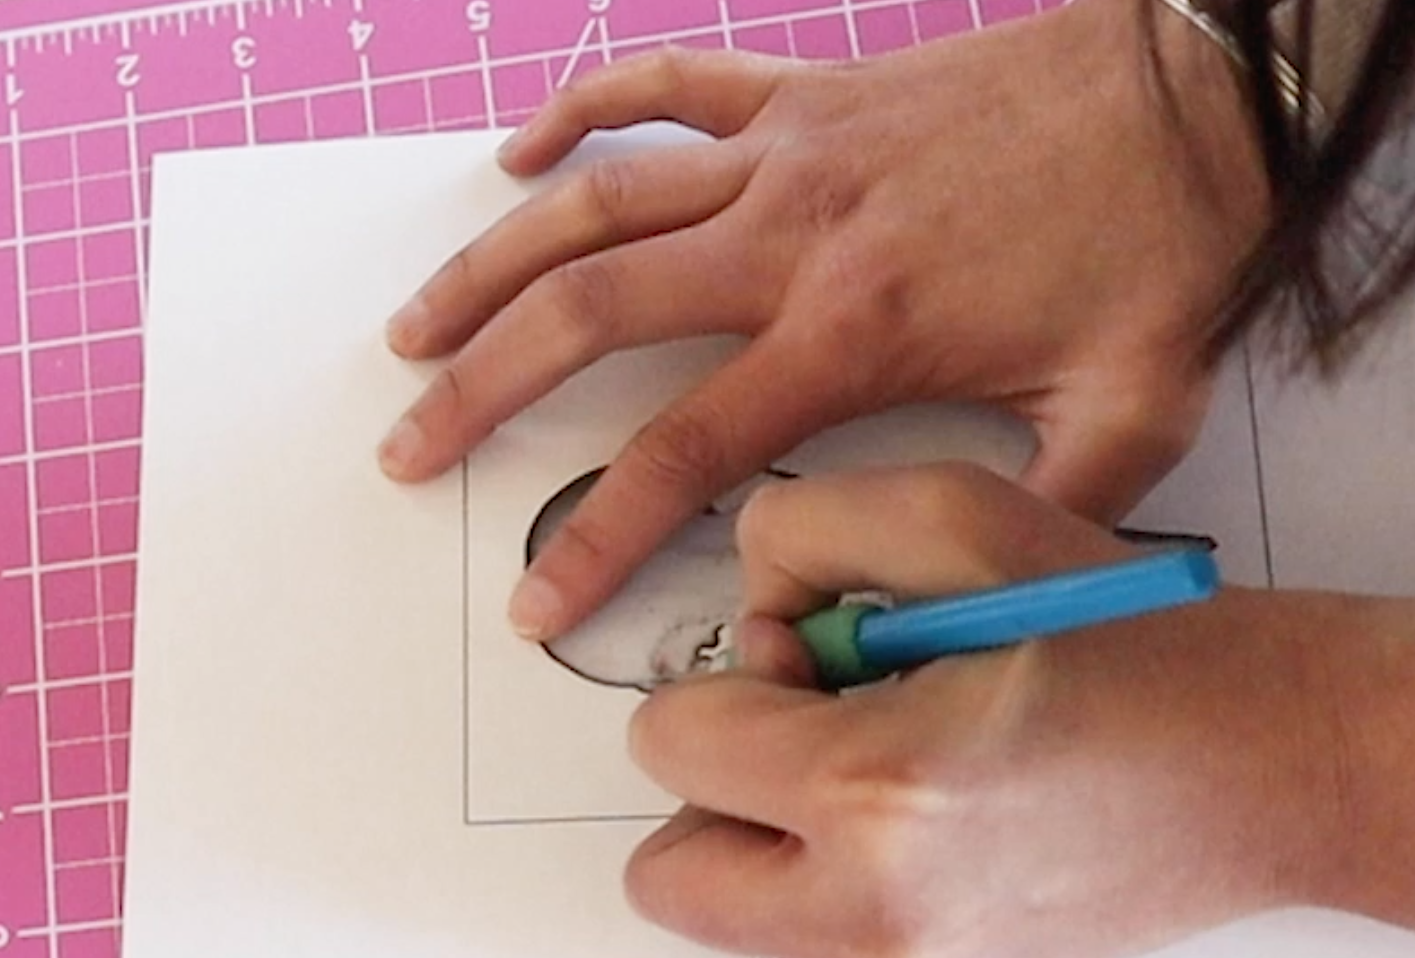

I used a little Mod Podge to stick down the design.
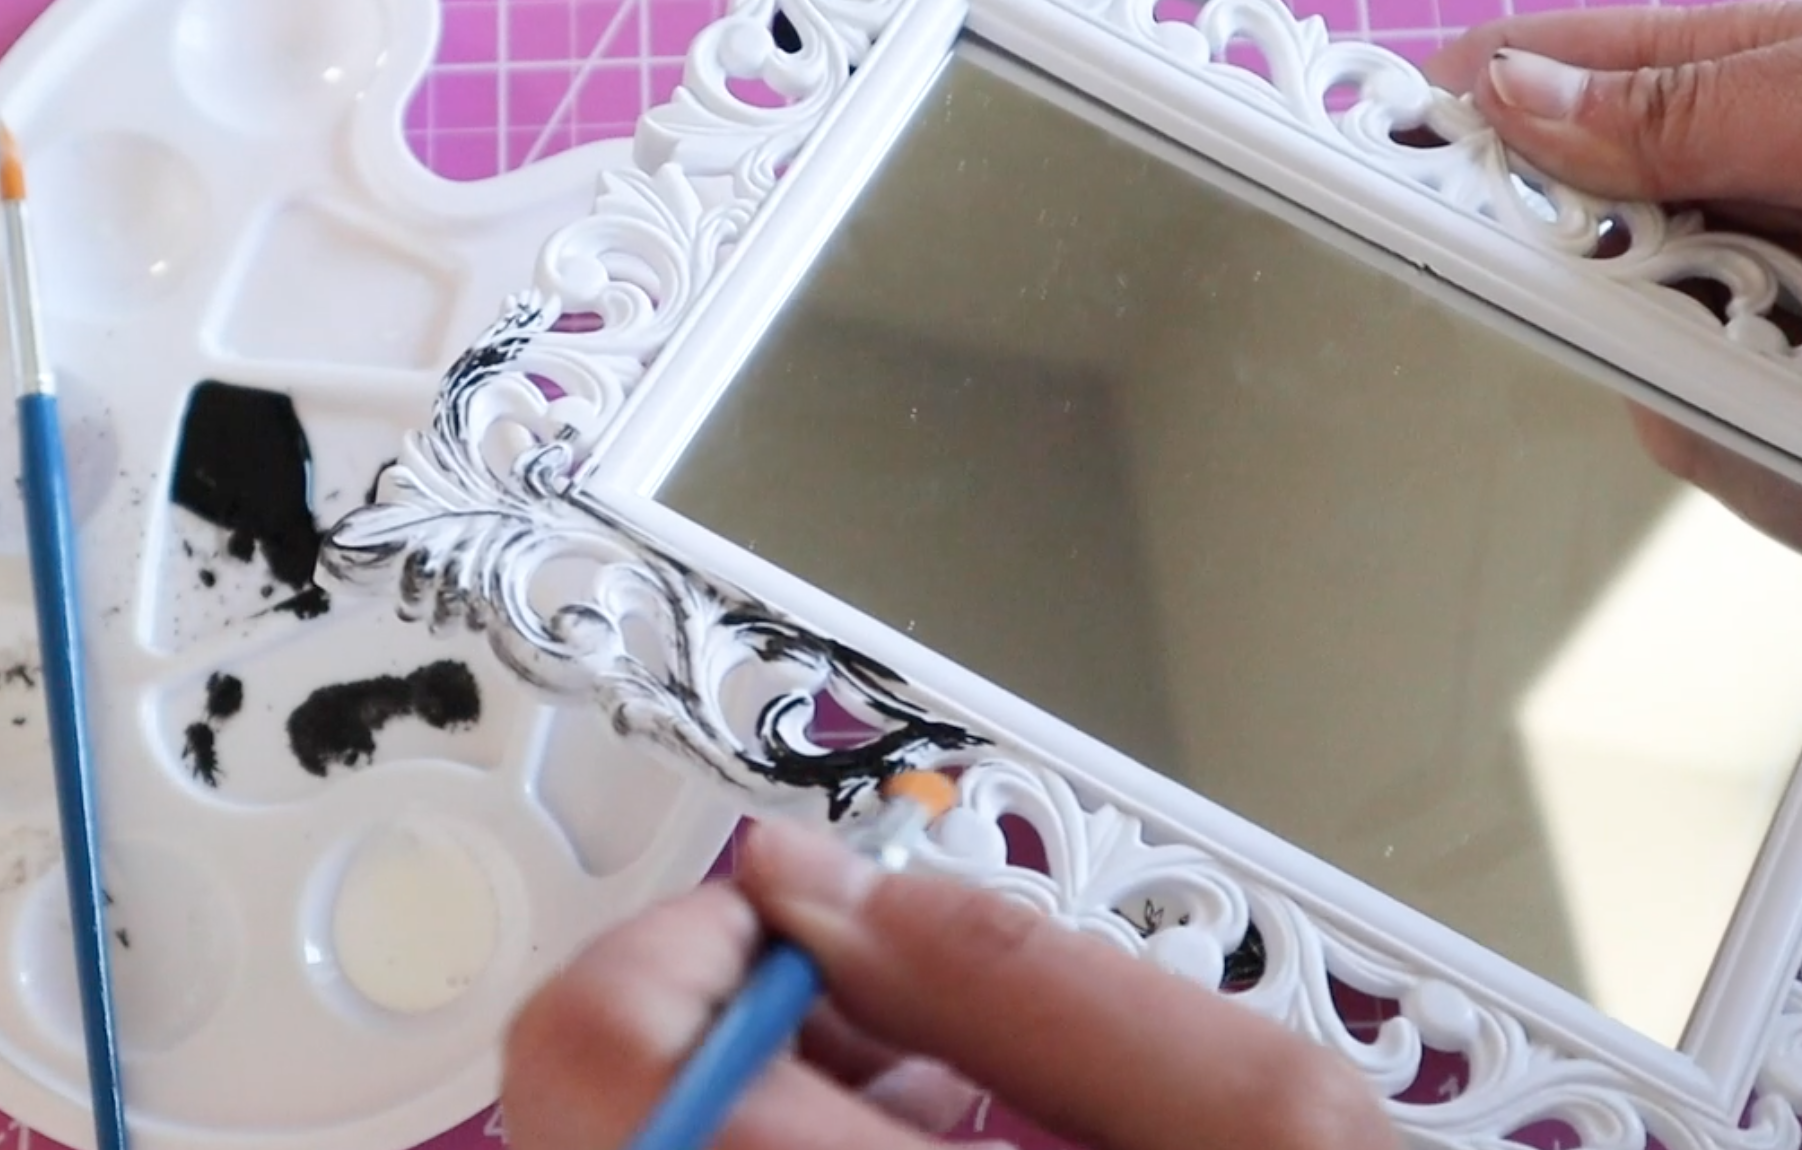
Then I used some black paint to give this a distressed look.
I decided to give the frames some paint to make them look old, like from the Victorian period.
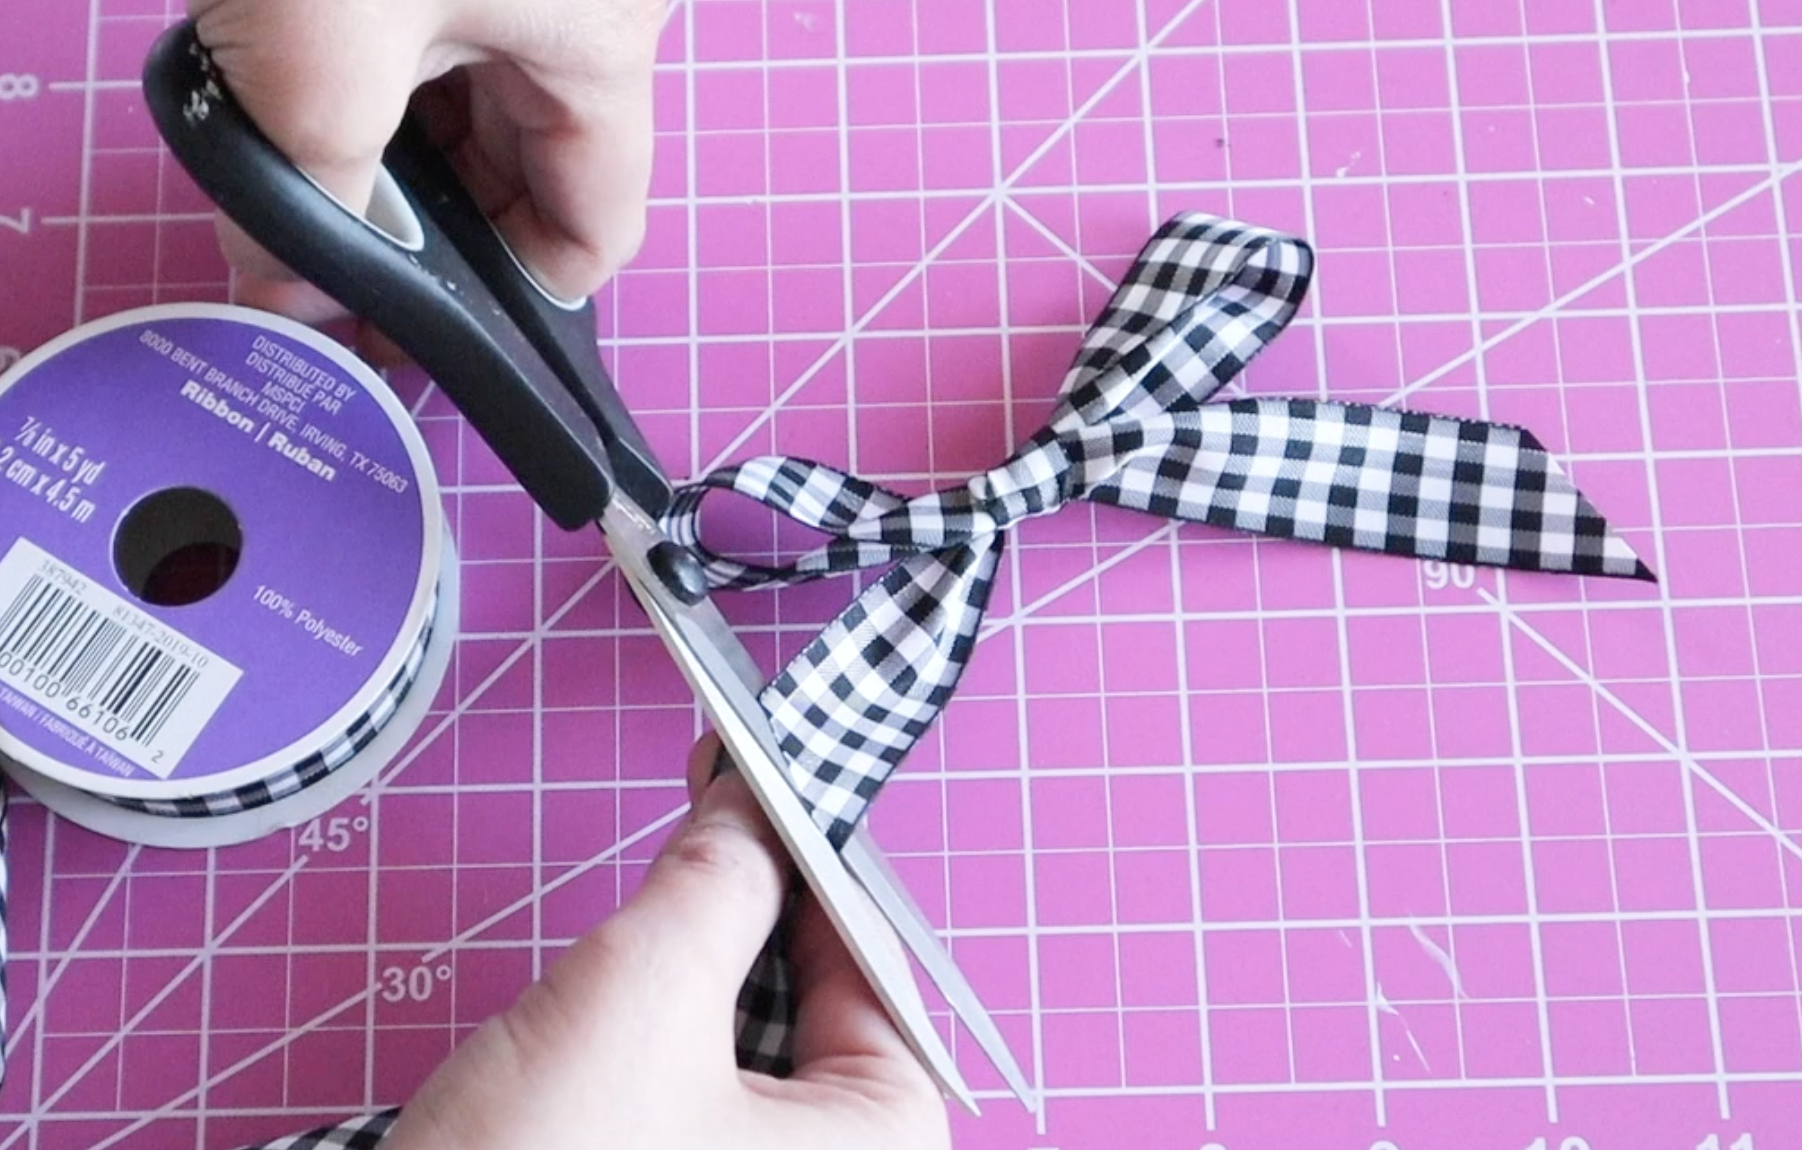
And then for some contrast of the spooky with the shabby chic, I added a pretty gingham bow. Adding this bow just makes it look a little off and even more creepy.

And here are how the final skull artwork came out. Isn’t it cool how they look 3D?

// Halloween Dollar Tree Candle
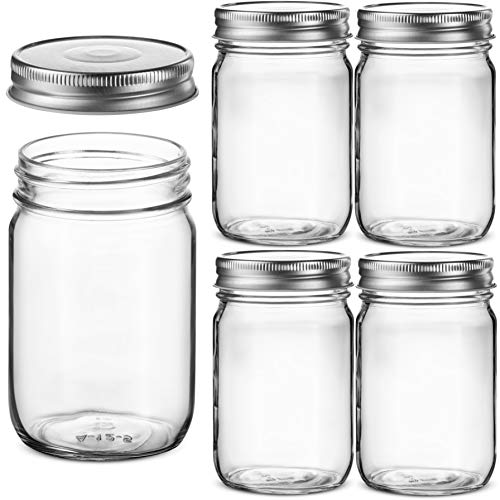
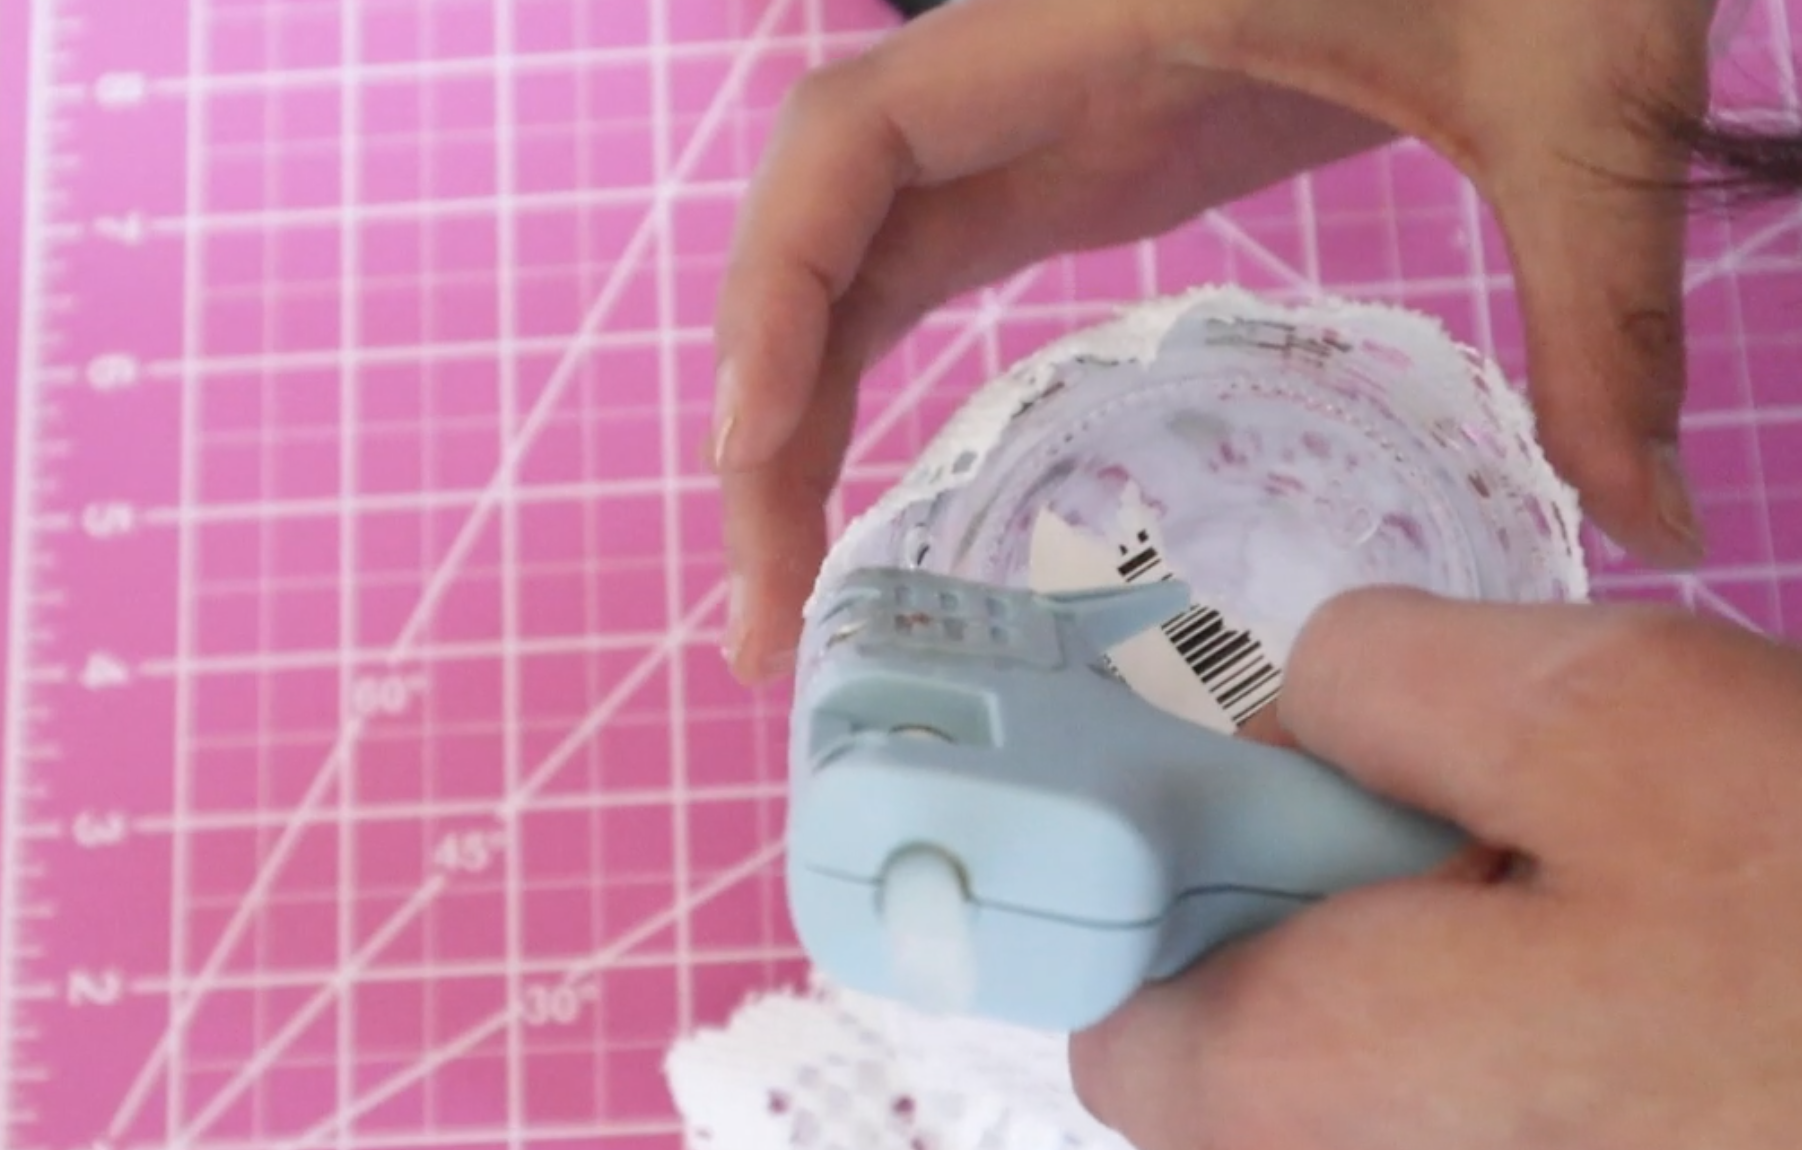
Next, we will be making a crow candleholder. I found this set of 2 doilies at Dollar Tree. I started by wrapping it around a mason jar and securing with hot glue.

Then I trimmed the top and bottom edges and secured with hot glue.
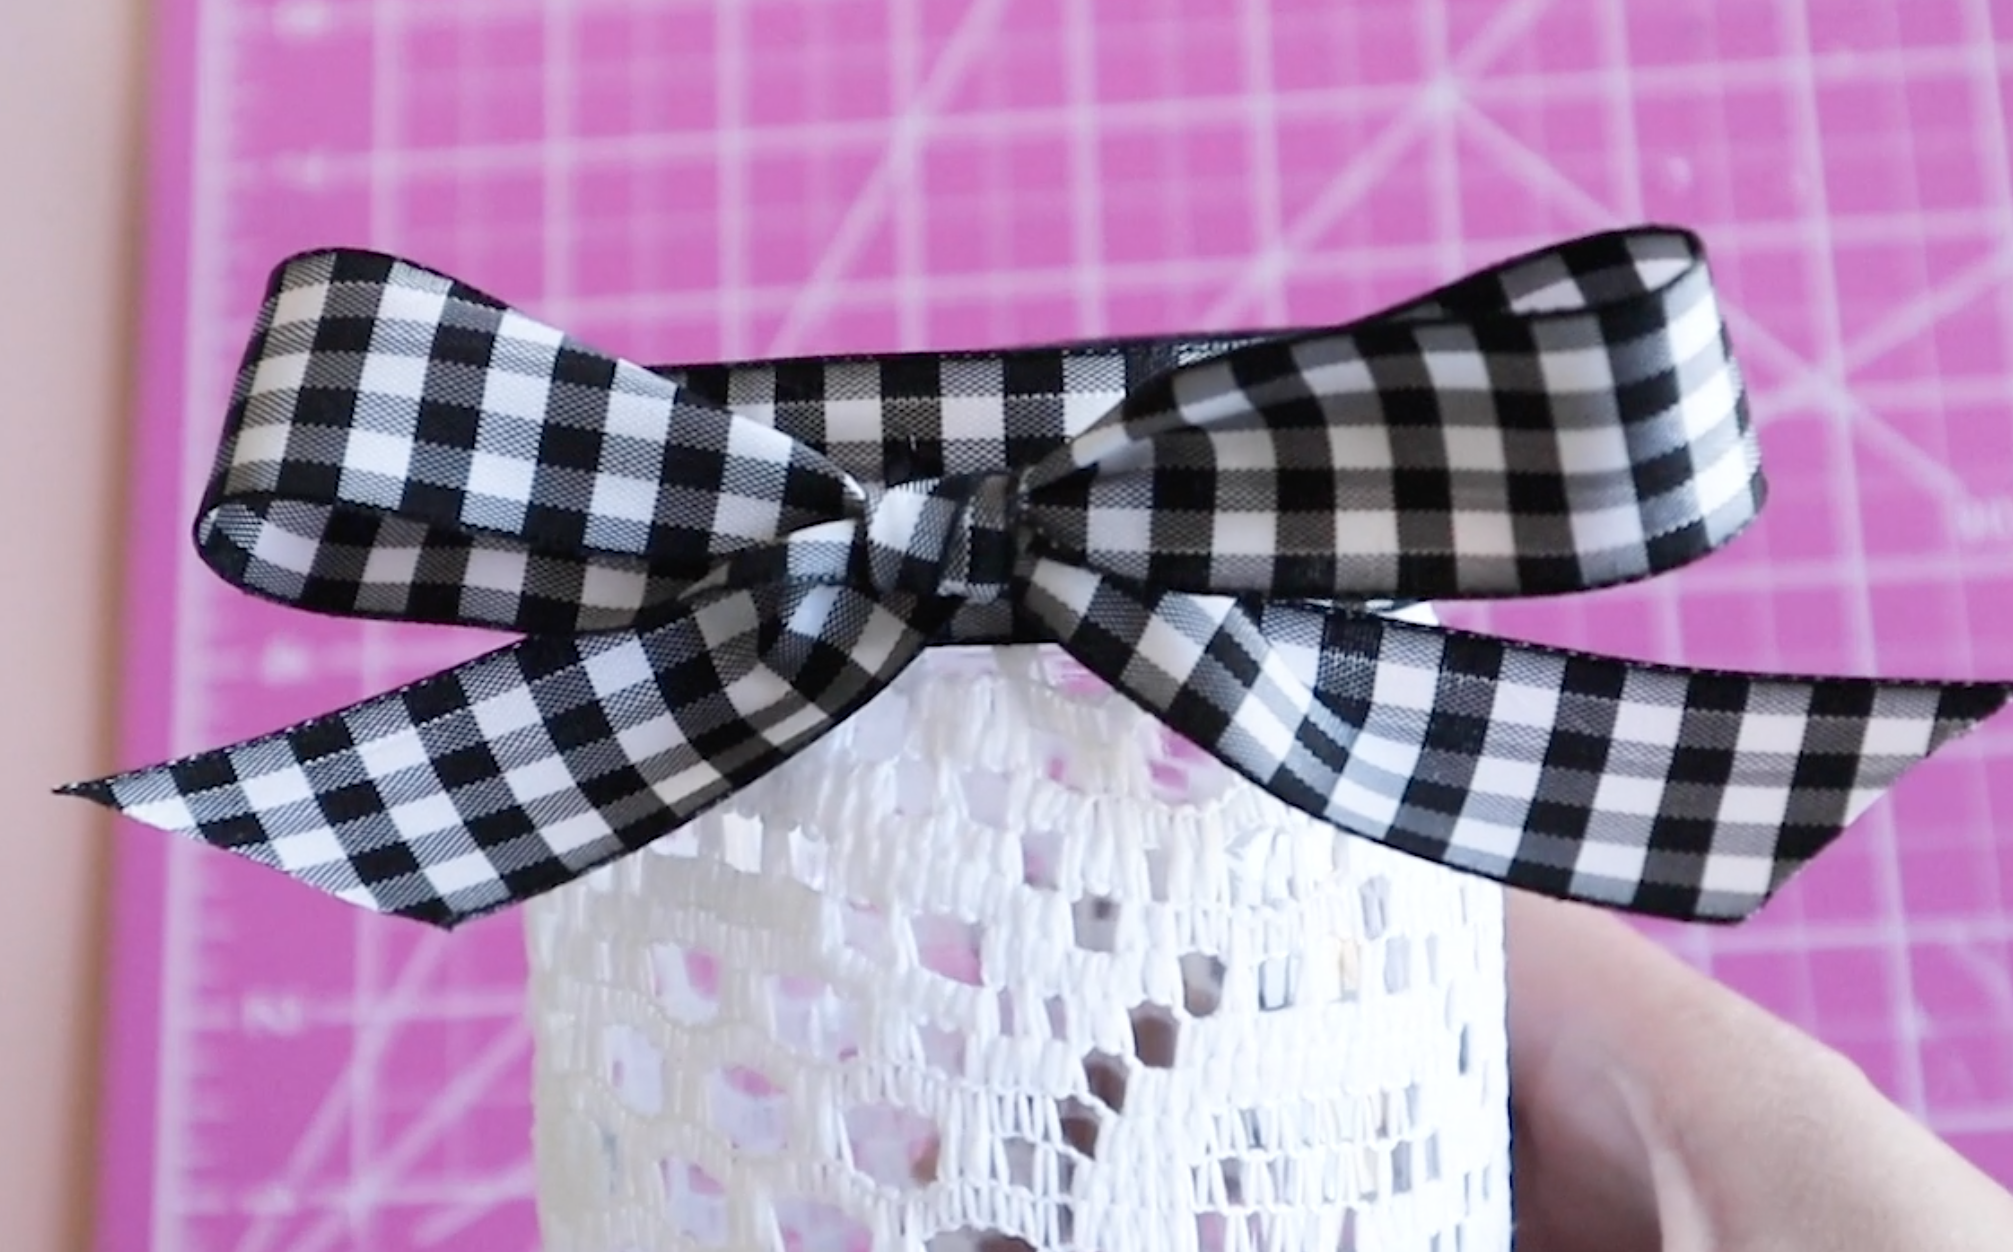
I decided to add the gingham ribbon around the top edge and then attached a bow.
I cut out this image of a crow and attached with hot glue. You can download the printable for the crow and the skulls here.

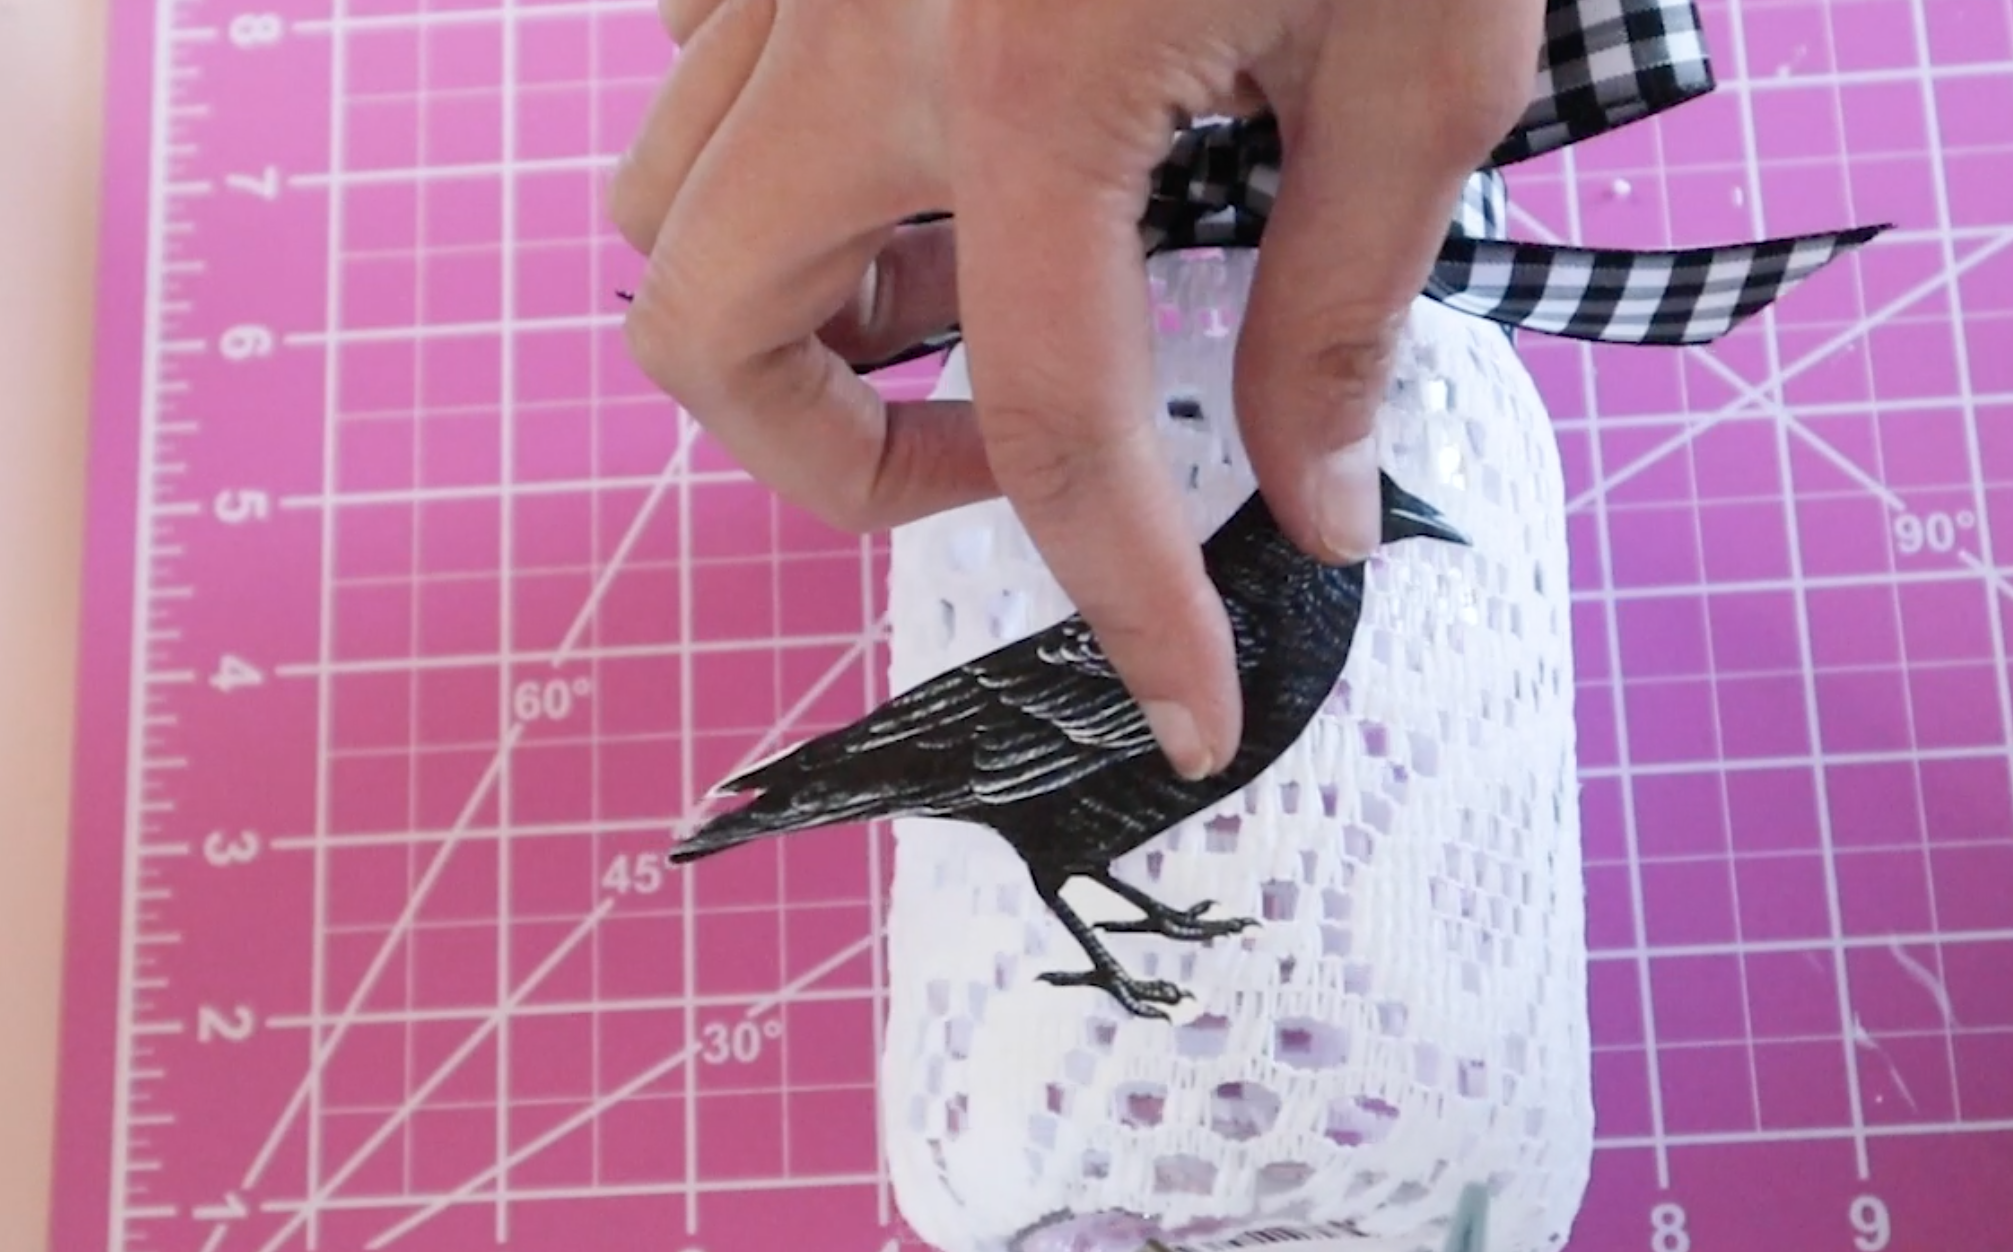
I used the paint to make this look aged and the black paint also helped to blend the crow in to the lace.

And here is the final candle holder. It looks so awesome with the candle in there! Glowy and creepy!

// Cute Halloween Desserts to Make
The last goodie I have for you really is a goodie! This is a super fast and easy Halloween treat.
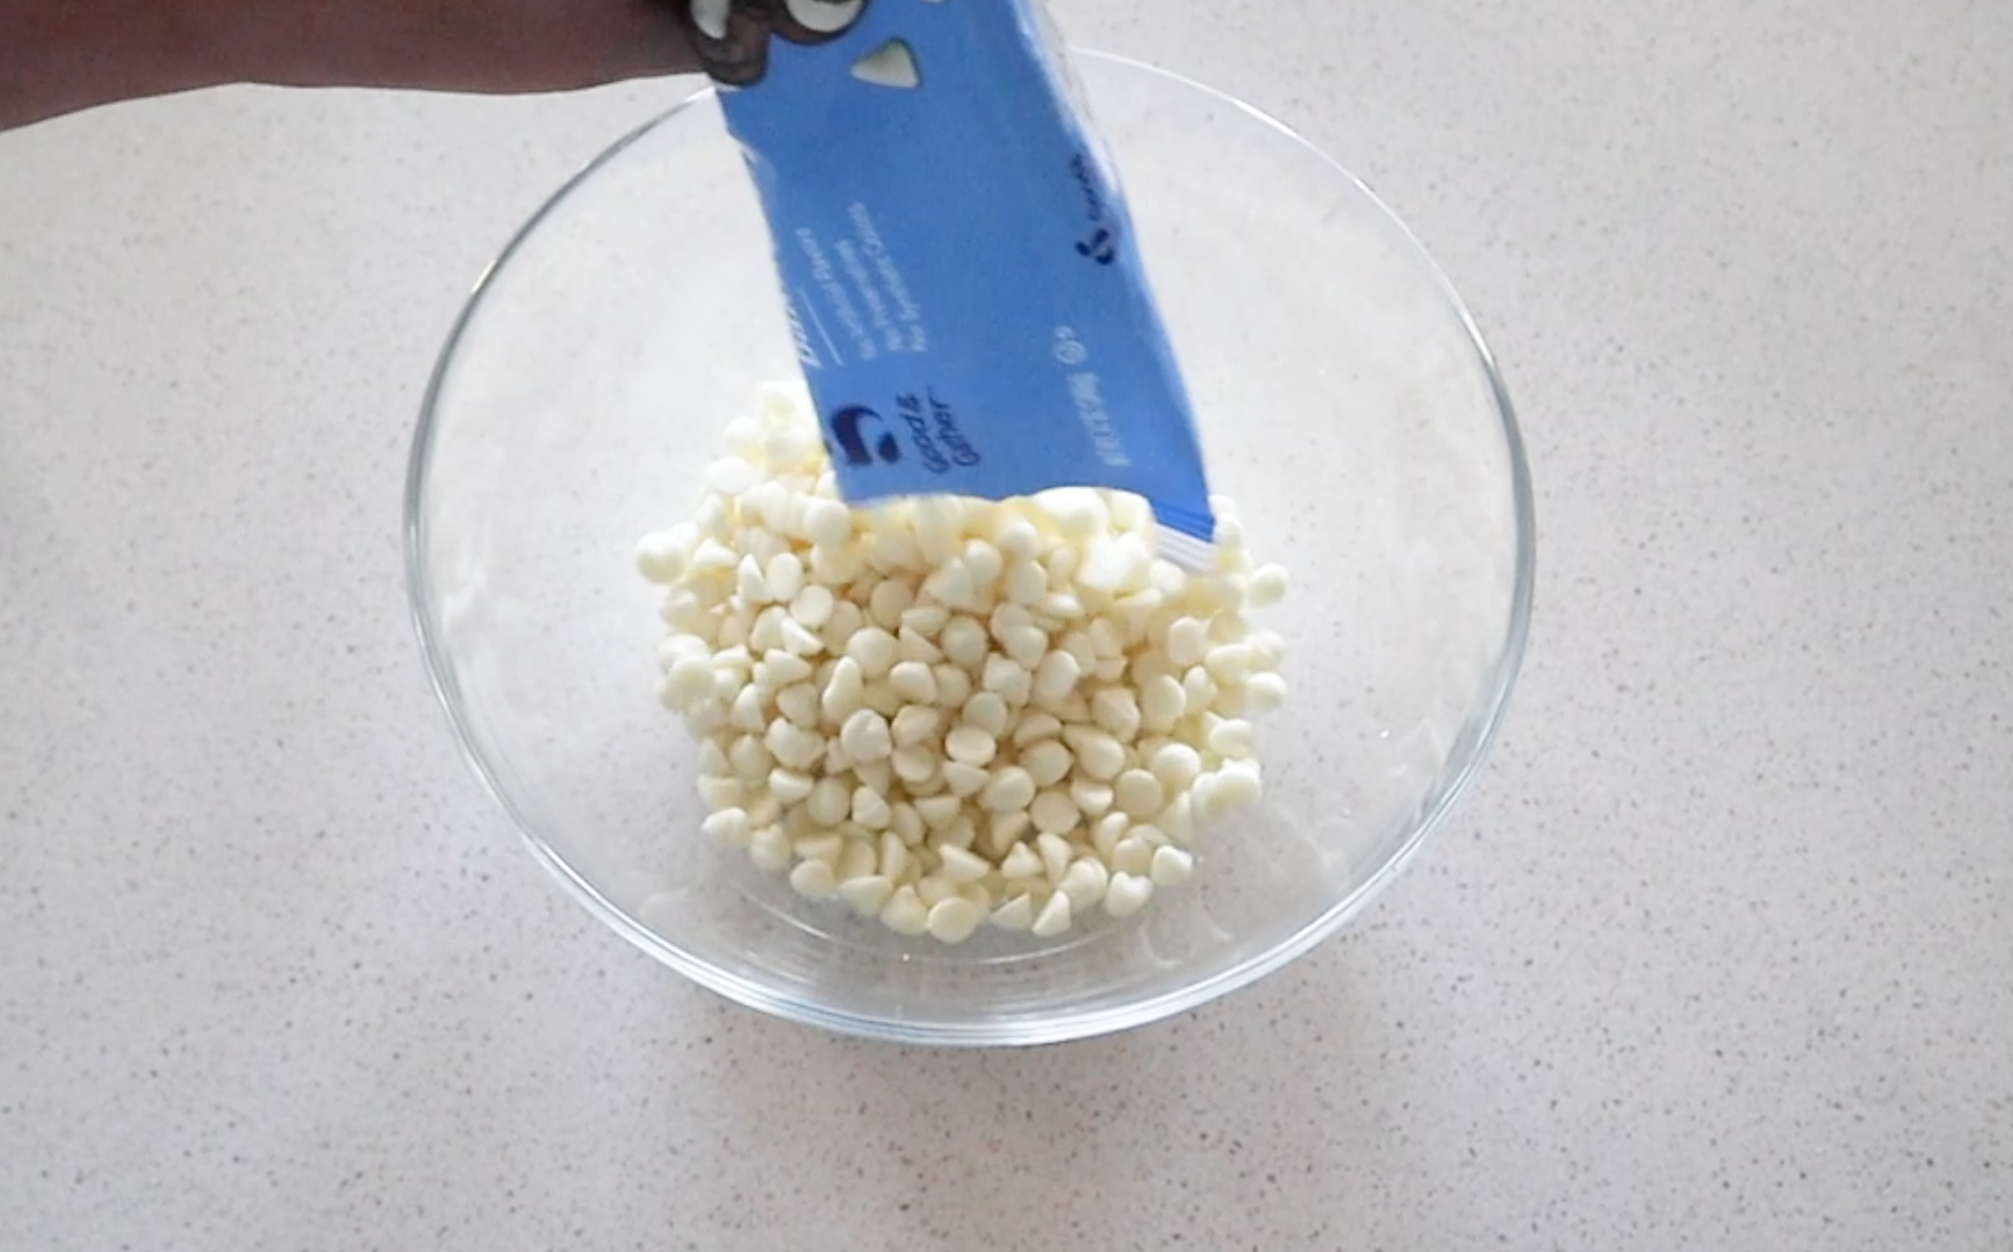
First, I melted a bag of white chocolate chips. Go in 30 second increments in the microwave, stirring as you go along.
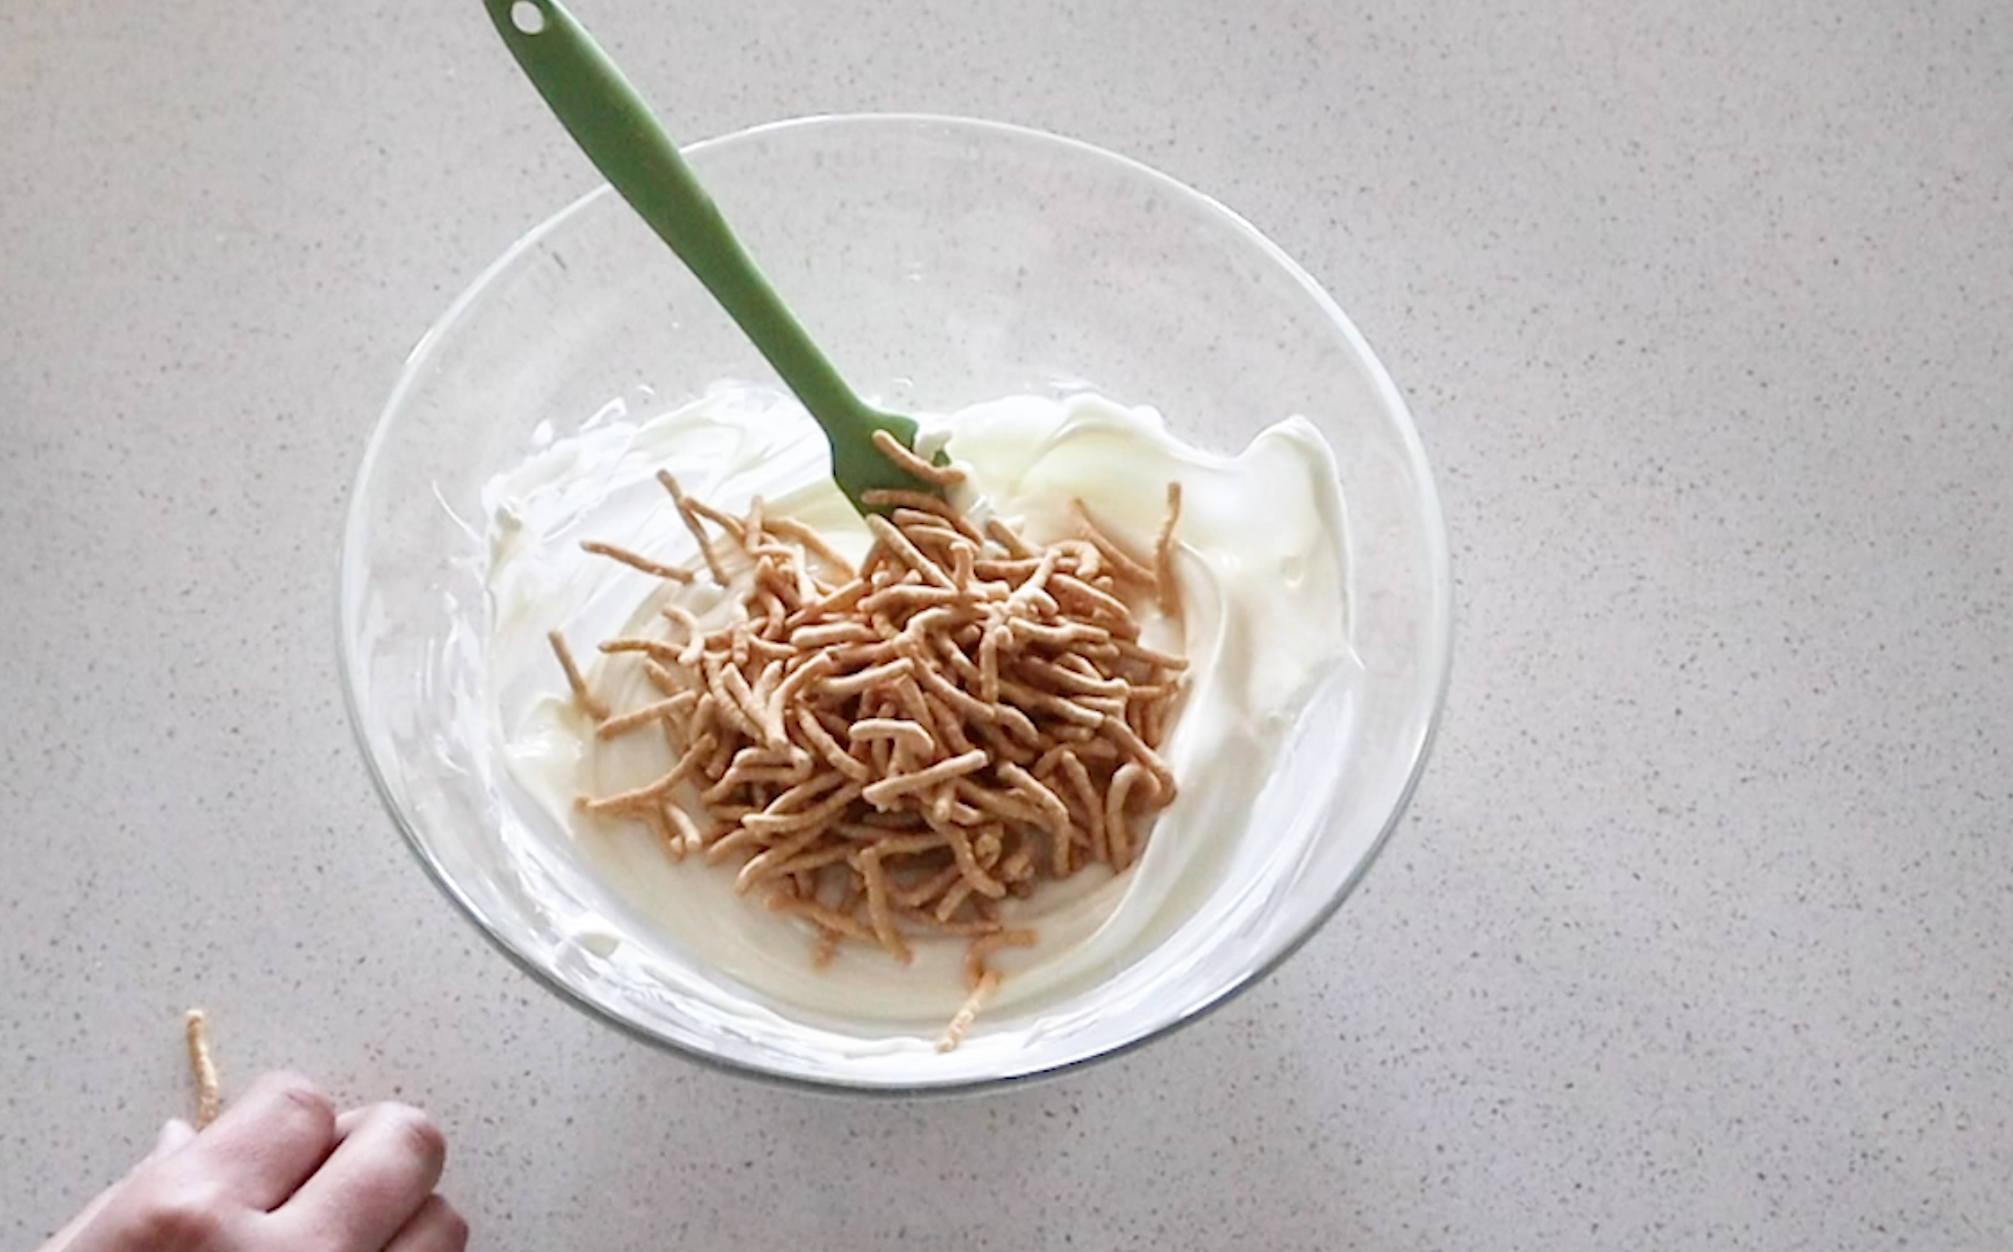
Once it is melted, add some chow mien noodles, until the consistency looks right. You want them a little chunky. You can add marshmallows in here, if you wanted to give them even more texture and yumminess.
I added a little bit of vegetable oil, so it is slightly easier to work with because those white chocolate chips get sticky!
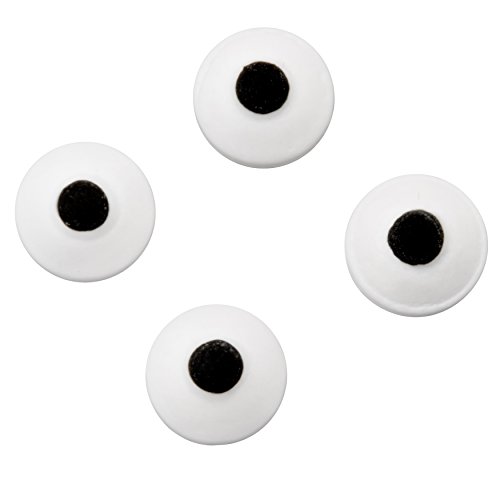
Then shape into ghosts on some parchment paper and add these little eyes. These are abstract ghosts, so just the general shape is good enough to get the point across.
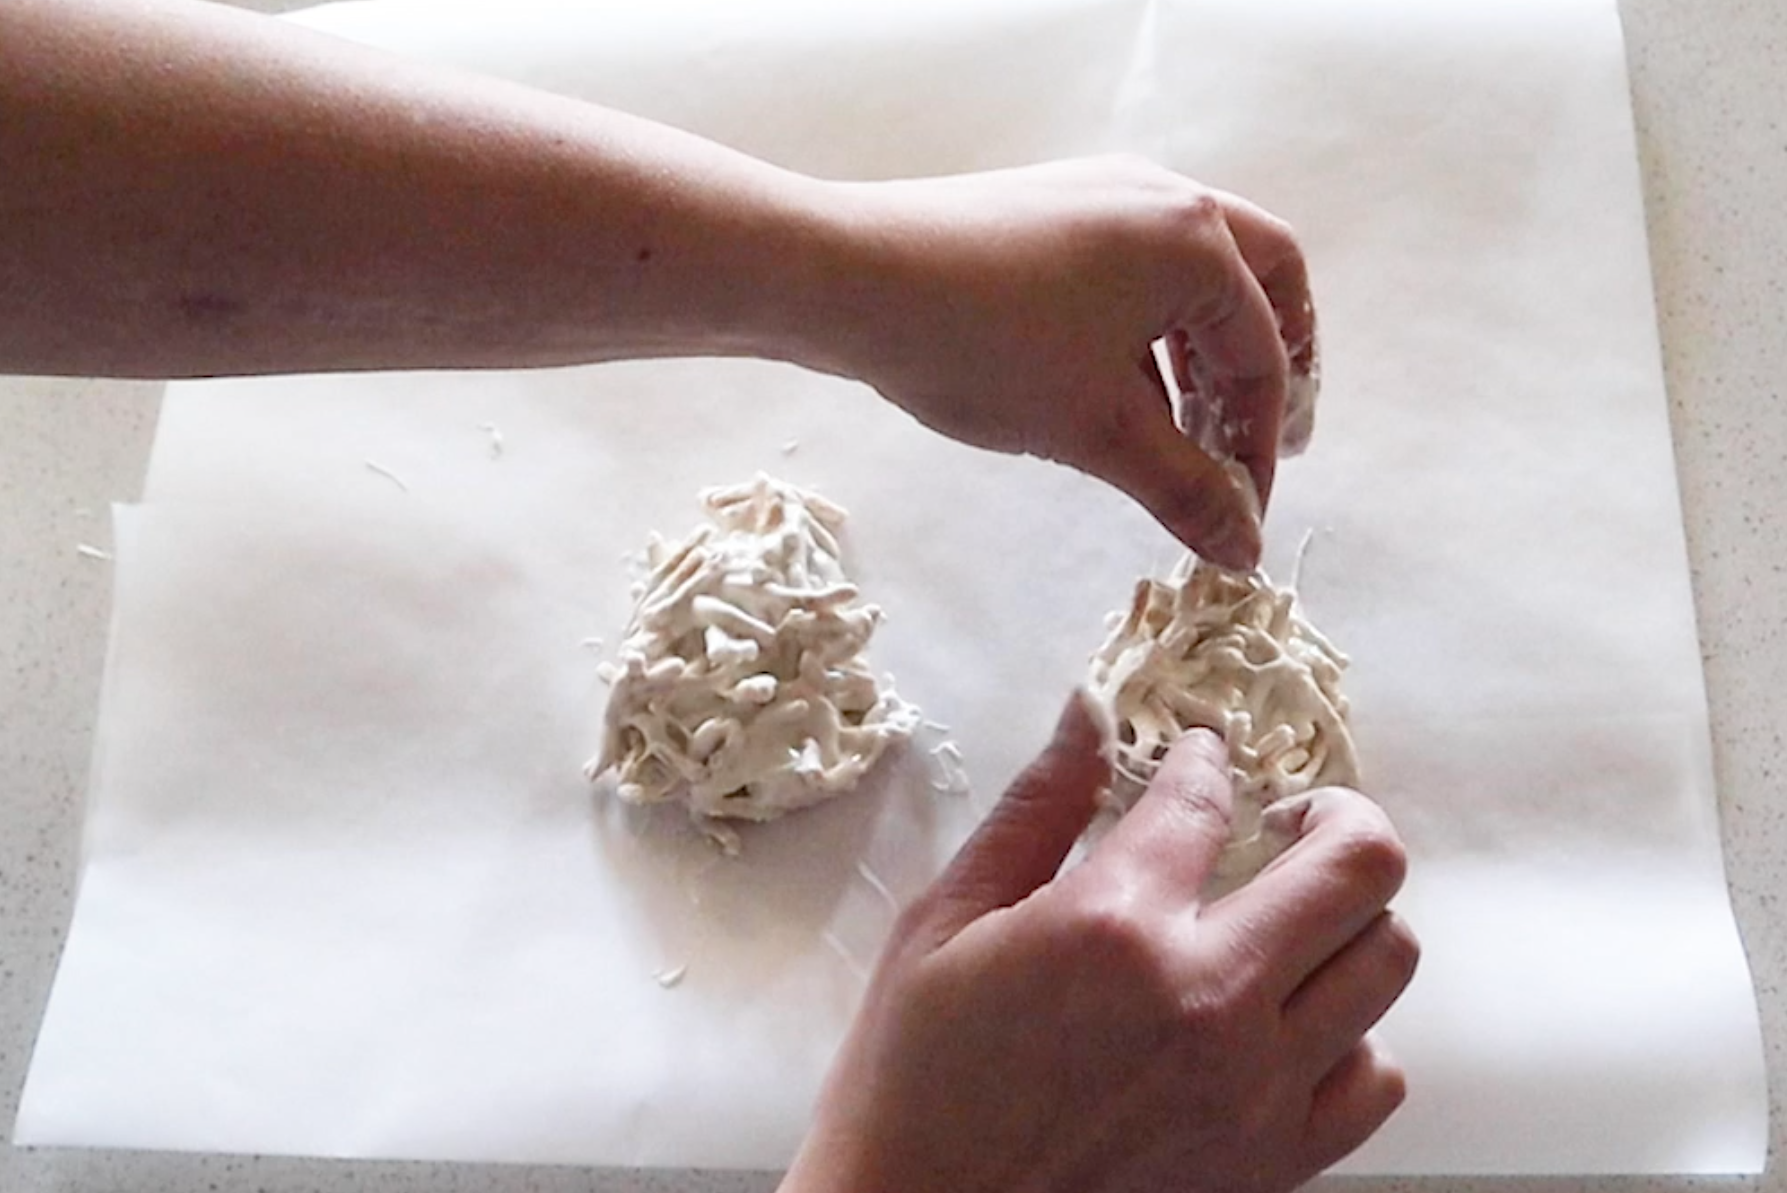

Once they harden, they are ready to eat!

Don’t forget to subscribe to my YouTube channel here and I have more creative inspiration for you below, so check out those posts!


FTC: Not Sponsored. All opinions are always 100% honest and my own. Some links may be affiliate links. If you click a link and buy something, I receive a small commission for the sale. It doesn’t cost you anything extra and you are free to use the link or not as you choose. If you do use my links, I appreciate your support.
How about some Target Dollar Spot crafts and Dollar Tree coastal transformations. We’ll be putting together tiered tray miniatures to decorate our little coastal vignette.