
Trash to Treasure Ombre Bunny Sign
If you’ve ever moved, especially in a cross-country move, you know that the movers always end up breaking something or maybe a few things go missing? Well, I had made these little nightstands for my guest bedroom and I had even done a post showing you how I put them together. Sadly, they didn’t make it in one piece on my recent move from Texas to Colorado. Check out the video below or keep reading to see how I make this now piece of trash into a super cute farmhouse ombre bunny art.

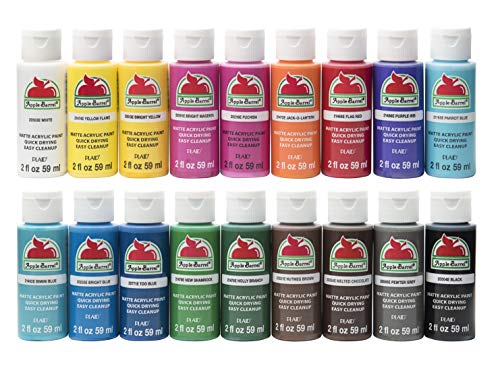
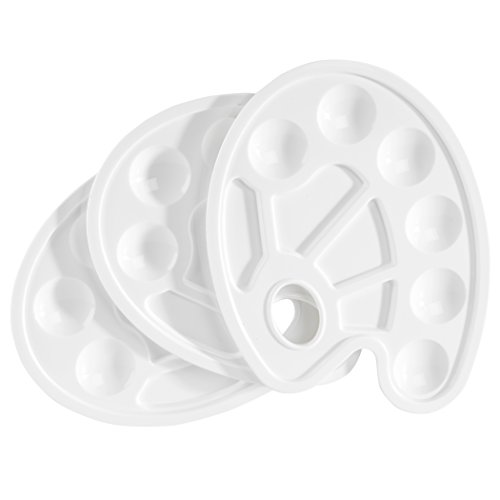
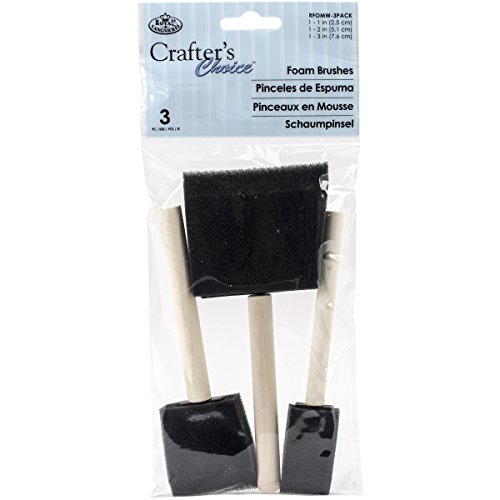
// supplies needed for this project
Back when I was making these nightstands, I got the whitewashed wood plank piece from Walmart for around $10.


1 // test your hand at freehand
Try freehanding the bunny shape with a pencil. The lines from the wood planks make it easy to make sure you are making it even on both sides. If you aren’t confident in your freehand skills, I created a template you can download for free. Adjust the % size you print it out at, to make it the right size for your project.

2 // mix the colors
The next step is to mix up some pastel colors. Or if you don’t want to use pastels, pick any colors that will blend together nicely. I used some foam brushes and acrylic paints.
3 // paint the bunny
You don’t have to paint perfectly around the bunny, because we will be going over the bunny in white paint later. I went in stripes and blended gently between the colors to get the ombre effect. I found when I got to the areas between colors, wetting the brush just a little would help the blending look smoother.

Water also helped on some of those areas where the wood texture was a little rough and the foam brush wasn’t going over it as smoothly.
Acrylic paint usually doesn’t take too long to dry, so we are on to getting the bunny shape looking good. Remember in grade school how you would try to draw within the lines? Well, having a border for painting can make things easier for grown ups too. I took a chalk paint pen and traced the bunny shape. Then I went in with some white acrylic paint and filled him in.


4 // add the tail
This is looking pretty cute as it is, but we have to go that extra mile and make this super duper ultra cute, by adding a little cotton tail. I found these pom-poms on amazon. Since we already have a lot of other colors going on in this decor piece, I think I will go with the white – but any of them would have looked good.
There was a little rubber loop on this pom pom, which comes in handy as a solid point to put the hot glue and secure it to the wood.

Perfect! You could hang this on a wall or use it flat on a table. I propped mine up in the kitchen. Look how cute this looks – super cheerful for Spring.

If you liked this tutorial and want to see more home decor ideas, then I created a YouTube playlist just for you.
click right here for more spring inspiration


FTC: Not Sponsored. All opinions are always 100% honest and my own. Some links may be affiliate links. If you click a link and buy something, I receive a small commission for the sale. It doesn’t cost you anything extra and you are free to use the link or not as you choose. If you do use my links, I appreciate your support.
How about some Target Dollar Spot crafts and Dollar Tree coastal transformations. We’ll be putting together tiered tray miniatures to decorate our little coastal vignette.