
SUPER CHEAP DUPES of Expensive Decor | KIRKLANDS Dupes | Christmas Decor 2021 Ideas
Let’s make more Kirkland’s copycats! These are all budget friendly dupes of expensive high end Christmas decor. So, if you like to get crafty and are on a budget, this post is for you!

// kirkland’s christmas wreath
I love creating elegant wreaths. I thought this one was so beautiful with the black and white and green and red. There are even a few pinecones, which is a nice touch. The contrast between the sharp black and white pattern with the organic natural elements is what makes this wreath so special. Let’s see how much cheaper we can make our version.

You could either use a wire wreath form or you could go with one of these styrofoam rings, which is from Dollar Tree.
I found this buffalo check ribbon at Dollar Tree too. I know it’s a little different than the houndstooth pattern in our inspiration, but it’s close enough to give our wreath the same look and feel. I tried to wrap the ribbon and overlapped the edges as evenly as possible.

As you can probably tell from the looks of this styrofoam ring, I like to re-use my craft supplies. Sometimes I like to switch up color schemes. One year I’ll do traditional red and green and another year I may go with all neutrals.
I like my projects to be sturdy, but I also have in the back of my mind that I may want to disassemble this at some point and create a new wreath. So, I’m using minimal glue only where necessary, which was at the beginning and end of the ribbon.
The ribbon did not cover the entire ring, but that’s ok because we’ll be using lots of florals to cover that part up.

I got most of these florals from Dollar Tree, except the eucalyptus leaves which are from Amazon.
The last step is to use floral wire and a little hot glue to attach everything together.

Here were the supplies we had to pick up for this project.

And here’s mine compared to the Kirkland’s one. I think this is a pretty close dupe, for so much less. But let me know what you think in the comments section below!

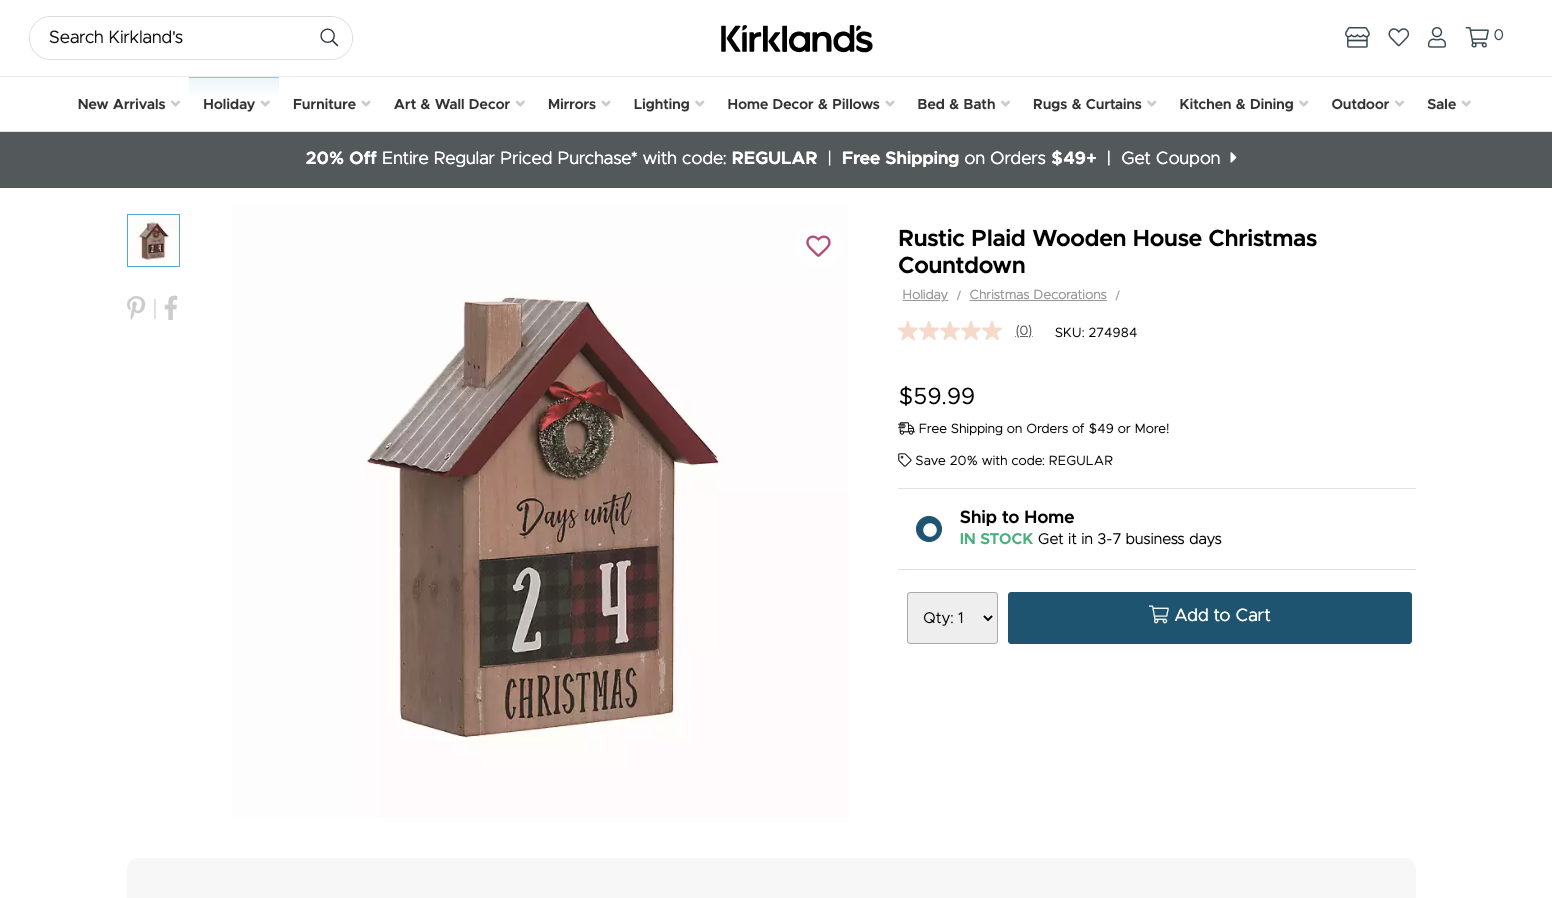
// wooden christmas countdown
Isn’t this Days Until Christmas sign so cute? I have been loving Countdown to Christmas signs this season and made one in my last post too. But I know we can make this one for less than $60.
We’ll start with this wooden house I found at Dollar Tree in the $5 section. It was originally a raw wood color but I had used it during Christmas in July and I actually used that ribbon on the wreath we just made! But we’ll be using the back of this house for our project today.


I painted the house with a greige color. The paint was a little drippy, so I used a dry sponge brush to smooth it out. I like the texture that the sponge brush gave the paint.


For the chimney, I used a Jenga block and measured the angle that I needed to cut, so it would sit nicely against the top of the roof.

And then I cut the end off with a saw.

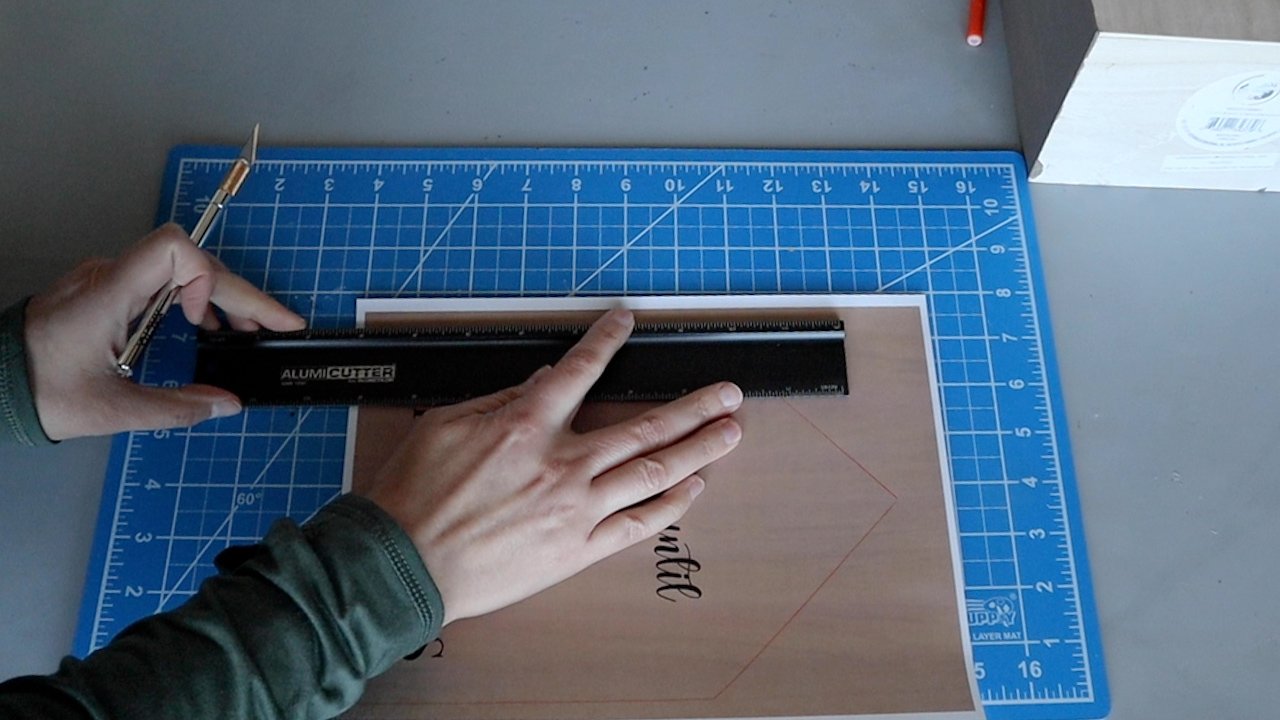
I traced the printable to the shape of the house and then trimmed it out.

We’ll be using Super 77 to stick the paper to the wooden house. I like to use a rubber glove and a clothespin to make this task a little easier and less messy. I’m going to run outside, give this a spray and then smooth it down.

Look how seamless that is on the edges. You can barely tell that this was just a piece of plain white paper a few minutes ago.

Now for the number signs. I glue these to a piece of poster board that I found at Dollar Tree.

The back of this poster board is gold, so it will look dressy on the backs too.

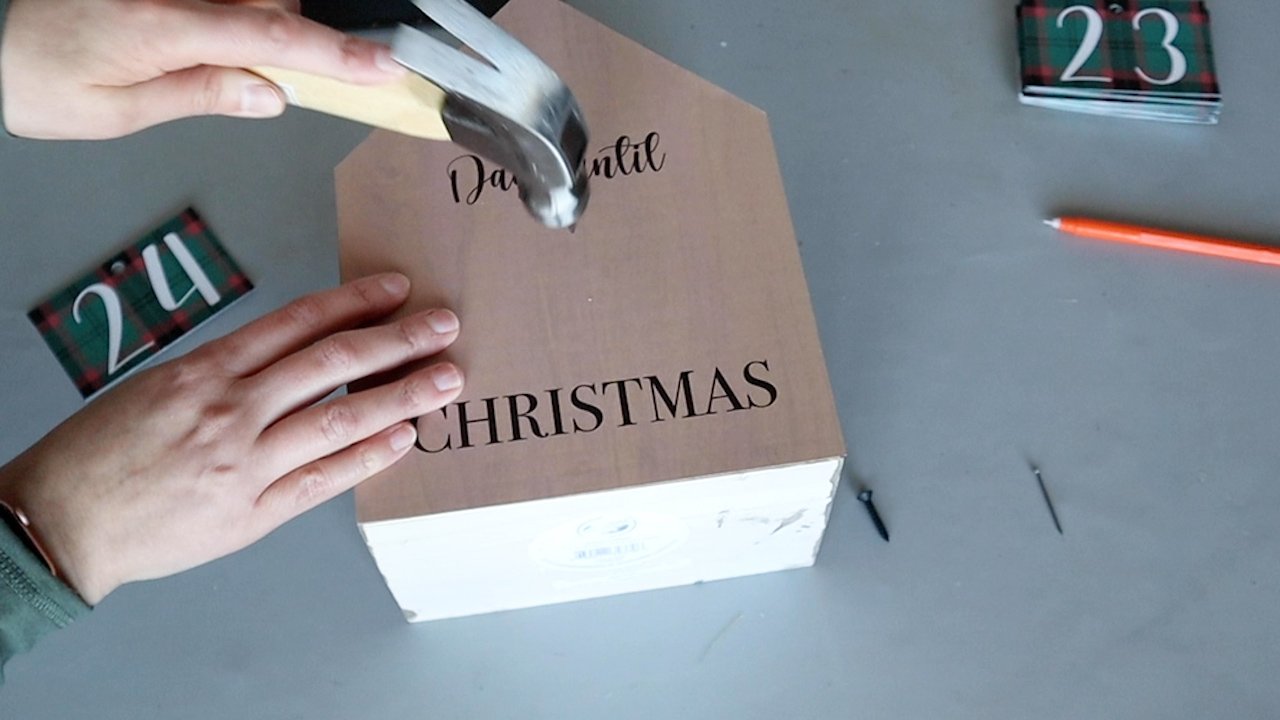
I used a hole punch to create the round hole in the center top of each number sign.

Next, we’ll mark where the nail will go and just hammer that in there. I used a short nail, so it wouldn’t pop through on the other side.
If you wanted to decorate this a little more you could add some fluffy white fabric to look like snow on the roof. Or even could attach some bushes to the front with moss. There are lots of ways you can dress this up, depending on what kind of style you’re going for.
I made my wreath a little different than the Kirkland’s one. I was kind of back and forth on if I should add bells. I tend to err on the side of simplicity versus over complicating a design, so I decided I liked the look of just the red and green on the wreath.
I also thought about adding a little smoke off the chimney, but decided against that too.

Here were the supplies we needed.

And here is mine compared to the Kirkland’s one.

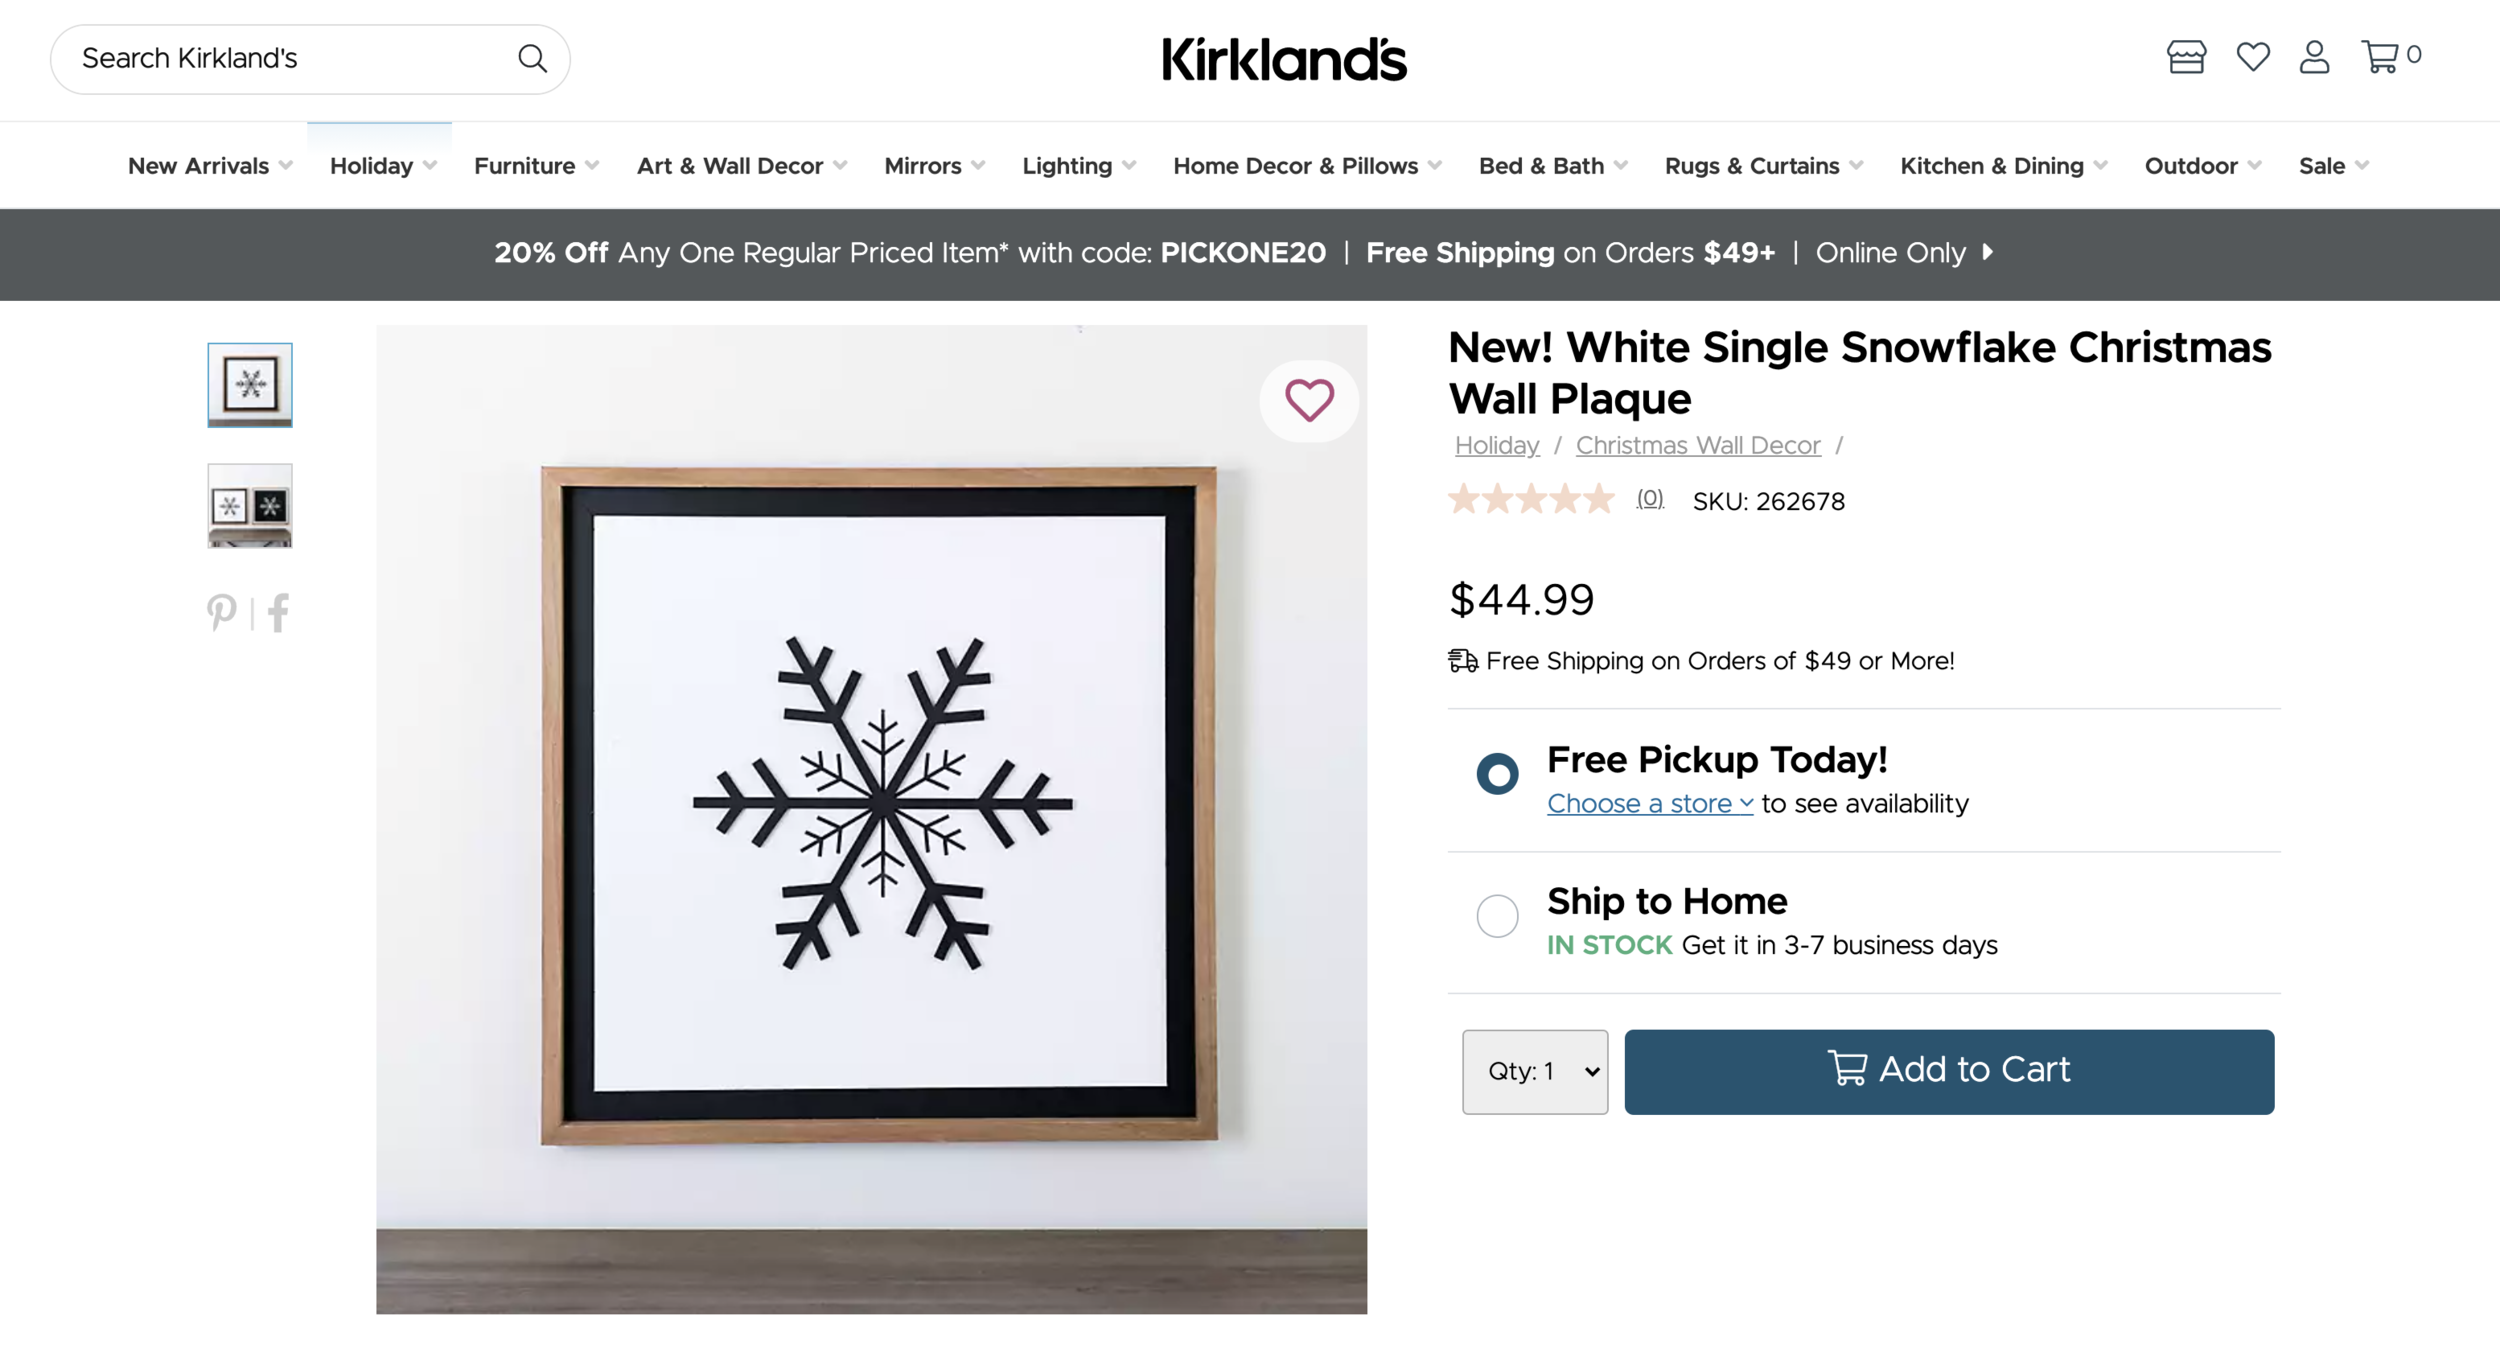
// snowflake sign DIY
I always like to throw in a super easy DIY at the end, just in case you’re feeling like these were too hard or you don’t have the supplies on hand. So, hopefully this last DIY will get you excited to try because of how simple it is to put together.
Let’s make this pretty snowflake sign for way less than the price listed here.
I removed the canvas off of a plain white canvas from Dollar Tree and was left with this wooden frame. You can see the staples on the corners, so a little wood filler and that should fix them from looking so obvious.

I used some grey and brown paint and brushed this on and then went over a few areas with just the dark brown, so it wouldn’t look so flat.
For the backing we will be using some foam core from Dollar Tree. I traced the size of the inside of the frame.
I know the inspiration has a black line around the edge but I thought it would be fun to do something different and am creating the border with buffalo check ribbon.
If you wanted to just do a black border, you could mask off the edges and use some paint to get that look.


Now that we have our base, there are a couple different ways you could create the snowflake. You could use wooden shims. Or you could go with wooden dowels and skewers from Dollar Tree. you could cut those with miter shears to get the angles on the ends so the pieces attach together correctly.


But again, we’re going to take our own little spin on this one and we’re going to use washi tape! This is probably the easiest way to do this and it’s so fun because you can mix and match the colors and patterns of the tape to suit your style and home decor. I’m going to use a variety of the black and white washi tape.

I did end up overlapping some of the tape to give it a finished look on some of the more see through areas.

Then I used some glue to attach the frame over the top.
Here were the supplies we used and the comparison to the Kirkland’s version.

I ended up placing this over some coat hooks in the entry way and I love the festive look when you first walk in the front door.

Weren’t all of these dupes so easy and fun to make? Plus, we saved sooo much money by making them ourselves!
If you liked these dupes, you may like some more inspiration. Check out the posts below!


FTC: Not Sponsored. All opinions are always 100% honest and my own. Some links may be affiliate links. If you click a link and buy something, I receive a small commission for the sale. It doesn’t cost you anything extra and you are free to use the link or not as you choose. If you do use my links, I appreciate your support.
How about some Target Dollar Spot crafts and Dollar Tree coastal transformations. We’ll be putting together tiered tray miniatures to decorate our little coastal vignette.