
Trash To Treasure DIY Projects Using What Could Have Been Trash!
In an effort to be less wasteful, I wanted to do a trash to treasure post and give you a few ideas on how to turn things you may have thrown away into beautiful home decor pieces.
I am liking this ideas of turning trash to treasure more and more as my craft stash is building up. But, we all have things we look at before throwing out and wondering if it is too nice of packaging to throw away.
As always, I did a video to go along with these tutorials, so you can check it out below, if you would rather watch than read!

// hanging planter
I got this cookie tin at Christmas and well, those David’s Cookies didn’t last long. Have you guys ever had David’s Cookies? These were my first time trying them and they did not disappoint. Anyway, we are just going to use the base of this tin to make a hanging planter.

I want it to look similar to those round hanging planters that have the front half way opened. But to make this one unique, I think doing the square at an angle would look really good, so let’s create the piece for the front out of foam core. I’m just going to be putting some faux florals in here, so we don’t have to worry about this being waterproof.

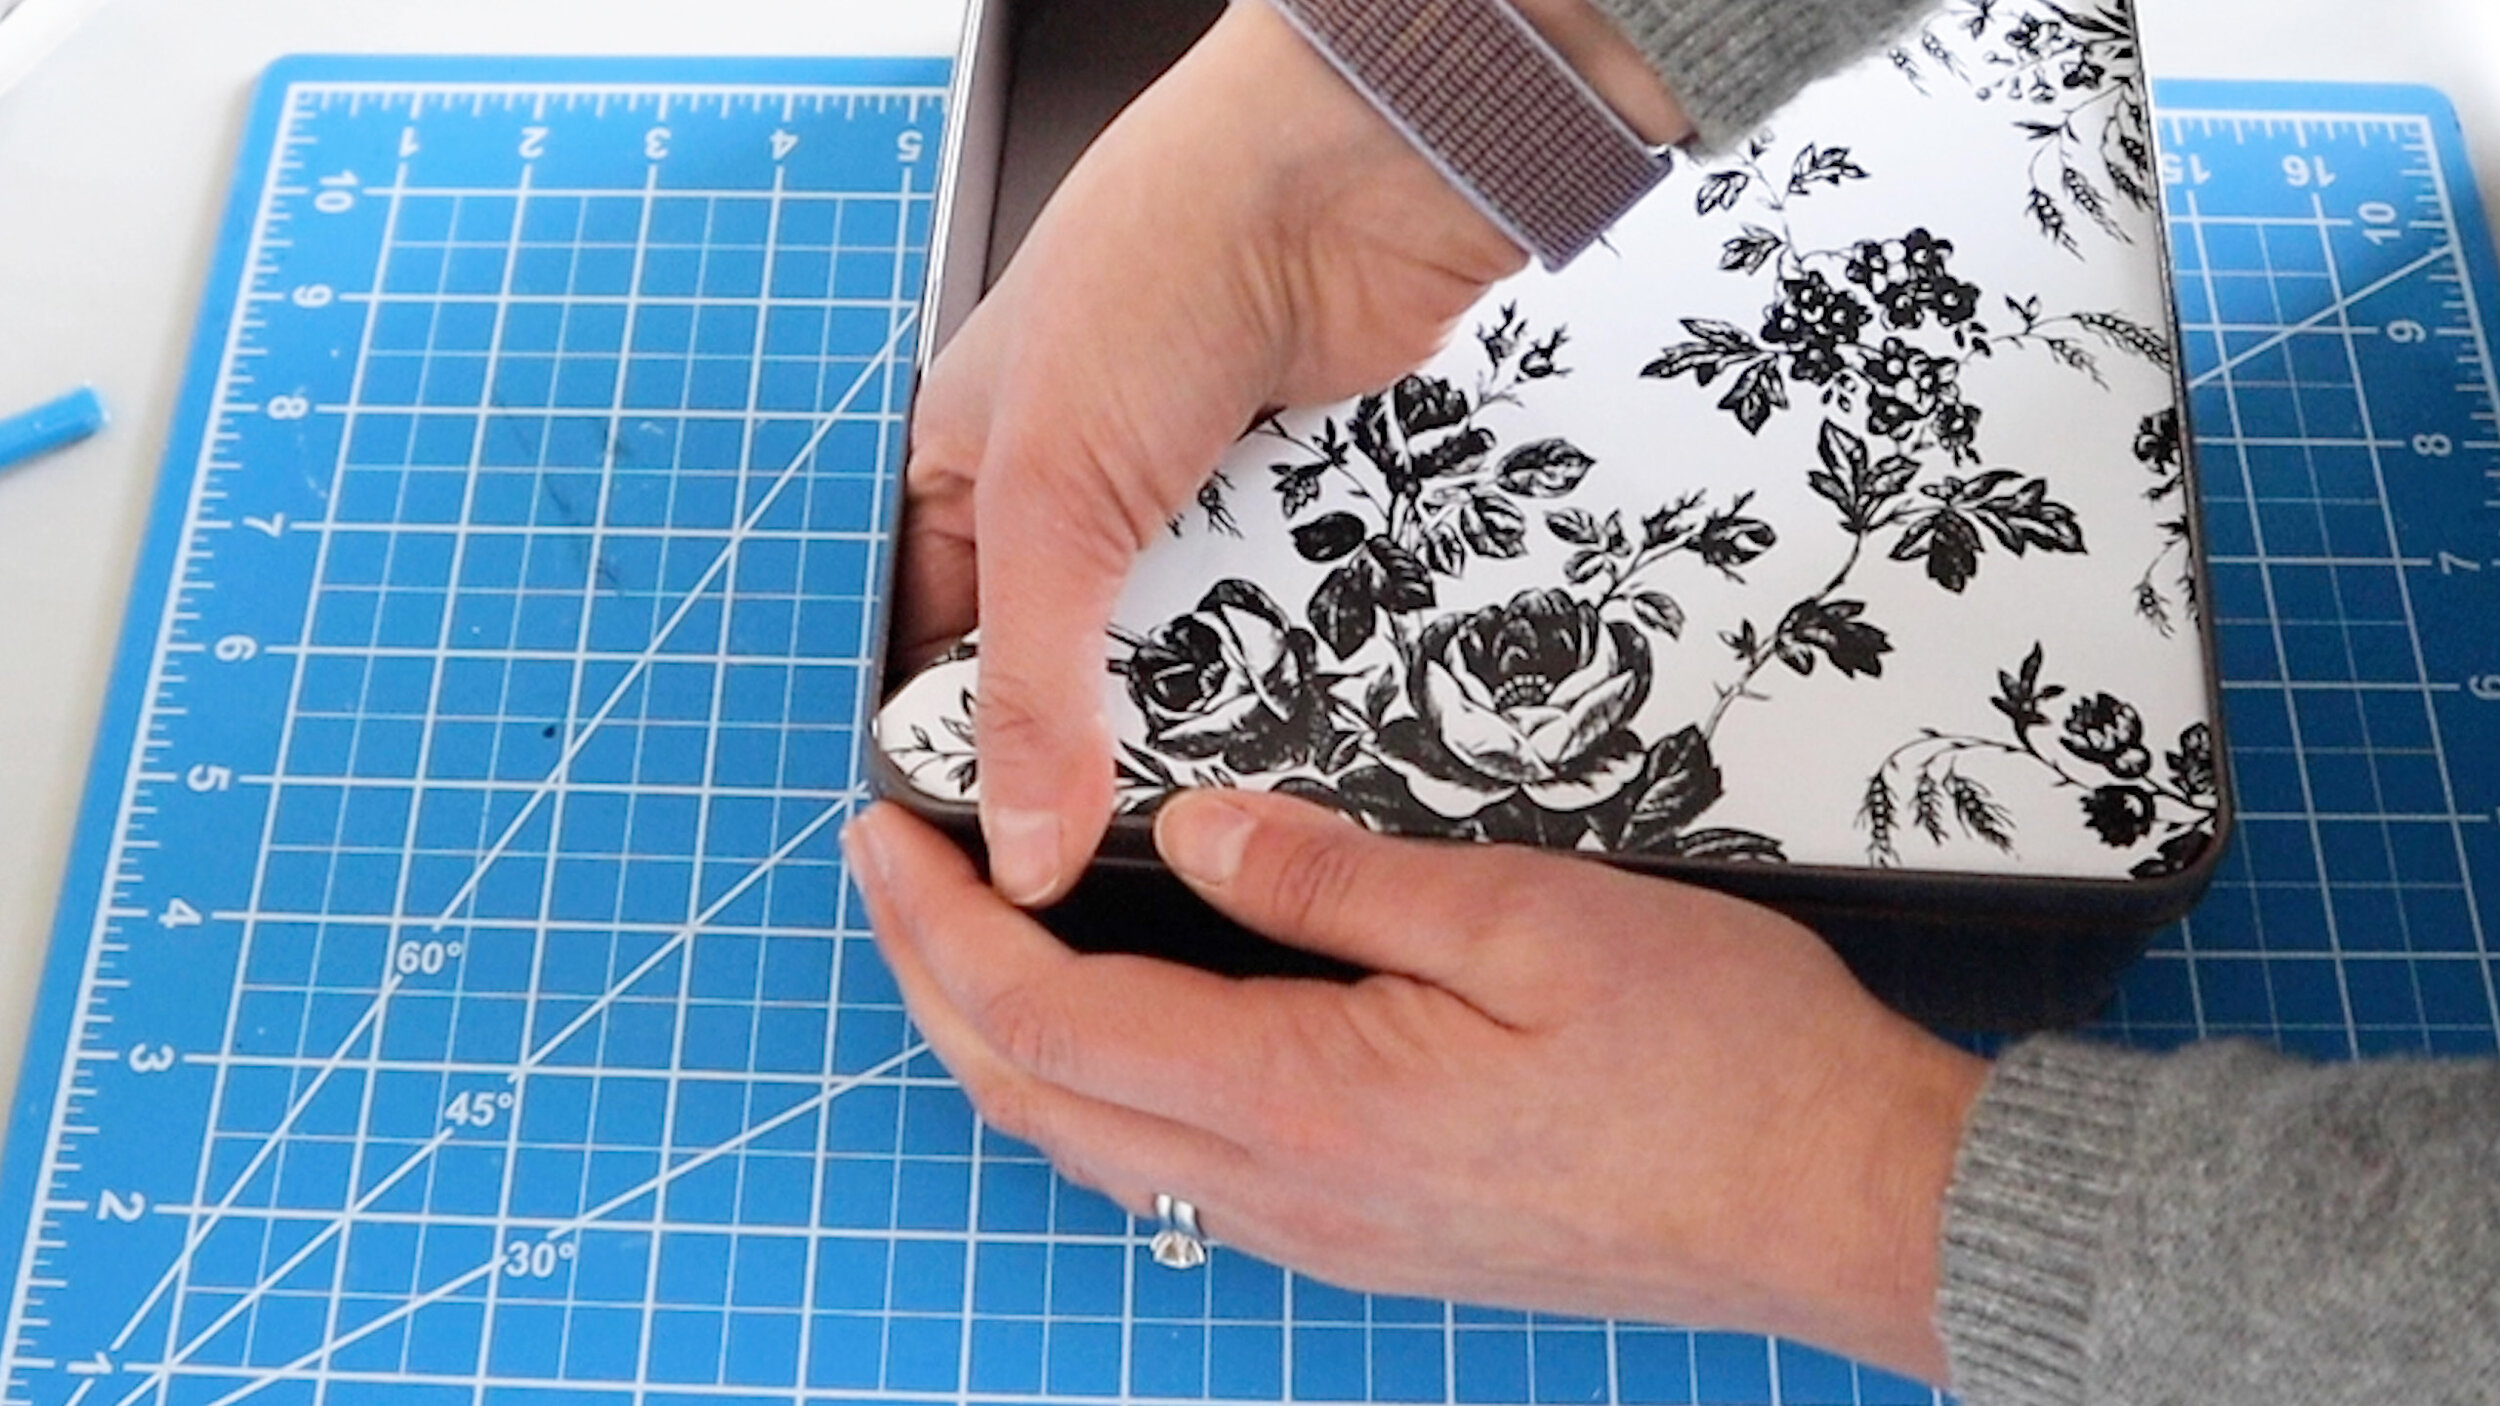
I traced the edge of the planter and then trimmed it out, trying to stay inside the line about 1/16th of an inch.

When I’m cutting foam core, I like to start the knife outside of the edge. That way, I get like a running start and it helps prevent any rough edges on the foam core.

Now when we get to the curves, I do a different technique and stick my knife right in the middle of the curve and kind of saw my way through. Then I go back and smooth out the cut. This gave me a perfect edge.

I’m going to use this paint on all my DIYs today, so they all tie together. This is a dark grey-ish brown and has a nice satin finish.


Next, we’re going to take some Dollar Tree contact paper to cover up the front panel. Even though that paint turned out great on the metal, I wasn’t happy with how it came out a bit splotchy on the foam core. I think this contact paper will make the planter look more cheerful anyway.

I added a bit of hot glue and secured the panel inside the metal box.

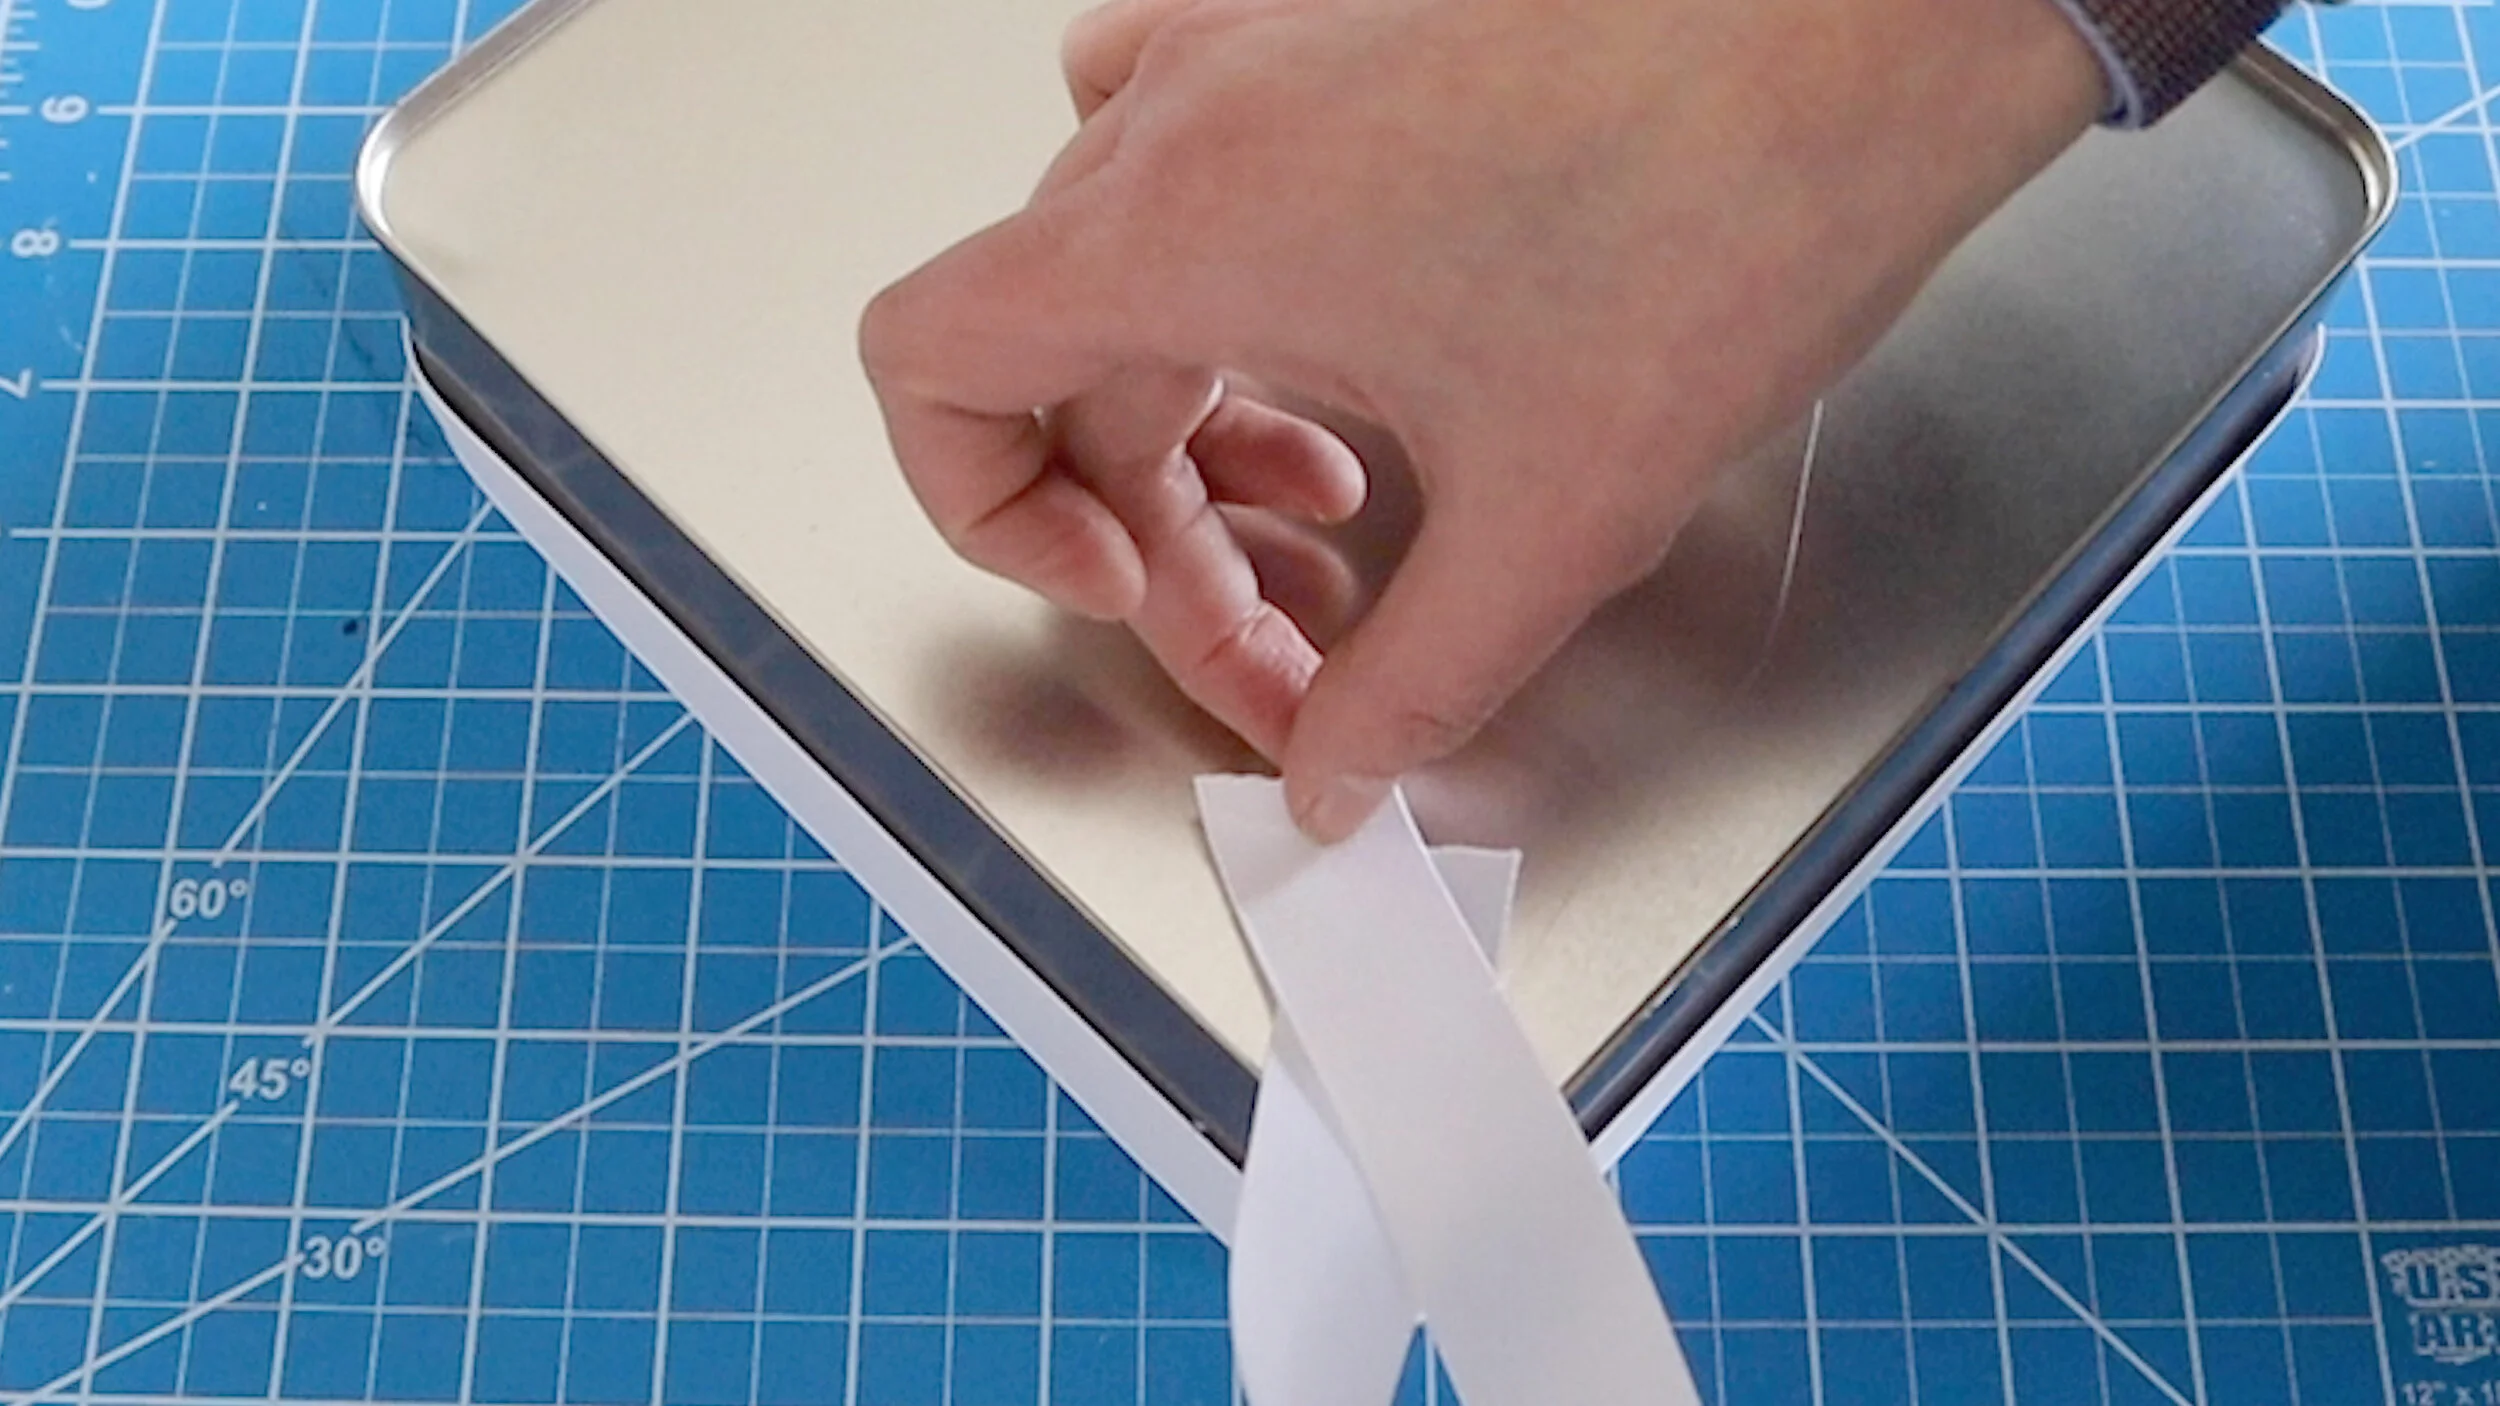
Then I added a bit of ribbon to the sides and also created a loop so this can be hung on a wall or door.
I used a bit of foam to hold some florals and worked them into the opening until I was happy with the layout.


Here is the total cost for our project. Using that old cookie tin really saved some money!

// floral lattice
Another Christmas present is getting upcycled! I got a gift in this really sturdy box and I want to make a floral arrangement with the base of this box.

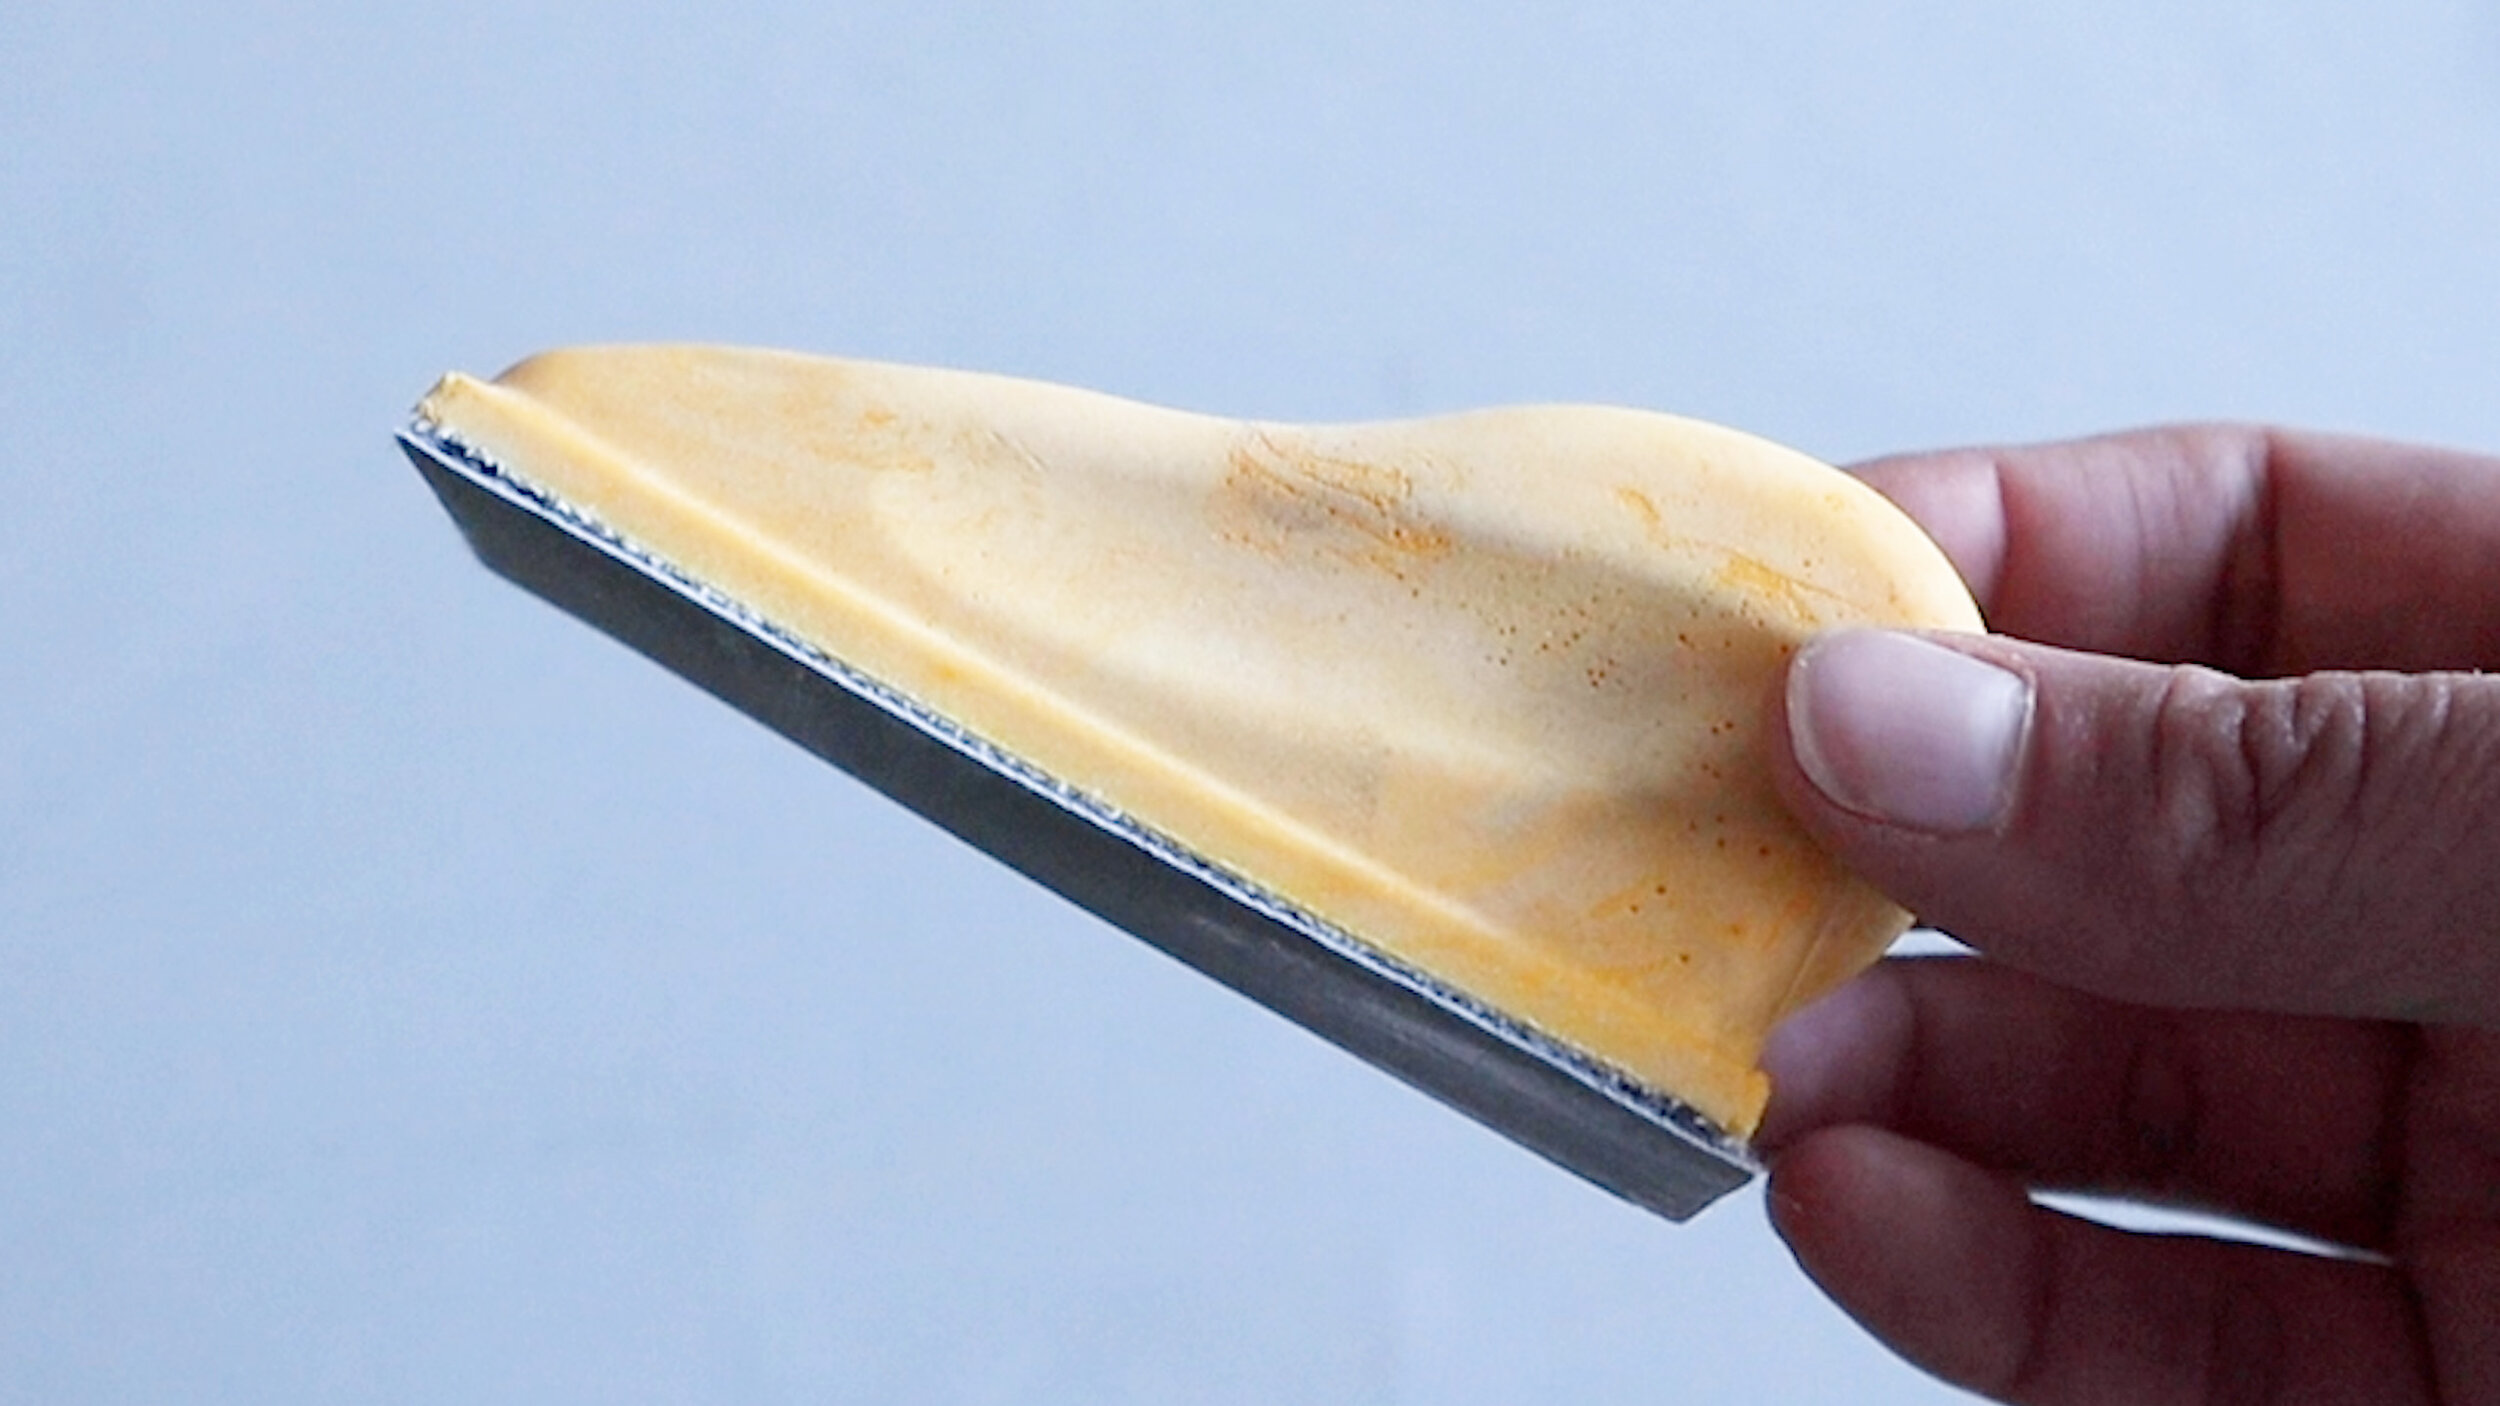
We’re going to start by cutting off the lid with an Xacto knife.

I’m going to give the box a coat of spray paint and while that’s drying, let’s work on the lattice.
I was super excited to see that Dollar Tree doubled the amount of mini “Jenga” blocks they include in their package.
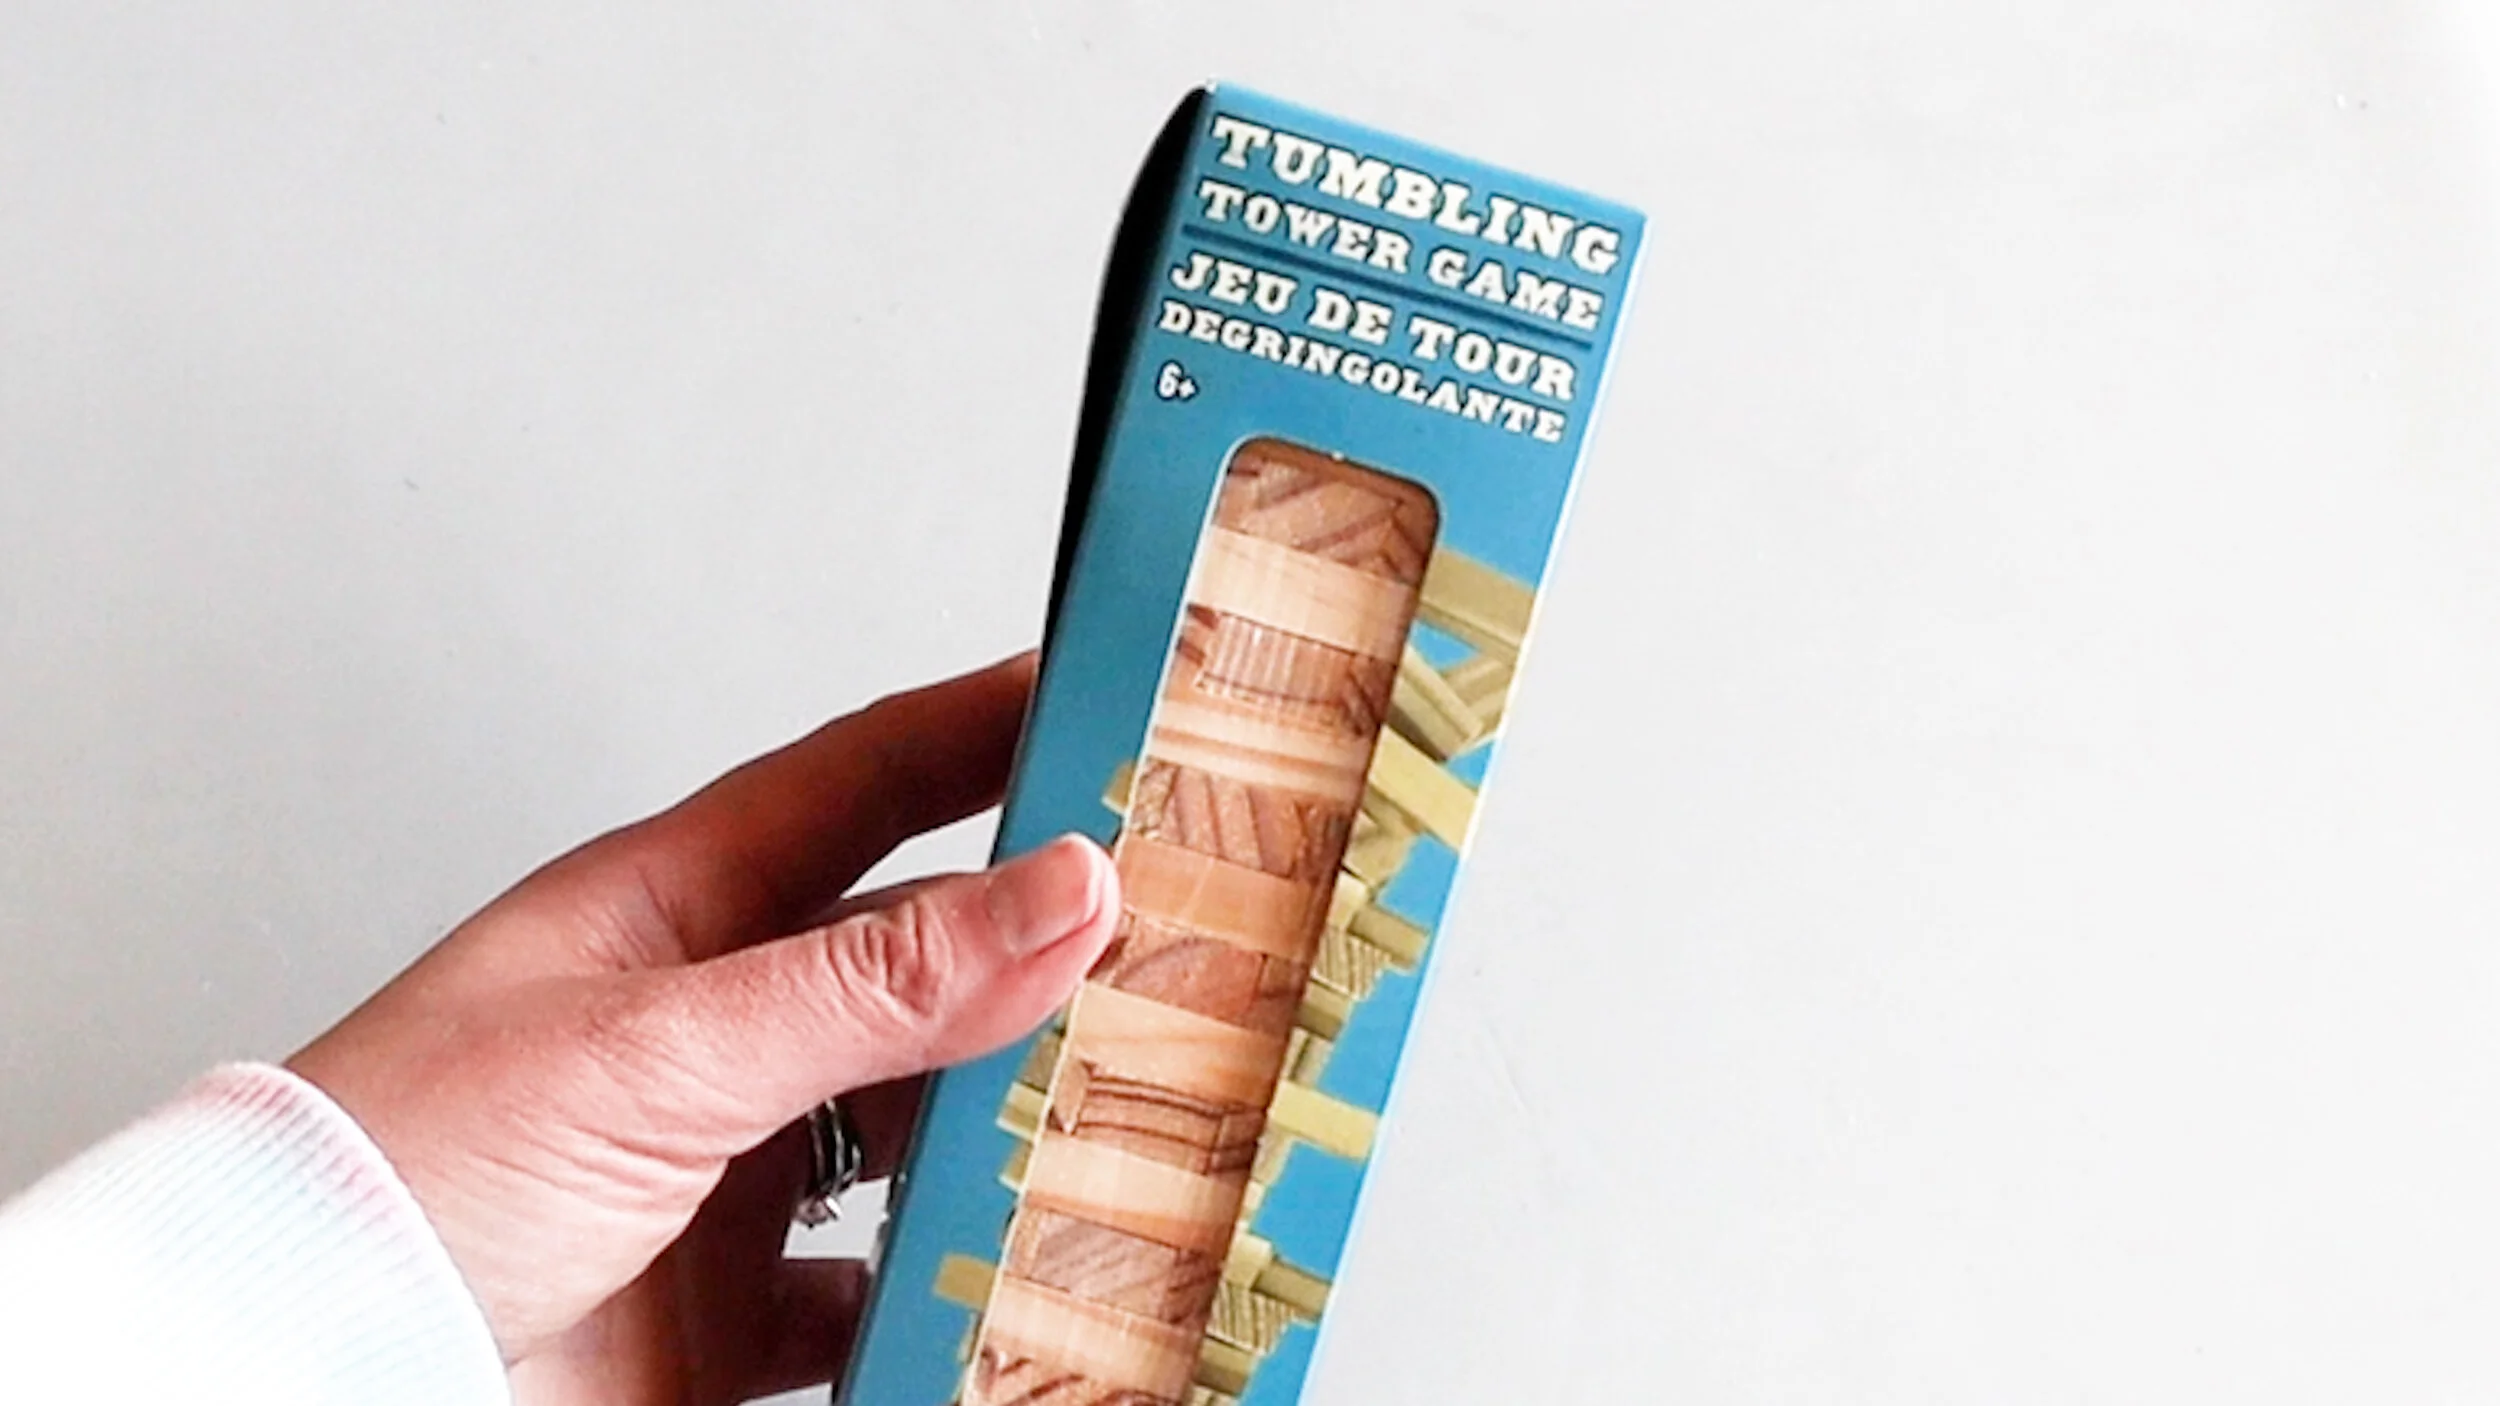
I started by laying these out and figuring out how many would make a nice looking lattice.

After I was happy with the layout, I glued them together. You will want to pick off any stray hot glue bits before moving on to the next part, which is using some wood filler where the wooden blocks connect.

Now this wood filler won’t make this perfectly flat and smooth when we’re done, but we’re not going for perfection. I just want to cover any really obvious gaps.

After that dried, I tidied up with a damp paper towel and then did some sanding. After sanding I wiped this down again to get rid of any dust, so everything would be nice and clean for painting.
This took a couple coats of white paint.

I trimmed the box with this white ribbon. I think the white looks so crisp against that grey-ish brown color.

I found these domed stickers at Dollar Tree and spray painted them white. I used a dot of hot glue to attach these evenly spaced out at the bottom of the box.


I wanted to add some foam blocks to support the lattice. I used a combo of E6000 and hot glue to secure the lattice in place.
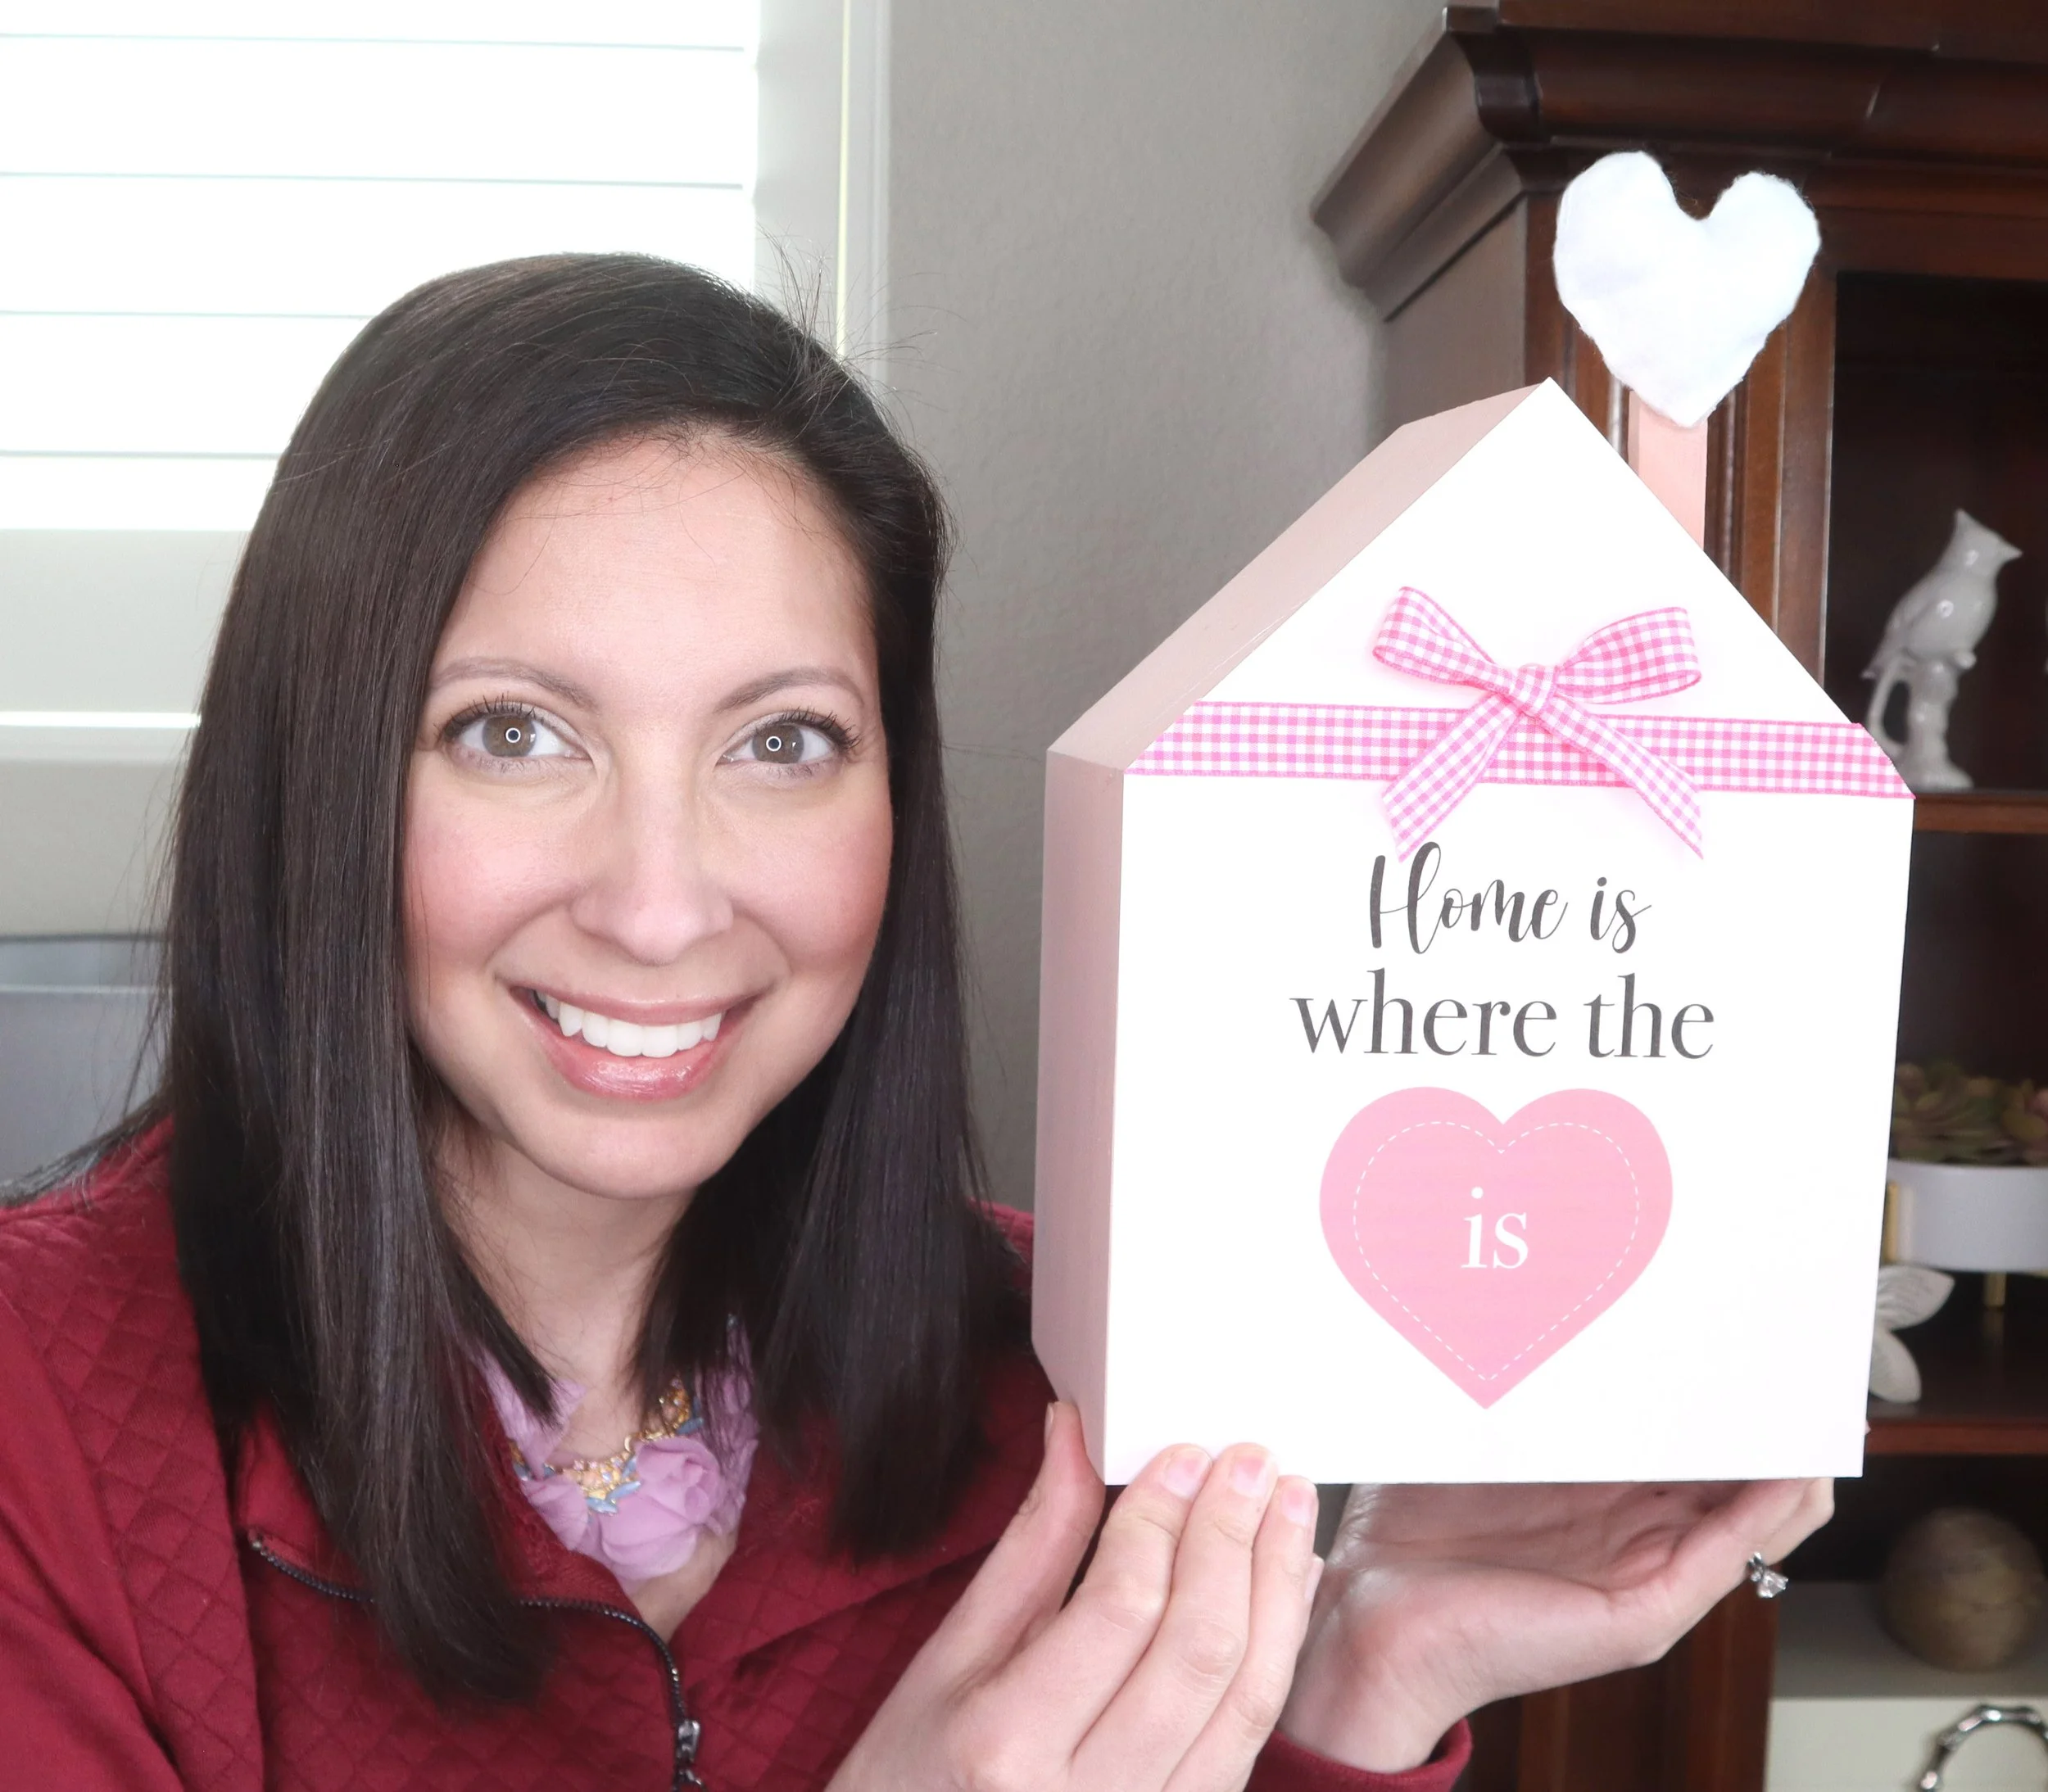
I’m going to use some greenery I got on Amazon and some styrofoam to put these in place. The nice thing about this flower box is you can change out the florals for every season. And since it is neutral in color, it should work all year long.


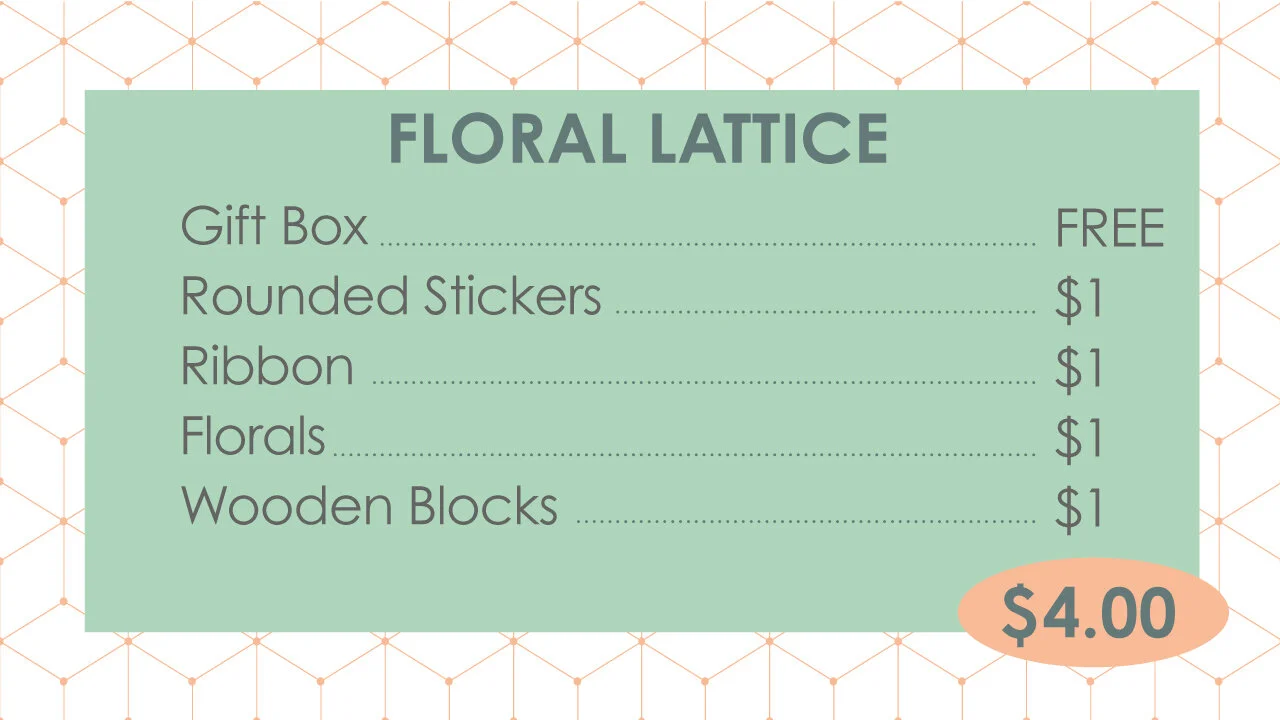
And here are the prices for the items we had to pick up.
// mexican coke bottle vase
I usually try to be healthy, but we ordered food the other day and I saw Mexican Coke on the menu, so I treated myself to a bottle. Then the bottle was so pretty, I didn’t want to get rid of it. So, we’re going to make this bottle into a pretty vase for some Spring flowers.
I thought the Coke branding was a plastic sticker, but it’s actually melded onto the glass. I think the paint should cover it up, but we can always do something decorative over that area if needed.

The only thing I can really remove is this white sticker and I’m going to start by picking off as much as I can and then soaking it in some warm water and soap for about 30 minutes. Most of it came off, but I had a few little pieces leftover, so I used my homemade Goo be Gone (2 Tbsp. vegetable oil, 3 Tbsp. baking soda) to get this perfectly clean.


The paint did do a good job covering up that label, but there is still a little embossed area showing so I think we will dress this up with some of the white ribbon and those rounded stickers.


I found this giant flower in the dollar spot at Target. Isn’t it so pretty? It came on a thicker stem, but I Frankenstein-ed it onto a smaller stem, so it would fit in this vase. I just popped this in the vase and added a few sprigs of greenery.


And here were the prices for everything we used on this project.

Did you like these DIYs? If so, you may enjoy being on the mailing list. I promised only useful update - never spam! Join below to stay up to date on crafts and ways to make your life more creative.


FTC: Not Sponsored. All opinions are always 100% honest and my own. Some links may be affiliate links. If you click a link and buy something, I receive a small commission for the sale. It doesn’t cost you anything extra and you are free to use the link or not as you choose. If you do use my links, I appreciate your support.
How about some Target Dollar Spot crafts and Dollar Tree coastal transformations. We’ll be putting together tiered tray miniatures to decorate our little coastal vignette.