
Budget Friendly Splatter Paint Dining Table Decor
These are some really cute kitchen and dining room DIY’s! They have neutral colors, so they’ll go with any decor and they’re so easy. Anyone can make these!
I did a video below, in case you want to watch how these 3 DIY’s came together.

// coasters
I recently found these small dishes in the Target Dollar Spot. They were only $1 each and they came in a couple different shapes.
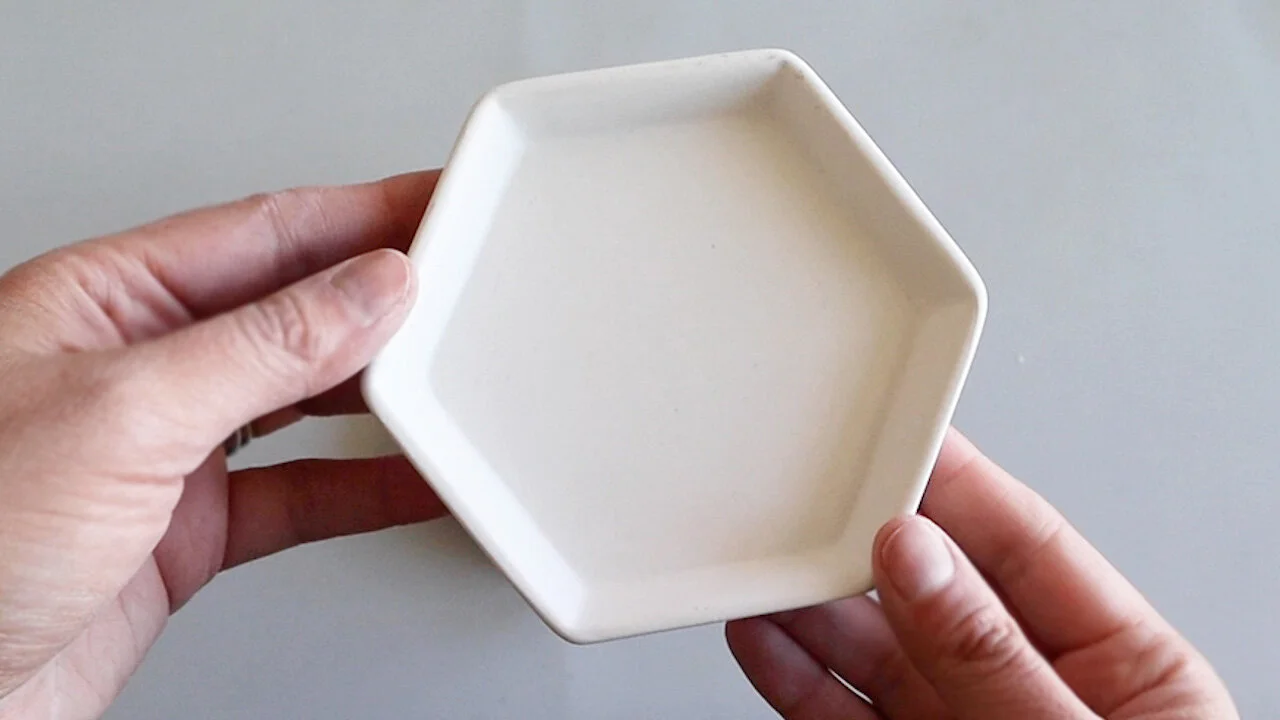
These are just the right size to be coasters, so I taped off one section on each.

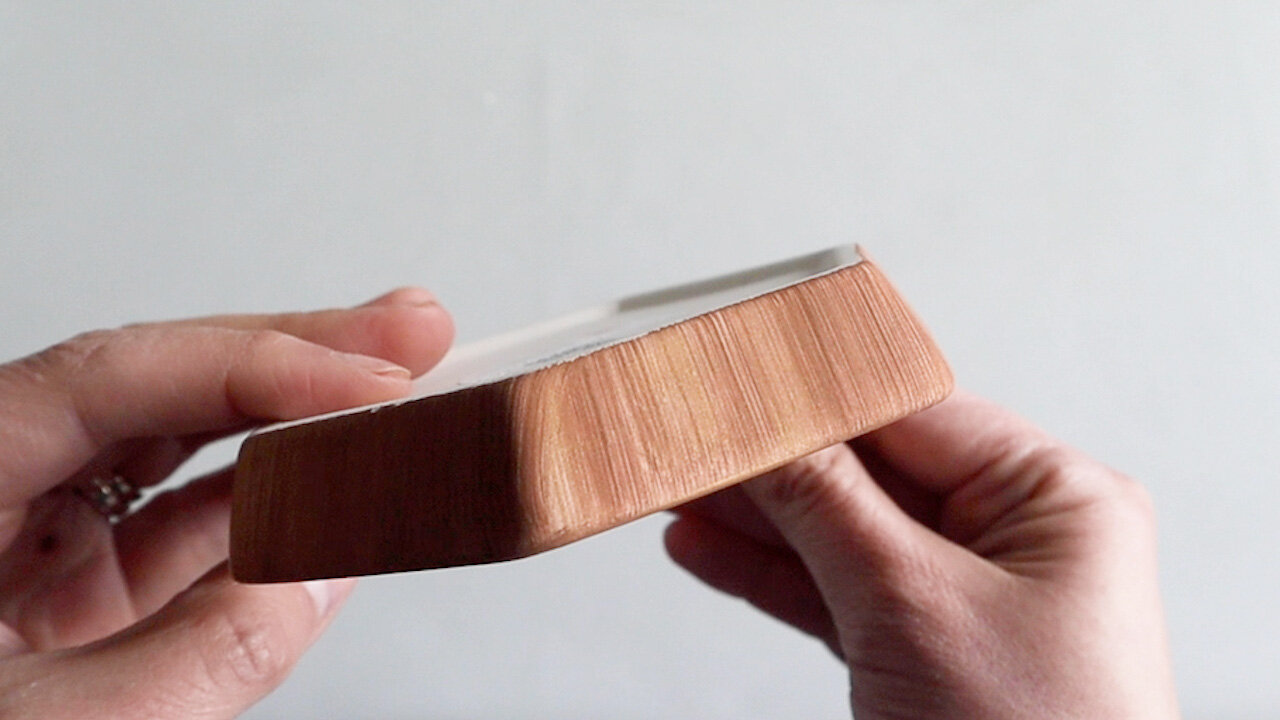
I am wanting a warm brown for one half, because I want to paint it with a wood looking texture.

I used a foam brush and also a bristle brush and kept the brush strokes going in the same direction. I didn’t blend the paints together too well, so I could get the streaks going through, which give it that faux wood look.

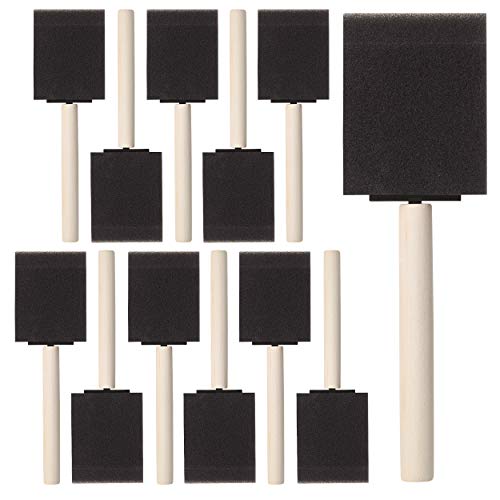
I want to do black splatter paint on the white section, so I’m finding a brush that is pretty stiff. You can see these two look really similar, but one is much stiffer than the other when you push against it and bend the bristles.

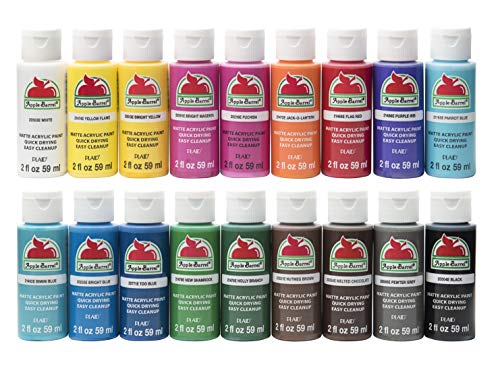
I took some black acrylic paint and mixed it with some water, until I got a consistency that was liquid-y and seemed like it would do its splatter thing real well.

Then I masked off the faux wood sections on my coasters.
I find it easiest to use my finger to do the paint splattering part. I am just flicking the paintbrush and, yes, paint is going everywhere, so make sure you have a big enough workspace so that the paint doesn’t ruin any furniture or carpet.

After the splatter paint dries, you will want to use a clear coat spray paint. This will seal everything in, so when you put on the waterproof Mod Podge, it won’t smear.
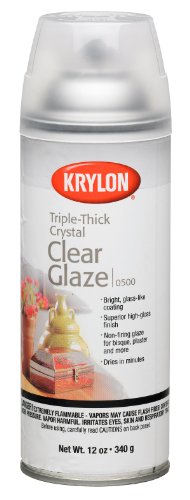
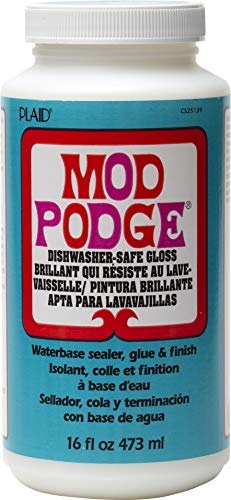
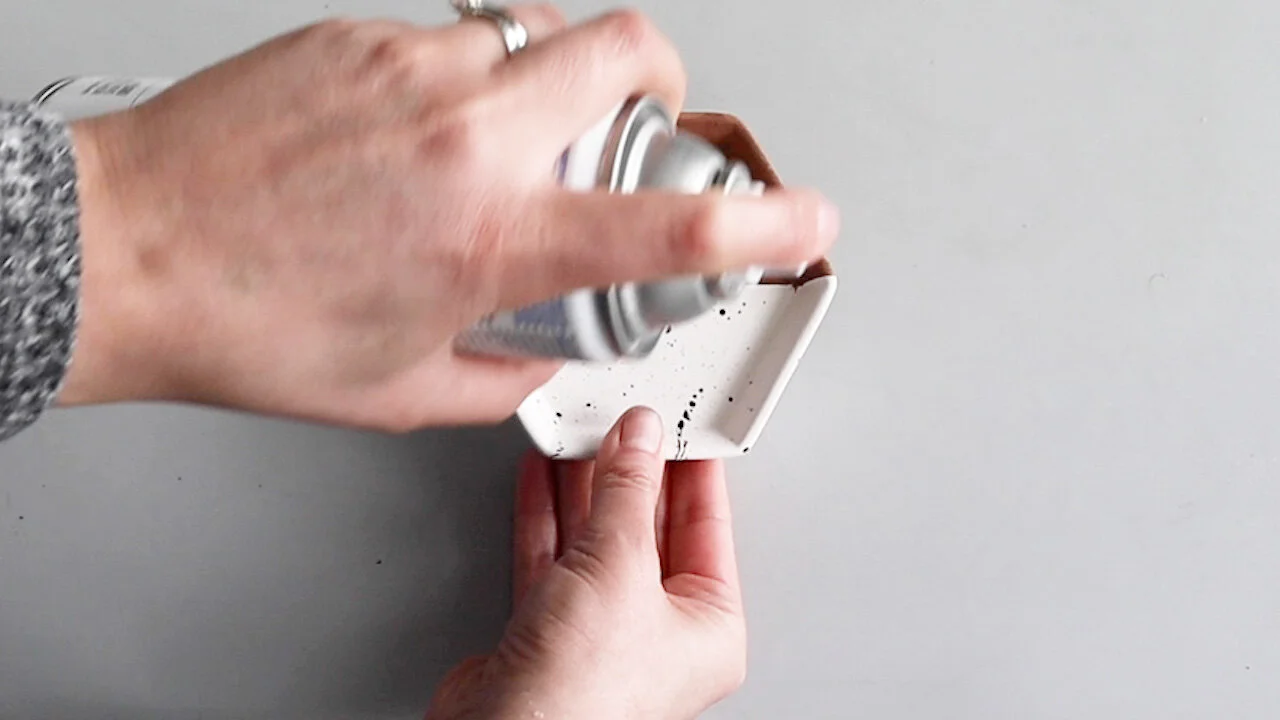
Just make sure to let that clear coat dry really well before putting on the coat of Mod Podge. I think a foam brush works really well for this part.

And here are the finished coasters!

// serving tray
I wanted to make a matching tray and this will basically be a larger version of the coasters. I thought it would be nice to have for setting out snacks.
I already spray painted a Dollar Tree pizza pan white and masked it off and I’m painting the faux wood look onto here.

After that dried, I masked off the faux wood section and did the splatter paint on the white side. Since the scale of this is larger than the coasters, I did try to make larger splatter dots, so it would be proportionate.


A clear coat and Mod Podge, and you have a nice little serving platter. All I had to buy was that $1 pizza pan from Dollar Tree!

// “eat” sign
Ok, let’s move on to the final project. A decorative sign that will be so cute for your kitchen, or if you have your serving platter out you can put it right next to that.
I had seen this little wooden box at Dollar Tree and thought it might work well as a sign.

I used some white and brown paint and tried to match the color to the other pieces we made.

So right now this is just very brown, right? How are we going to make this pop? Well the contrast of black and white together always adds a freshness.
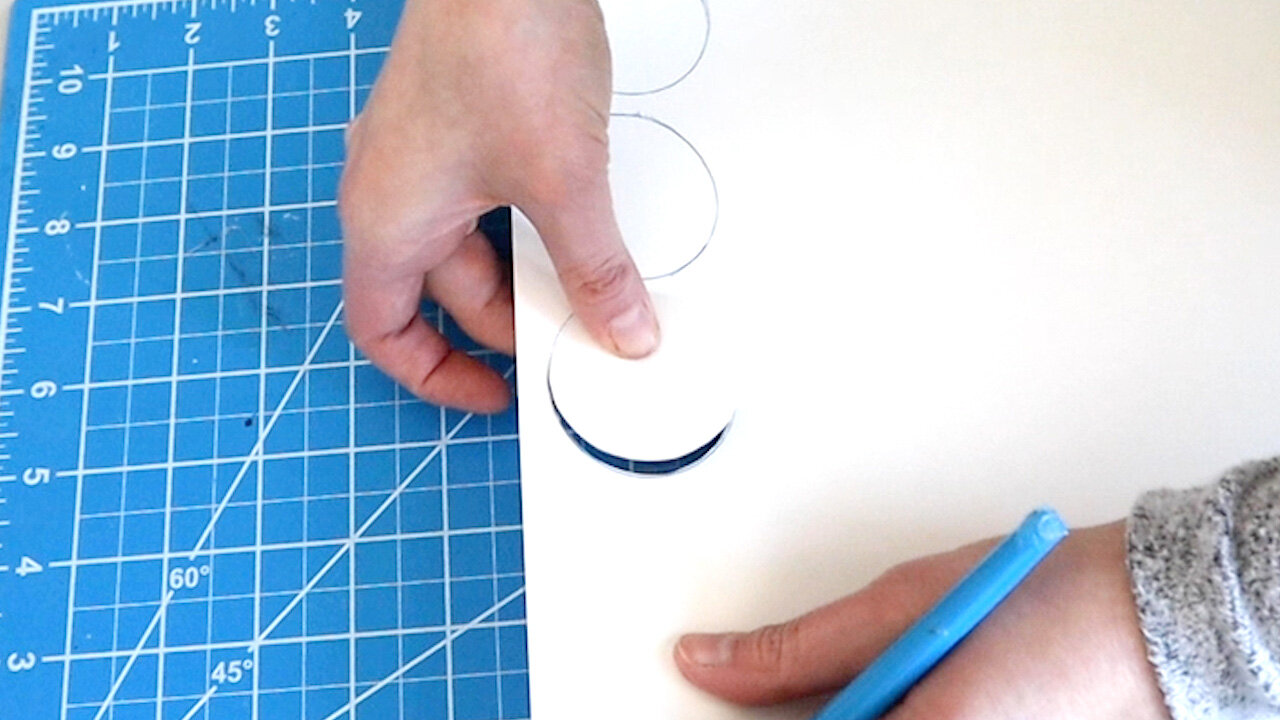
I want to put the word “eat” on the wooden box, so we’ll make that part of the sign black and white. I’m going to give you a few options for how you can do the letters.
You could use Dollar Tree poster board and cut out 3 circles.
Or you could use these tiny chalkboard signs from Dollar Tree and write the word “eat” on those with a white paint pen.

I have this cool scalloped circle stamp which I’ve used on several projects and it will make the circles just the right size.


I had picked up these letter transfers from Dollar Tree and was excited to try them out for the first time. I wasn’t sure how easily they would come off the sheets, I mean they’re only $1, but I was pleasantly surprised.

I peeled off the backing, then used a coin to gently push down the letter.

Once I peeled it off the sheet it looked awesome! I will definitely be checking to see if Dollar Tree has any other fonts in these transfer sheets.

I wanted to tie in the black on this even more and thought these looked a little plain, so I used a Sharpie to add a border around the edges.

I wanted these to have a little dimension, so instead of just sticking them flat on the box, I used some buttons to give them some height.
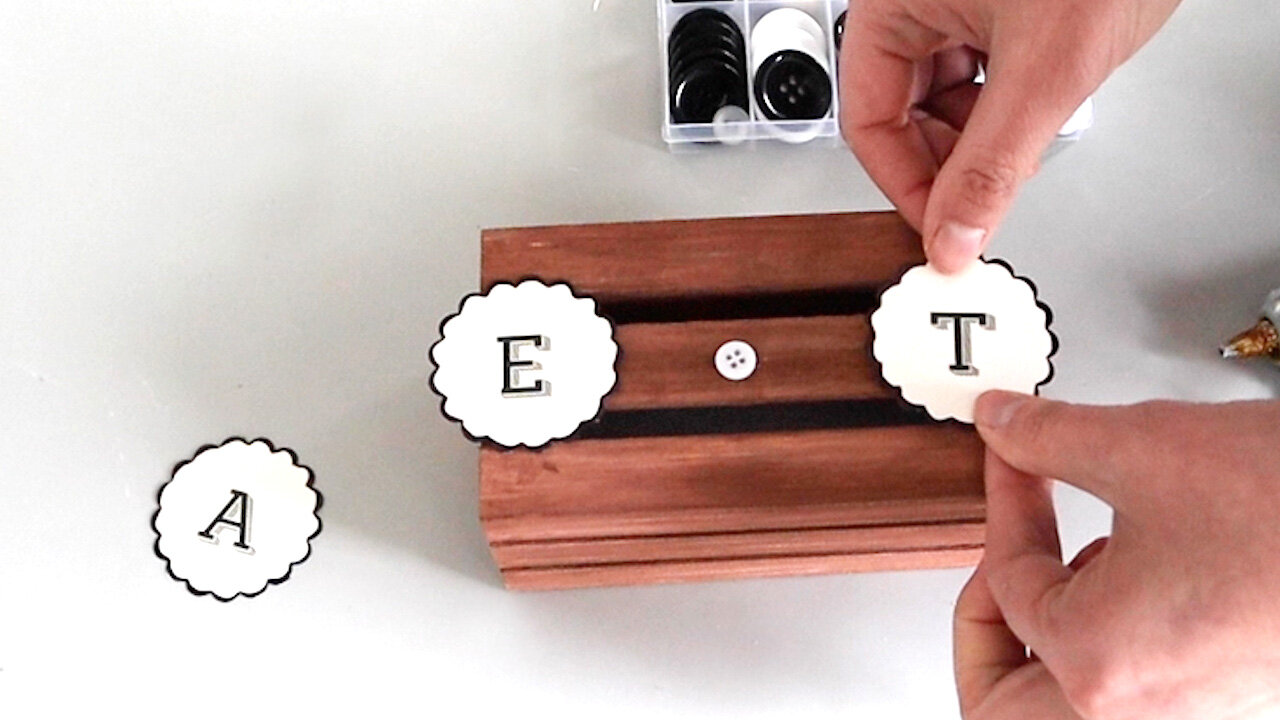

And here is how the eat sign came out! I love it!


I hope you’re inspired to make one of these kitchen DIY’s.
If you enjoyed this post, please consider subscribing below, so you can be part of this positive and creative community. Thank you so much for reading and I hope you have a creative day.


FTC: Not Sponsored. All opinions are always 100% honest and my own. Some links may be affiliate links. If you click a link and buy something, I receive a small commission for the sale. It doesn’t cost you anything extra and you are free to use the link or not as you choose. If you do use my links, I appreciate your support.
How about some Target Dollar Spot crafts and Dollar Tree coastal transformations. We’ll be putting together tiered tray miniatures to decorate our little coastal vignette.