
Easy Side Table DIY | Build Your Own Nightstand
I made these nightstands for the guest bedroom I recently decorated and they add a great personal touch to the room. Today I’m going to show how to build your own nightstand with some low-cost finds from Walmart and Amazon.com. Check out the video below to see how to make this easy side table DIY.

These nightstands were just one of the DIY’s I put together for my 4-part room of the month series where I turned my boring guest bedroom into a light, bright and welcome room all ready for holiday guests. I also created my own abstract painting to decorate the room.
CHECK OUT THE GUEST BEDROOM MAKEOVER SERIES HERE!
// the supplies
I saw these wooden planks at Walmart and they looked like they would go so well with the neutral colors I was going for in my guest bedroom. I didn’t even have to paint them because they had a nice whitewash finish already on them. I picked up 2, so I could have 1 on either side of the bed. Then all I needed were some legs for the nightstands.

I found these table legs on Amazon.com and liked how simple and elegant they were. I ended up using an electric drill to put these together and I encourage everyone to pick up a power tool, even if you’re like me and power tools just aren’t something you use every day.
Here’s the power tool I will be using to make these nightstands. It is a Black and Decker 12-volt electric drill. It has the rechargable battery on there, which is really handy. I have found this battery lasts a really long time before having to recharge it.

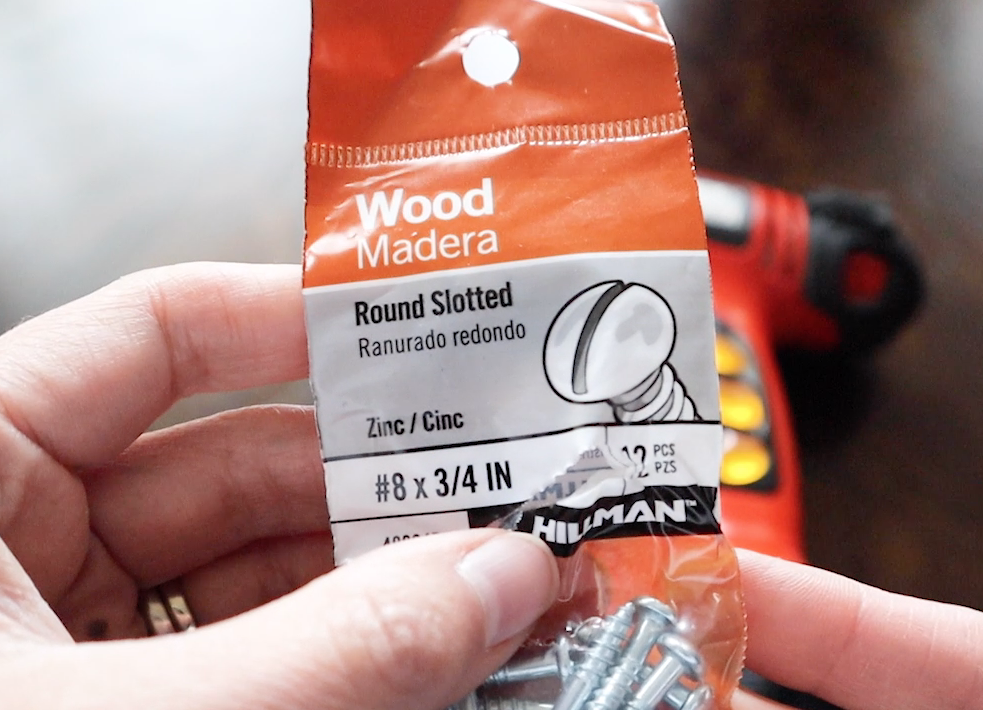
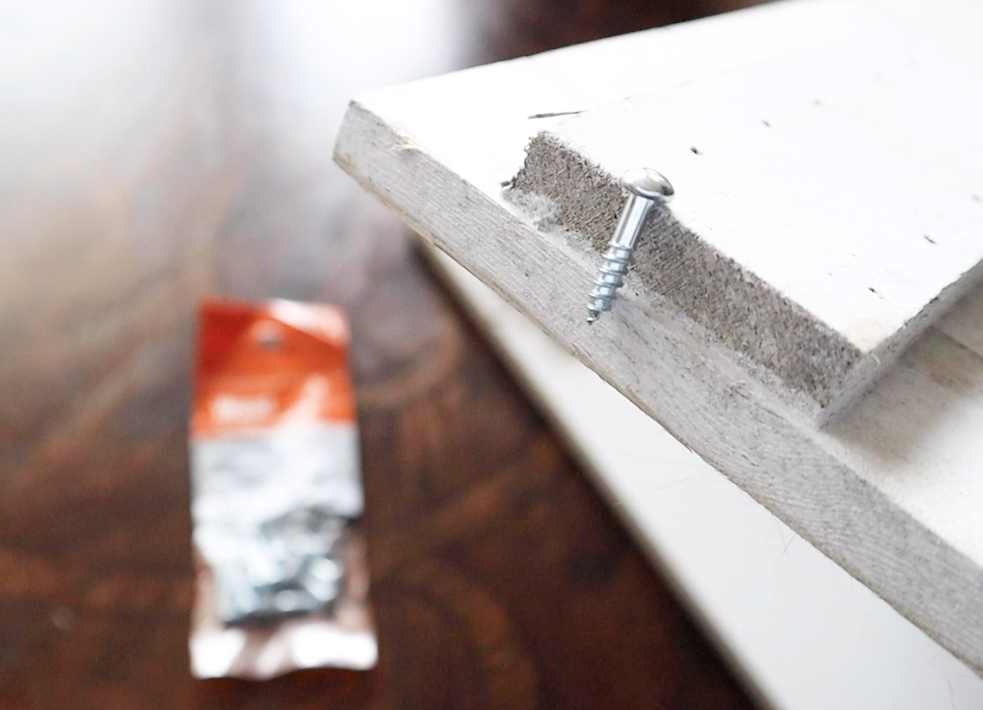
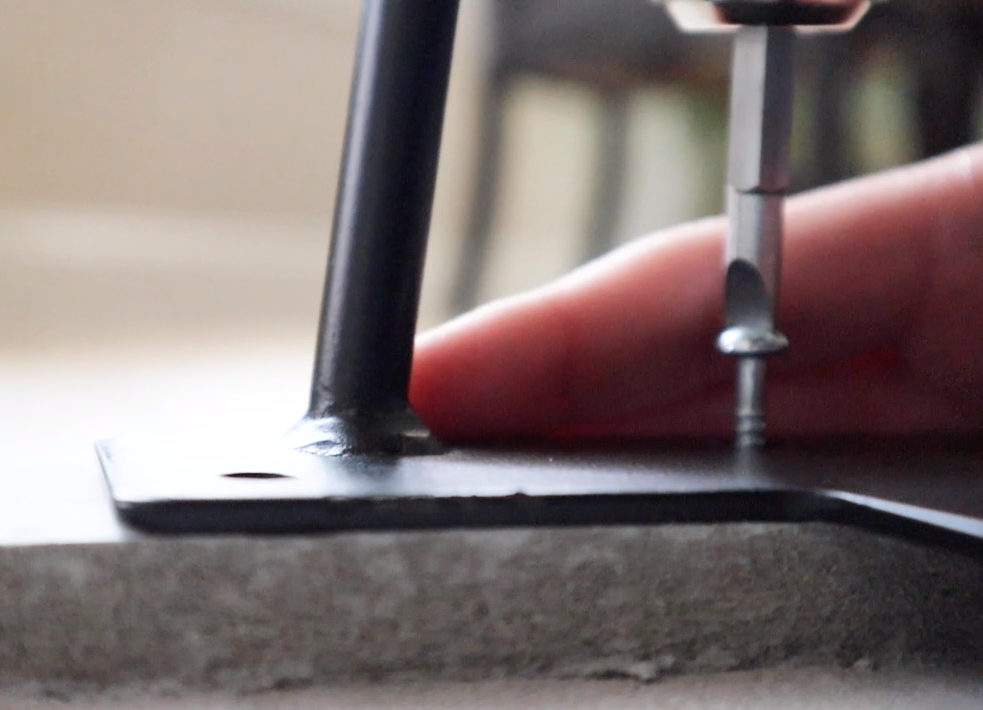
I picked up some 3/4” wood screws from Lowes. I had measured the height of the location I would be drilling these screws in before my shopping trip to make sure I didn’t get any that were too long, because then they would have popped through the top, and well, that just wouldn’t have looked too good.
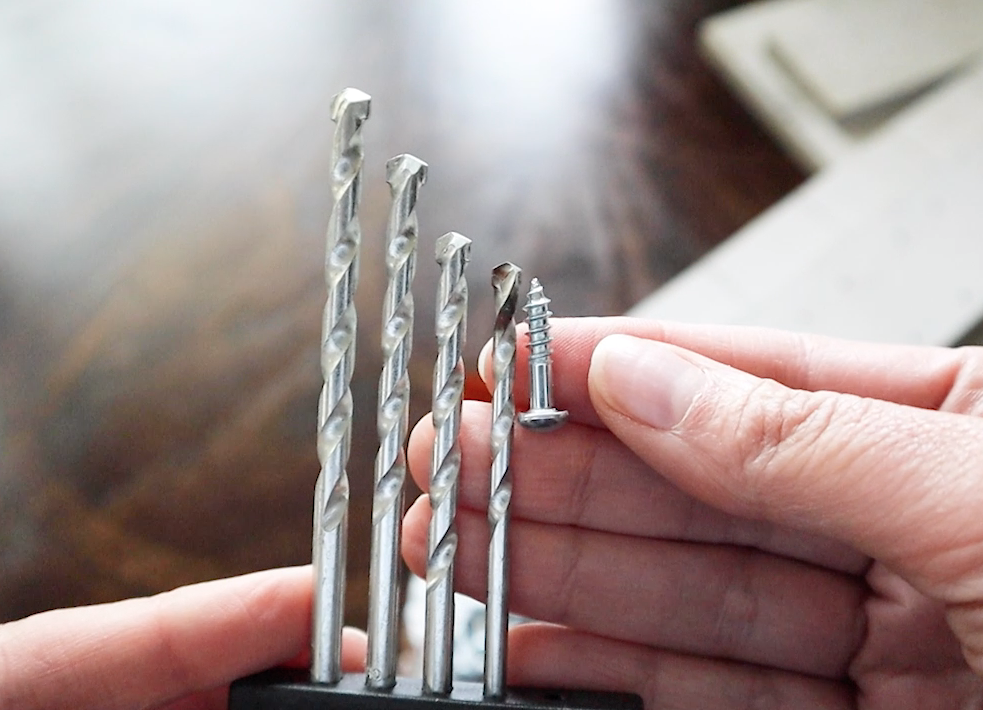
I figured out which drill bit to use just by eyeballing the screw next to them and picking one that was a tiny bit smaller. Nothing too technical here. Then I just did something similar here, testing out which screwdriver bit would match the screw head. Now, I’ve got my tools and supplies all ready to go. This is so easy, there are only a couple steps!

// step 1
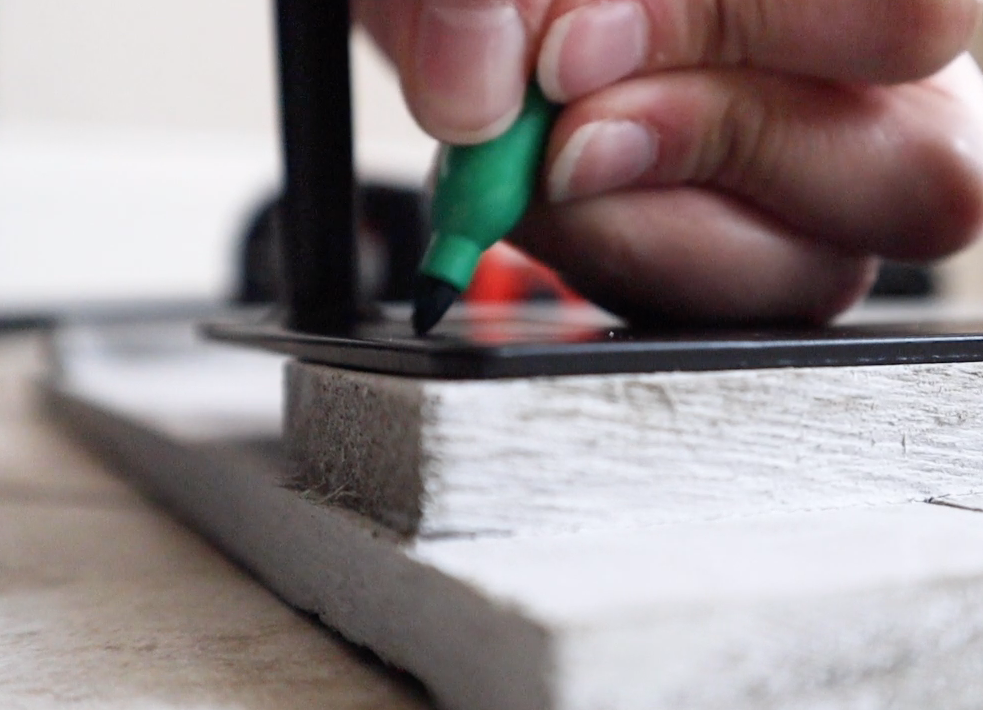
I knew I wanted one leg in the center and the other 2 on either side, so I placed them and marked where I would drill the holes. These legs had some extra holes that didn’t fit on the raised areas where I was just putting one leg. Looking back now, I probably should have put a block of wood to level that out, so that all the screws would have had a place to go. I would have used some wood glue to slap a little block of wood on there and let it dry overnight before drilling. How I did it worked just fine, but I think it would have made these nightstands a little more sturdy.
// step 2
Now it’s time to drill those holes and then get those screws in there. Pre-marking those holes made this part super easy.

And here are the finished nightstands.

I’m really active in the comments section, so I would love to hear what you thought of these nightstands. If you haven’t seen my guest room makeover, I will link it for you right here, so you can see how these nightstands ended up looking in the newly redecorated guest bedroom.
CHECK OUT THE GUEST BEDROOM MAKEOVER SERIES HERE!
Thank you so much for reading and I hope you have a very happy day!


FTC Disclaimer: All opinions are always 100% honest and my own. Some links may be affiliate. It doesn’t cost you anything extra and you are free to use the link or not as you choose. If you do use my links, I appreciate your support.
How about some Target Dollar Spot crafts and Dollar Tree coastal transformations. We’ll be putting together tiered tray miniatures to decorate our little coastal vignette.