
Thrift Store Makeovers Before and After
Hello to all my artsy friends! I went thrift shopping for some home decor items and we’ll be working on those pieces with my upcoming coastal Hamptons bedroom makeover in mind. Be on the lookout for that this Summer, along with a whole house tour showing all the things we have done to our new Colorado home to make it “ours.”

// thrift store adventure
This was the first time I have gone thrift shopping in my new neighborhood. I moved from Texas to Colorado right before Covid started last year, so I have not had a chance to check out the local thrift shops in Colorado, until now.
I found the Sisters thrift store and they had some good home decor finds, plus all proceeds from this store support the works and ministries of the Benet Hill Monastery.


// fish
Here is the first item I found. My goal going into the store was to find large items as wall art because I have a big empty boring room and will need to find a few decor items for the walls.
This metal fish was so cute. He was only $9. But I’m not crazy about the colors on him. It is a little too much going on.
I think the indentions and patterns would actually be emphasized MORE if I made this a solid white with some grey distressing.

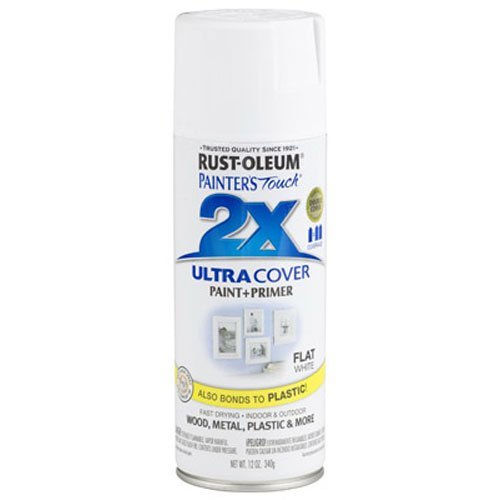
I think the best method would be to first lay down the white paint, then the grey and then sand the whole piece. So, let’s give it a try.
I’m going to use a very light grey because I’m going for a subtle distressing here. Keeping the 2 colors less contrasting and more along the same color tone will help give this a subtle distressed look. I’m going for light and bright in the room and keeping both paint colors relatively light will help accomplish that brightness on this wall decor.

I found that holding the sander gave me less control and it went through to the original fish in a few places. Using the flat piece of sandpaper, I could kind of wrap it around where I was sanding and had more control of how hard I was pressing.


Being in a new home, we’ve been working to make it our own and I have quite a few room makeovers coming up. I’ll share a full home tour at the end of all the projects I’m sharing.
We have kind of a modern craftsman look to our home – is that a thing? Modern craftsman? Or did I just make that up?!
The bedroom makeover I thrifted these pieces for won’t be finalized until the end of Summer, but this is a great start for that room.
Here is the really boring before photo and a sneak peek at the look I’m going for in the final bedroom that needs to be decorated. Each of our bedrooms has a slightly different vibe, but neutrals play a big role in all of them, so that’s what ties them together.


Back to the fish. You can see the few spots where I went through to the original metal. I thought about paint over those but they are so subtle, and it just adds another layer of depth, which I am fine with.

I decided to add a little Dollar Tree twine to a few areas, just to give it even more texture and style. I hot glued this down in small sections, since hot glue does dry quickly on metal.

Here’s a reminder of the before.

And here’s the after! Much brighter and more elegant looking for our coastal Hamptons bedroom.

// beach frames
Large picture frames area always expensive and finding the right combo of the perfect frame with the perfect artwork inside is always a challenge.
A thrift store is a great place to pick up some good sized frames. Having a nice mat on the frame usually makes the frame more expensive, so I was happy to find this set of 2 frames for only $8 each.
They have a lot of detail in the actual frame and then there is a linen mat built right into the frame, which goes perfect with our coastal look.

I’m going to do the same 2 tone distressed technique we used on the fish right on the frame.
Start by taping off the edges before doing the white spray paint and then the grey paint on top.

Here is the side by side, you can see how flat the solid grey looks (on the left), but once I have done a bit of distressing (on the right), it adds a lot of warmth and depth to the frame.

I kept these next to each other as I worked, so I could make sure I was distressing the second frame the same amount as the first.

For the artwork in the middle, we are going to cut some Dollar Tree poster board to fit perfectly inside that linen mat.
Then I taped off lines and used some watered down blue paint to make this look like a natural watercolor, reminiscent of the ocean.

While those were drying, I printed this artwork onto regular paper and then spray mounted it to the poster board and trimmed them the shape out with scissors.
You can use some paint or a marker to color the edges of the shape.


After removing the blue tape, I took these outside and spray mounted them to the frames.

I could still see a bit of the edge so decided to add some rope. We are really adding those layers on this piece to make it interesting and nautical.

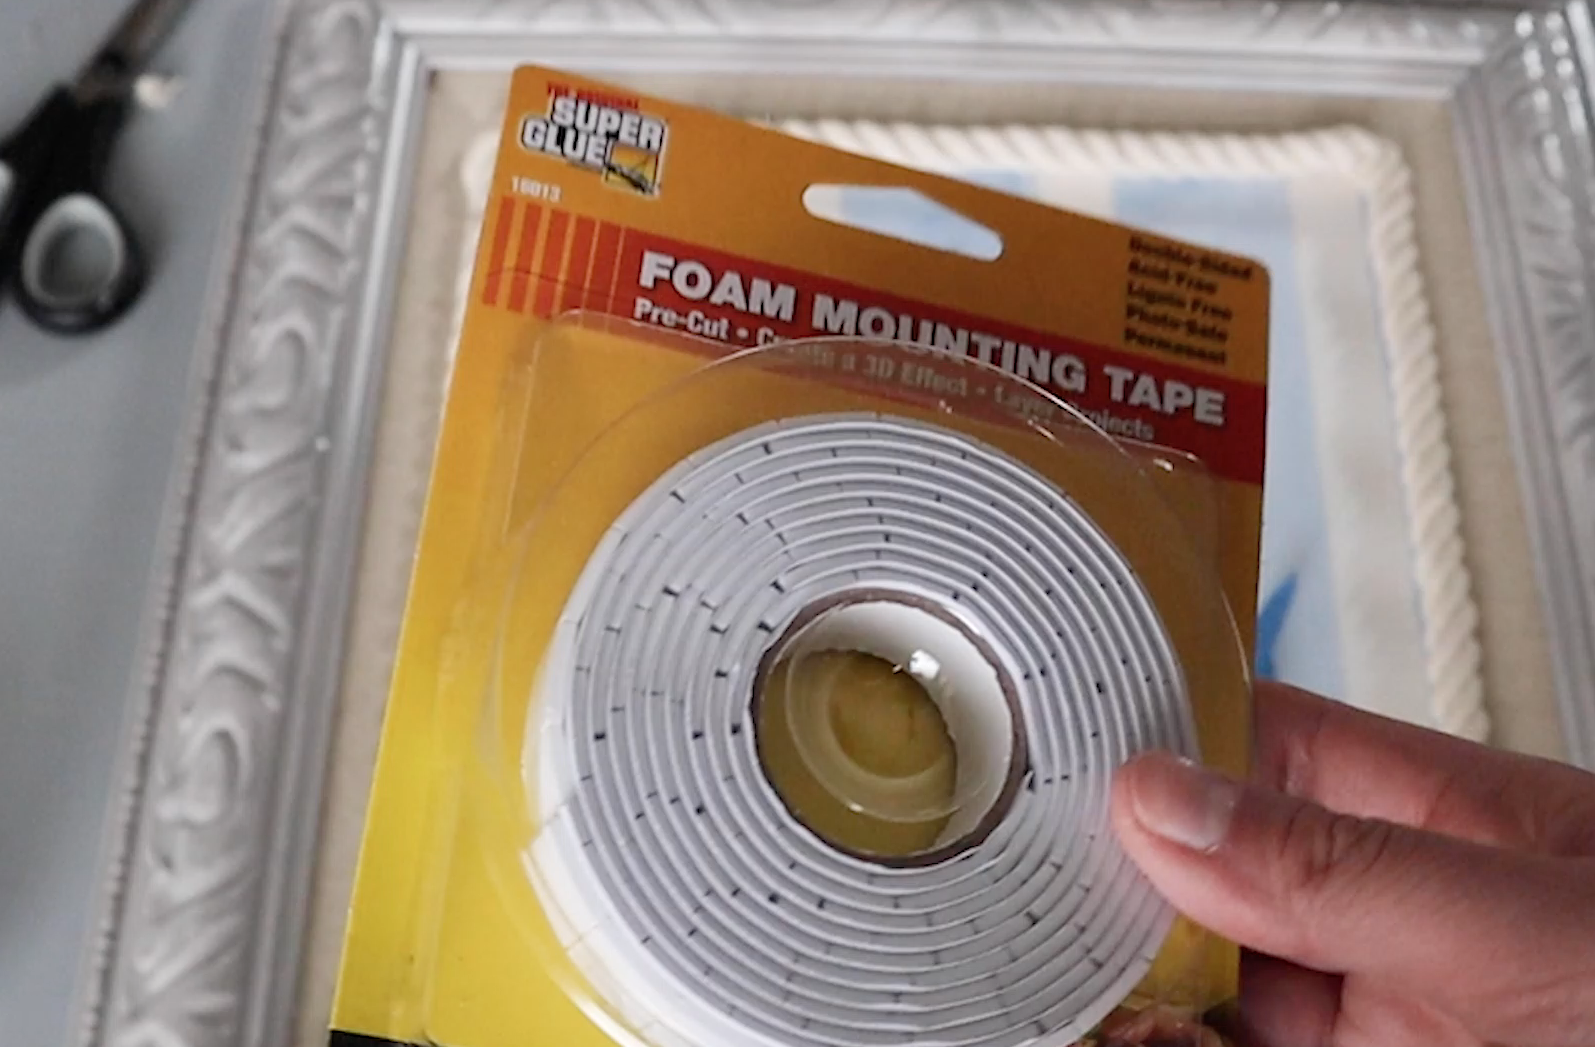
I added some foam mounting tape to the back of those designs I had cut out to give this art even more dimension. I repeated this for the other design, which was slightly different than the first.

Here’s a reminder at what these originally looked like.
And here was their transformation!

I hope you liked these DIYs. Make sure to subscribe to my newsletter, so you’ll be up to date on all my upcoming room transformations!
Sign up for the newsletter here


FTC: Not Sponsored. All opinions are always 100% honest and my own. Some links may be affiliate links. If you click a link and buy something, I receive a small commission for the sale. It doesn’t cost you anything extra and you are free to use the link or not as you choose. If you do use my links, I appreciate your support.
How about some Target Dollar Spot crafts and Dollar Tree coastal transformations. We’ll be putting together tiered tray miniatures to decorate our little coastal vignette.