
Let's "dupe" the rainbow! | High end look for less money
Let’s dupe the rainbow! Today we’ll work our way through the rainbow with 1 red, 1 orange, a yellow, green, blue and purple craft. We’re doing copycat home decor from Kirkland’s and West Elm, so we can get that high end look for way less money.
If you’re looking for the lemon sign printable, scroll down to that part of the tutorial for the free download.
I also did a video, click below if you want to check it out!

// red
We’re going to start at the top of the rainbow and work our way down. So, the first DIY will be in shades of red.
I love abstract art and thought this red on pink framed art was so abstract and elegant. This one from West Elm is $200, so lets see how much cheaper we can make it.

I found this set of 3 canvases in the new $5 section at Dollar Tree. The largest one is almost 16”, so that is a decent size compared to the little 6” ones you normally find at Dollar Tree. These were packaged really well. Each one has individual wrapping, so they will stay nice and clean if you save one for a later project.

I started by taping off the edges.
Then I mixed up some white and red paint and didn’t fully blend them together. I left some streaks, so we can get that artistic abstract look that we’re going for.
I’m using a pretty small brush compared to the canvas size because I want control over those small streaky details.


I noticed there was a bit of yellow on the top left of our inspiration painting. It reminds me of the sun popping in over on some pink fantasy landscape. So, I added a little yellow paint and blended it in.

For the border, a Sharpie paint pen or just a regular Sharpie will work. My paint pen started to die after one side, so I used a combo of both on mine.


I placed the ruler about 1/8 of an inside that tape and painted a black line along all the edges. Then I let this fully dry up for about an hour before starting on the ultra satisfying part…removing that blue tape.

If you have any spots bleeding over, don’t worry about it. Just take a little bit of white paint to cover it up.

Here were the supplies we had to pick up for this project.

And here is mine compared to the West Elm version. I think they look pretty similar, but let me know in the comments section what you think.

// orange
These leather wrapped vases are so pretty, but really expensive. Even the extra small one is $85! We’re going to make these much cheaper with a material other than leather.

Here’s a few options to re-create a leather look.
You can use faux leather, like this piece I had leftover after re-covering the piano bench.

I think a paper bag would work nicely too. This one has some nice texture to it, which could emulate leather with some paint on top.
But today we’ll be using this placemat I found at Dollar Tree. The back has a nice texture and the material is nice and thick, yet soft enough to sew through.

I have this container that came with a utensil set. I just keep my utensils in a drawer so saved this for a craft. You could use any glass jar or leftover packaging that has a similar shape.


I measured and cut the placemat to be just big enough that there was a little overlap where the 2 sides meet.

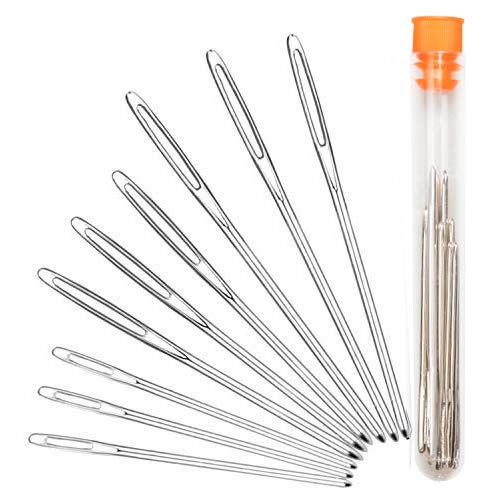
For the thread, I’m using this thin ribbon because I want something that can easily be threaded, but also will lay flat and look similar to leather string. You’ll need a thick craft needle for this part.

Mark where you want the holes to be with a pen or pencil.
I started by creating the knots at the bottom of the vase. Then I went to the top and sewed all the loops through. I am liking the way this is looking!


After tying off and trimming the excess ribbon, I slipped the new “leather” jacket over the vase form.

Then I mixed up some orange paint and gave it a coat.

Here were the supplies we had to pick up for this faux leather vase.

Here is mine next to the West Elm version. Pretty good savings!

// yellow
I love yellow! It’s such a cheerful color and this piece could work any time of the year. This is regularly $40, but it happened to be on sale when I took this screenshot.

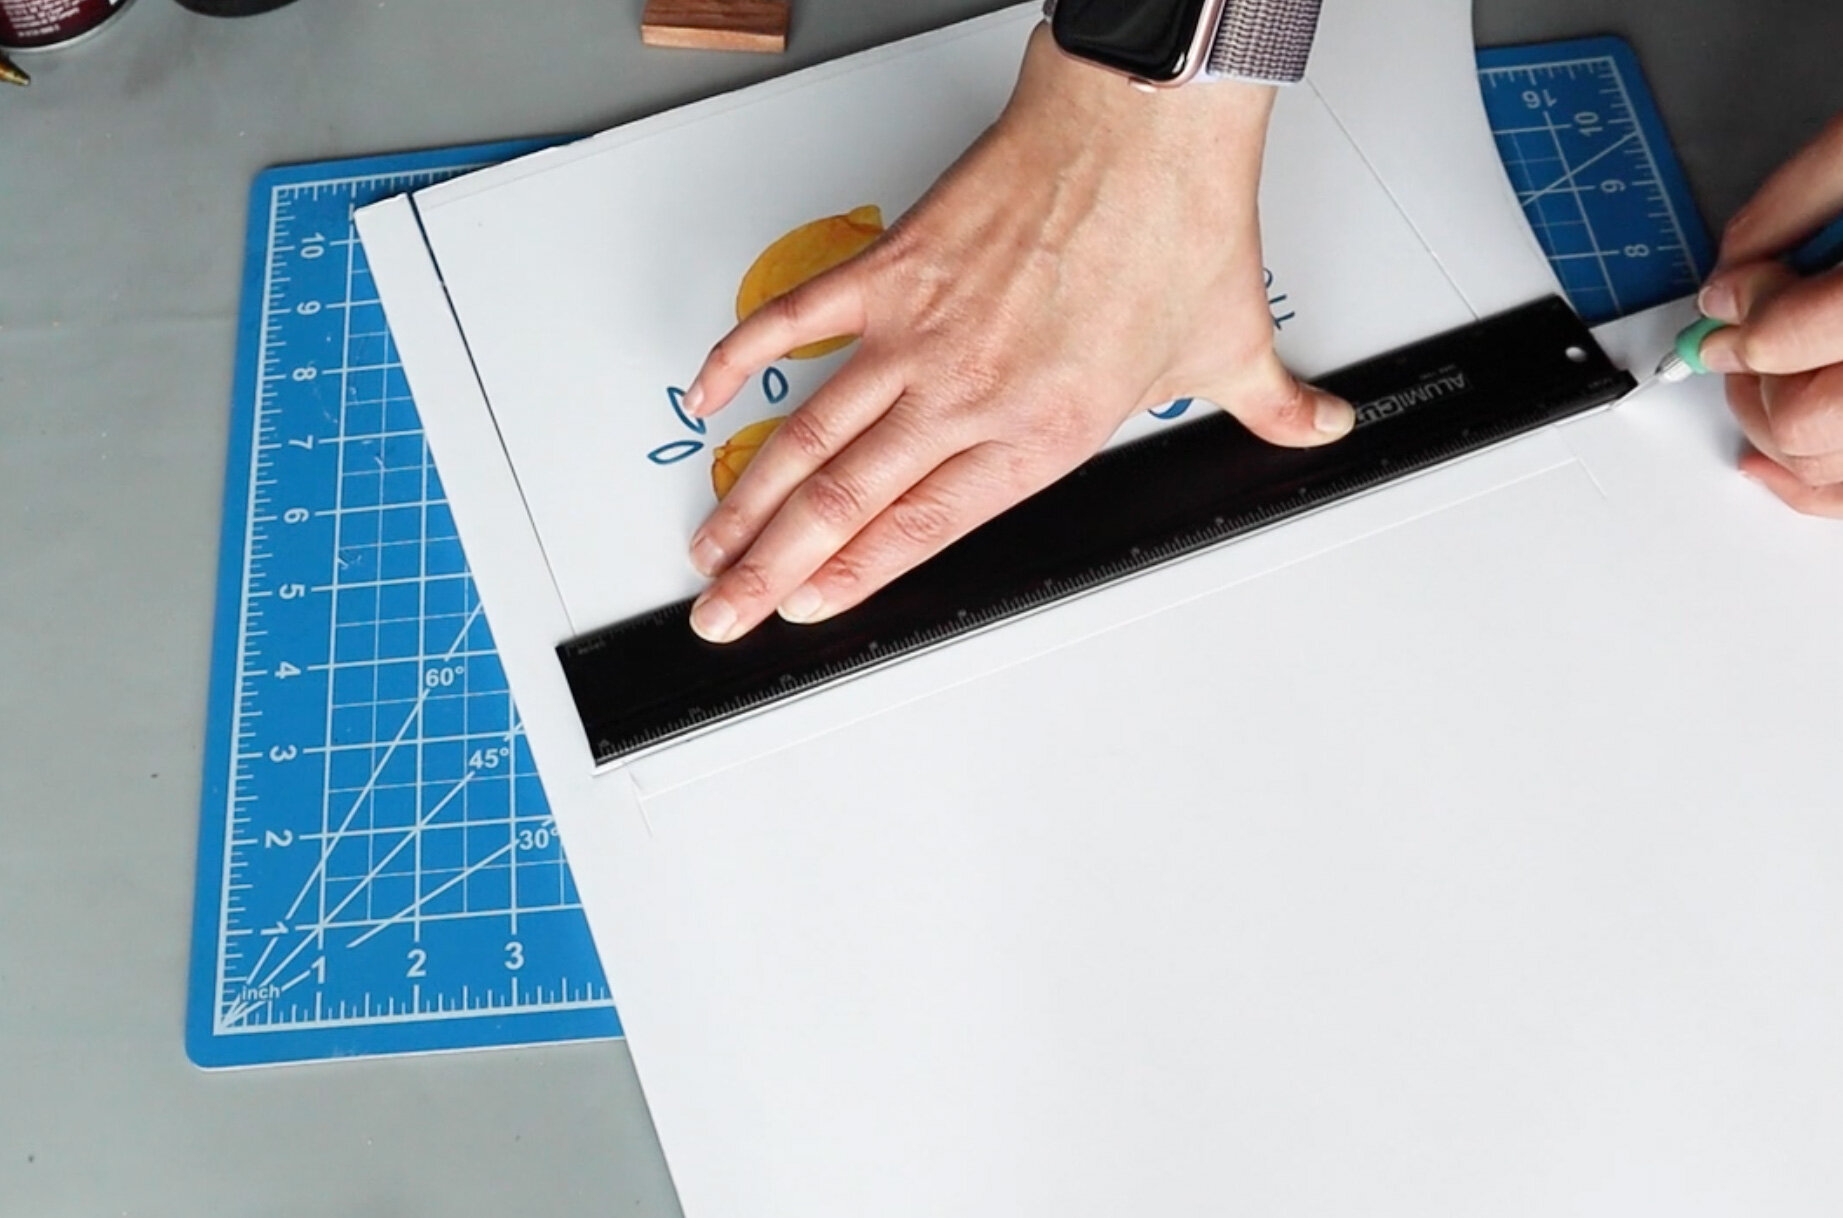
The first thing I did was create my own version of the sign. Here’s that free printable, in case you want to make your own sign.

After I was happy with how that looked, I printed it out on regular paper.
We’ll be using some Super 77 to secure this to a piece of foam core that I picked up at Dollar Tree.

I’m using these mini Jenga blocks from Dollar Tree as the frame, so I measured with those blocks and cut the size of the foam core to the width of the blocks side by side.


Hot glue really sticks these wooden blocks down well to the paper. I used a little dollop of hot glue on the back and carefully put these in place.

I added a piece of twine to the back with a bit of hot glue and then smeared a bit of hot glue on top to seal it in.

Here were the supplies we picked up.

And mine compared to the Kirkland’s one.

// green
Green is my favorite color, so I’m excited to recreate this gorgeous wreath from Kirkland’s. $25 is actually a pretty good price for this full looking wreath, but we’re going to make one that’s even more substantial looking and much cheaper.

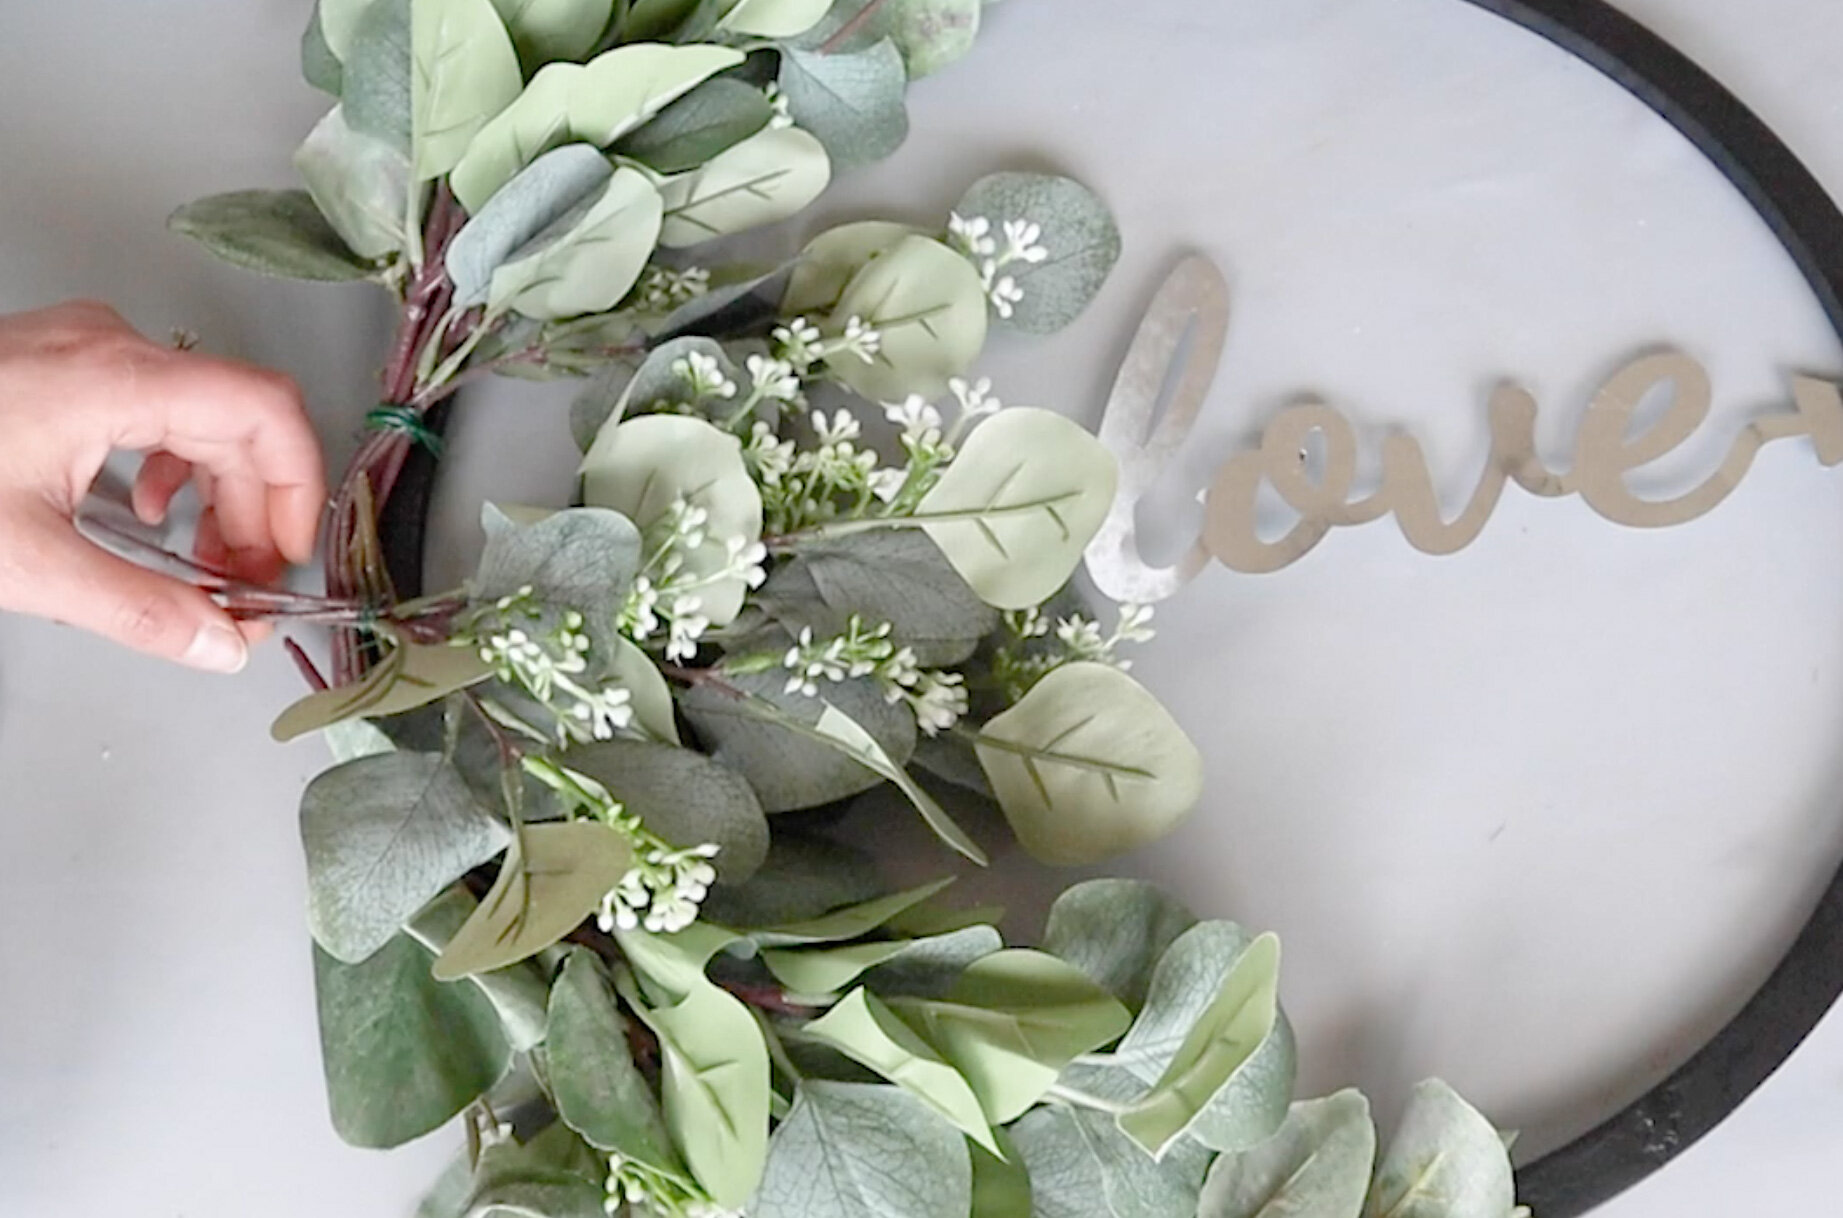
I know the Kirkland’s one said “home”, but we’ll be making ours say “love”. I had found this off a sign from Dollar Tree back in February and knew it would come in handy some day.

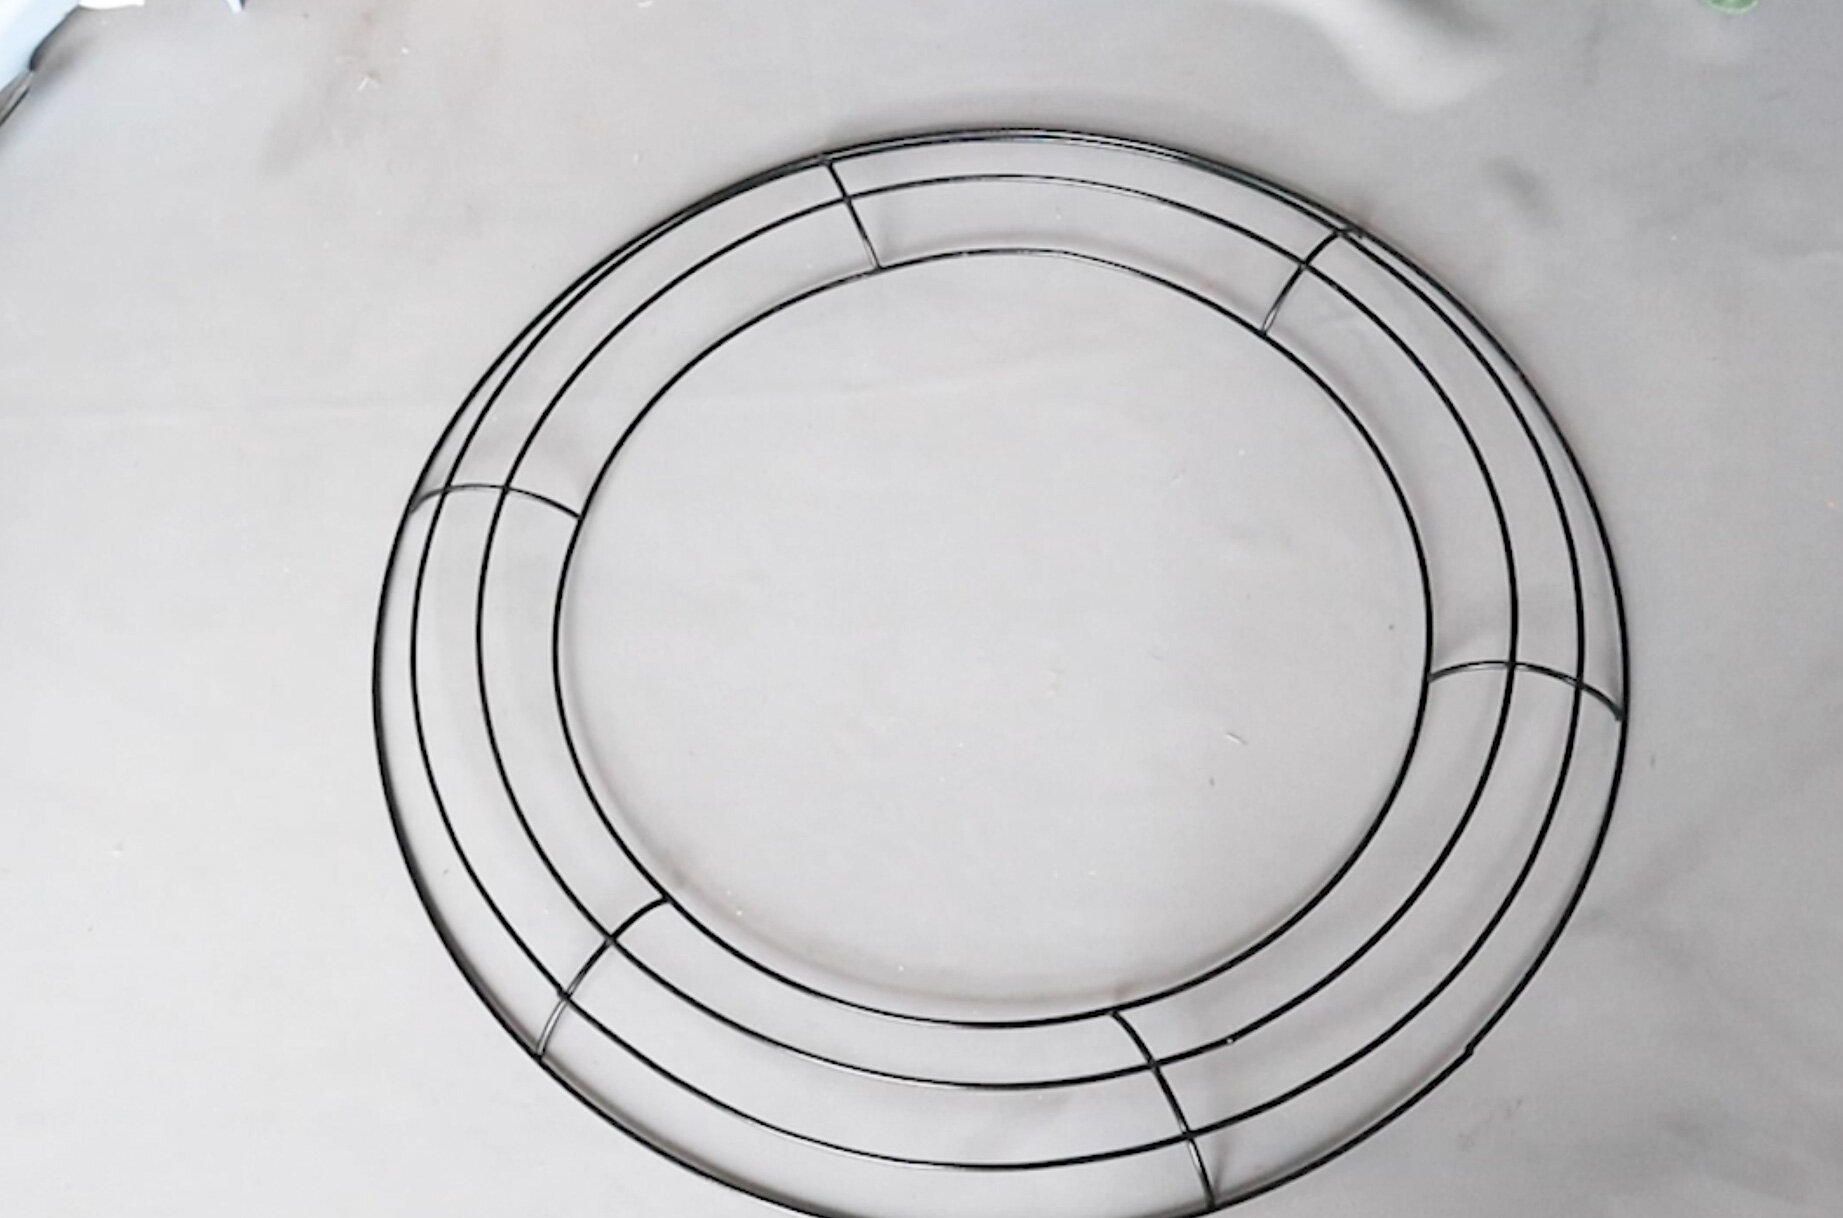
For the hoop, you could go with a hula hoop from Dollar Tree, or a wooden embroidery hoop. I’ve got my wooden hoop already painted black here. And I’m just going to tie the “love” sign to the hoop. We’ll be covering up the string with the florals.

I attached some twine to the top, so we can hang this. I did it before attaching the greenery, because I thought it would be easier to get this in place before we added all of those full looking florals.

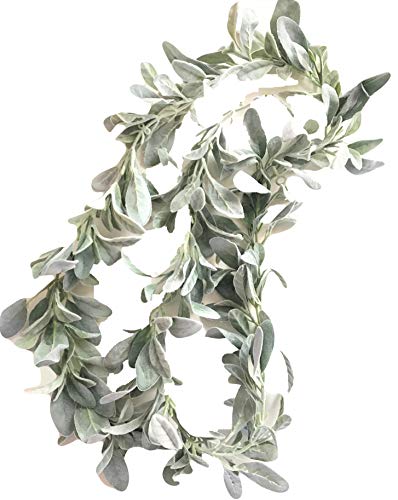
I had all these eucalyptus leaves because I bought them in bulk on Amazon, but I know you can find similar greenery at Dollar Tree, if you want a cheaper option. You would probably need 5 or 6 branches to get the same full effect.
I started by placing the greenery to create the curve on the left. You can see that these kind of made their own little bunches. So, I carefully picked up those bunches and tied them with floral wire. And then tied those bunches to the hoop. I like to reuse my florals, so I try to just hook and loop things to the wreath form versus using too much glue.
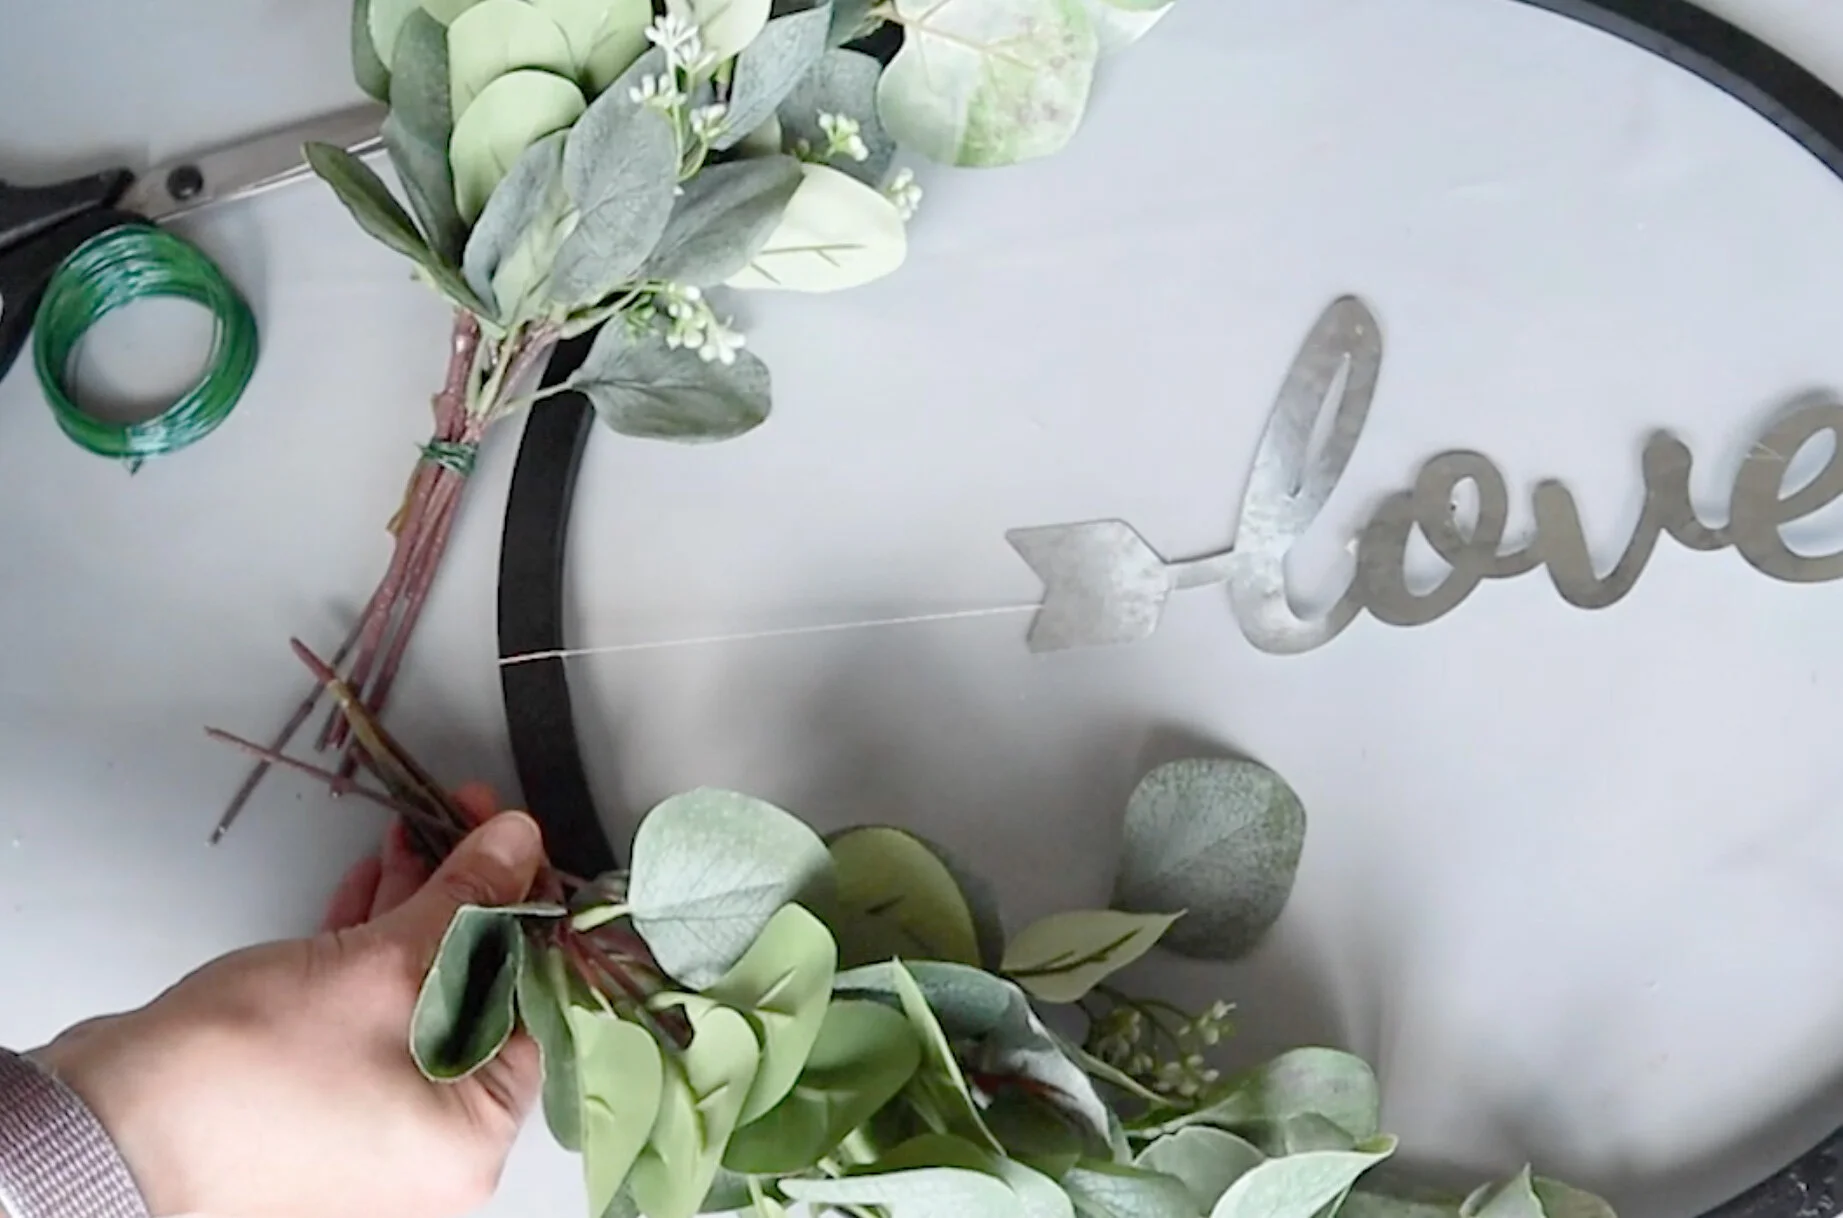
For the area in between those two large bunches, I created 2 smaller bunches and connected those in the same way.
Then I went through and fluffed the florals to really get a nice curve to this piece.
Here were the supplies we picked up.

And here is mine next to the Kirkland’s one.

// blue
We are working our way through the rainbow! Only blue and purple are left! Let me know in the comments if you’re liking this style of post, or if you want to see one particular color scheme in the future.
Hydrangeas are one of my favorite flowers. The blue ones look almost surreal with how bright and full they are. This wreath features those gorgeous hydrangeas, so let’s make one for way cheaper than this regularly priced $90 wreath from Kirkland’s.

They have a couple different sizes and shapes of wreath forms at Dollar Tree. I picked up this round one.
And they have these gorgeous hydrangeas there too. You’ll also want to have some greenery handy for this wreath to fill in anywhere we don’t use the blue hydrangeas. Can you guys tell I shop at Dollar Tree a lot?! I really love going there for all my crafts and DIYs.
I want to be able to use this wreath form and these flowers again for another project, so we’re going to be using a lot of floral wire. I started by placing the hydrangeas so they were evenly spaced.

I used some lambs ear and it is perfect for wrapping and filling in any empty spots. I don’t use glue on this, so the strand of lambs ear can easily be recycled on another wreath or project.
Flipping your wreath over can help uncover any empty areas and make sure to turn the wreath around as you’re working on it to make sure all the edges and sides are filled with the florals.

The last step is to add a few blue daisies to any spots that looked like they needed a bit more blue. I am going to glue these down since I’m just adding a couple and have very specific spots that I want them to be located.

Here were the supplies we picked up at Dollar Tree.
And here is mine next to the Kirkland’s one.

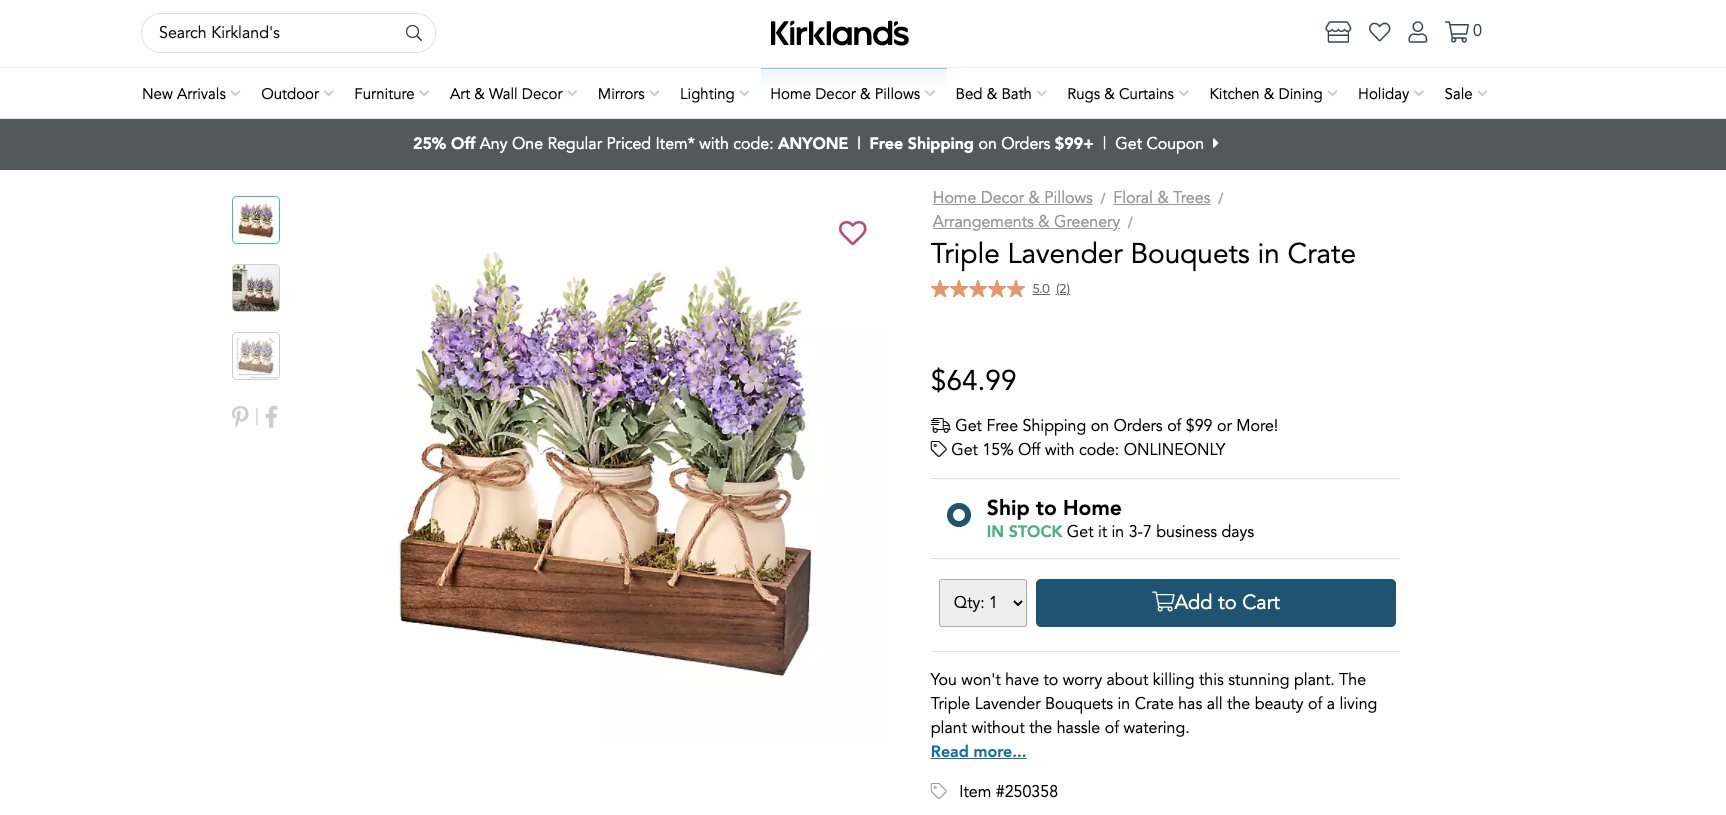
// purple
I love the look of this lavender decor, but $65 seems a little steep for some mason jars in a wooden crate. So, let’s see what we can come up with to dupe this one for way less money.
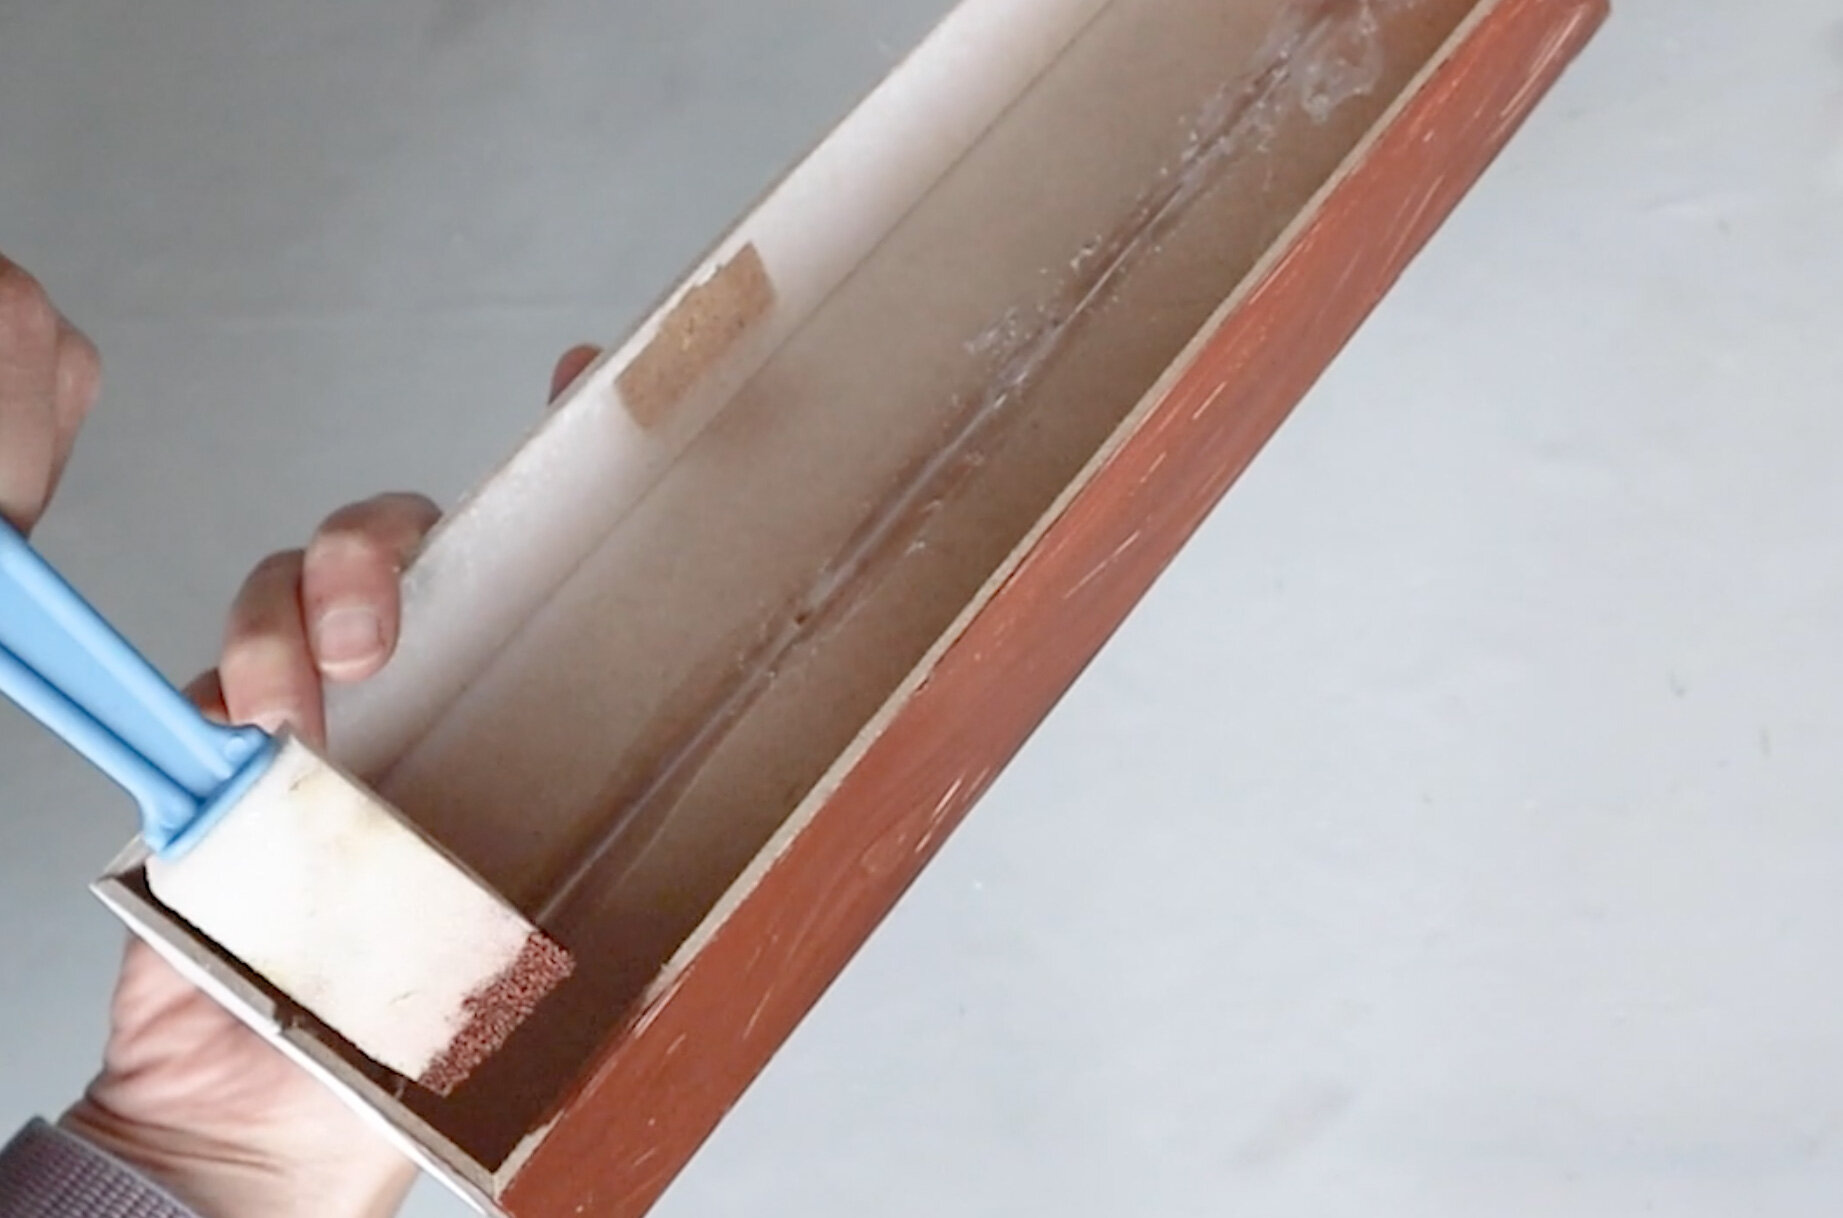
These were originally signs from Dollar Tree that I had painted white and used in another project.

I’ve never tried to break these apart, but it ended up being pretty easy and once I put these together, it will be the perfect sized tray to fit 3 mason jars.

These were basically particle board wrapped in paper, so I did have to trim the paper on one side.

Since we will be painting this crate and won’t even see the bottom once we add the moss, I am going to roughly glue this together with hot glue.

We’re using brown acrylic paint with a little white mixed in.
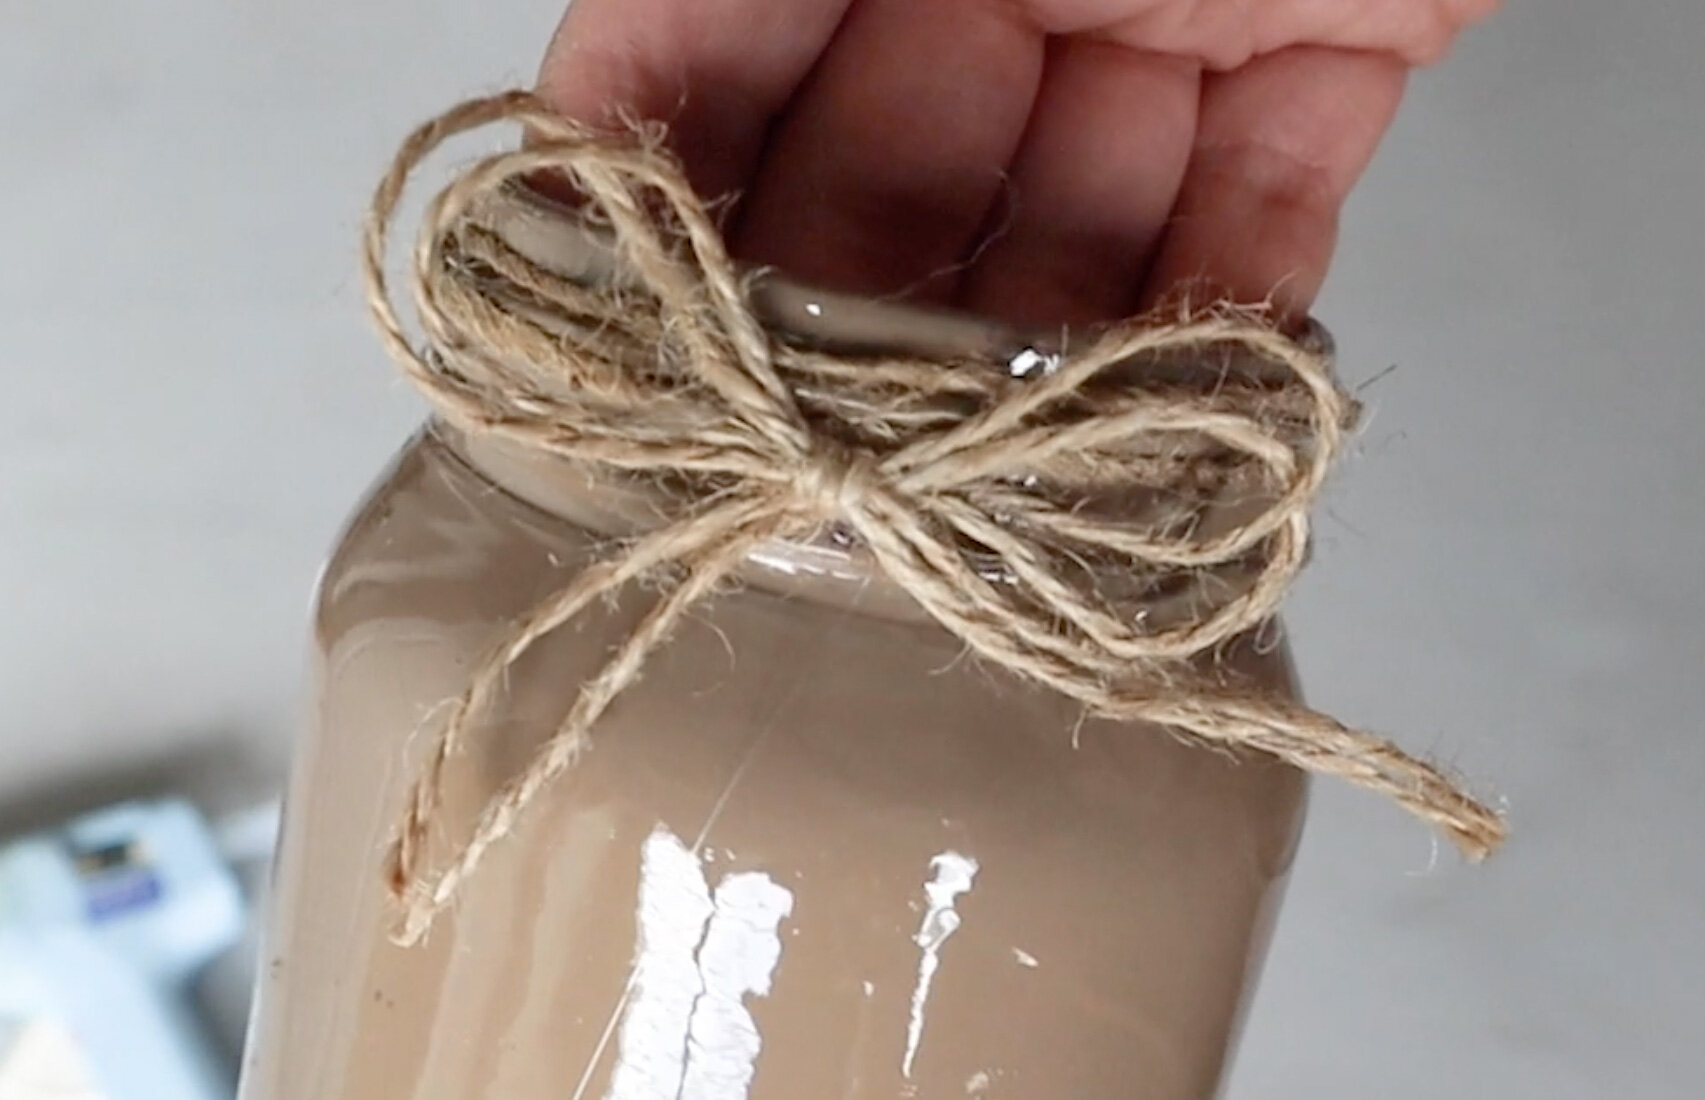
I had used these mason jars for a previous craft, so I’m just going to disassemble these. You can get these jars in the glass section at Dollar Tree. They do come with lids. I gave these a coat of this taupe spray paint.

While the paint dries, I’m going to work on the bows for the tops of the mason jars. I wrapped a little twine around the top and then finished with those bows.

We’ll add some lavender florals and moss, both of which you can find at Dollar Tree.

Here were the supplies we got at Dollar Tree, to make this a very affordable dupe.

Here is mine next to the Kirkland’s one. Pretty close to the original!

I hope you enjoyed all of these dupes. Comment below with your favorite color or if there is a certain color of home decor you like, let me know.
Here are some more posts you may enjoy.


FTC: Not Sponsored. All opinions are always 100% honest and my own. Some links may be affiliate links. If you click a link and buy something, I receive a small commission for the sale. It doesn’t cost you anything extra and you are free to use the link or not as you choose. If you do use my links, I appreciate your support.
How about some Target Dollar Spot crafts and Dollar Tree coastal transformations. We’ll be putting together tiered tray miniatures to decorate our little coastal vignette.