
More Kirkland's Inspired Decor!
I’m bringing you more copycat home decor! Today we’re recreating 3 elegant Kirkland’s items for way less than what they cost at the store.
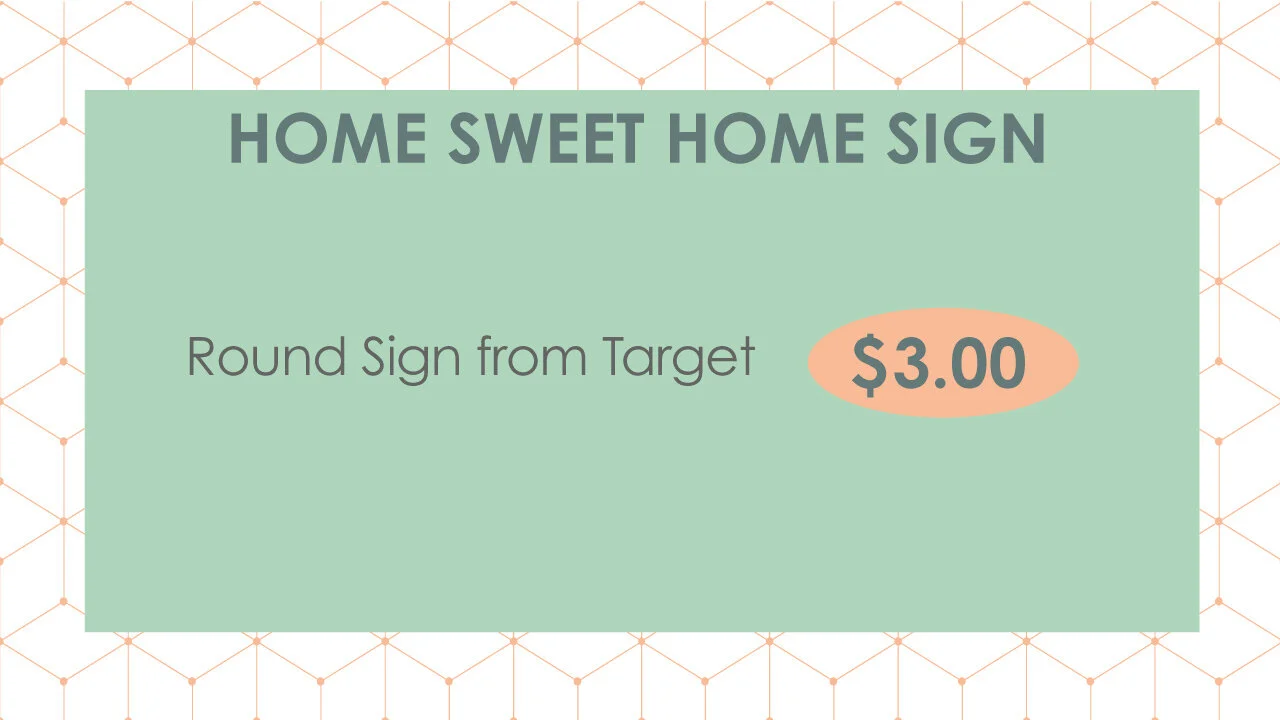
I have a FREE PRINTABLE for the “Home Sweet Home” sign in the tutorial below, so keep scrolling down if you’re looking for that download.
Here is a video tutorial for all three projects. Don’t forget to “Subscribe” when you’re visiting my YouTube channel.

// paper hydrangeas
This hydrangea door swag is so unique and versatile. You could display these in a bowl or hang them on the wall or on a doorknob. They could work year round because of their neutral color palette. $18 isn’t a bad price, but let’s see how much cheaper we can make these.

I’m using some leftover papers I had from another project. I had gotten these gorgeous papers on a trip to Paper Source. I love the gold shimmer they have. I think that gold will add a little something special to this piece. Plus, they’ve been sitting in my craft closet for awhile, so I want to use them up.
Dollar Tree has a lot of nice wrapping papers for only a dollar, so that’s another much cheaper option than Paper Source.

You’ll want to find a ball that’s close to whatever color paper you end up using, otherwise you might have some show through in areas that didn’t get 100% covered. Dollar Tree has styrofoam balls and in the toy section they have various plastic baseballs and ping pong balls.
I found the paper stuck more quickly to the hard plastic versus the styrofoam. Making this does take a bit of time, so I would recommend going with the plastic balls to speed things up.

I did this assembly line style and started by using my scalloped edge paper puncher. I love this thing and have used it for making paper flowers in past projects.


These would be so fun to make with a friend since you could work and chat while you put them together. I made these all by my lonesome, but it was still a fun and relaxing time. That’s what I love about using your hands to create art. It’s such a soothing activity and gives you time away from your screen to just think. Creating art is a form of self care and it’s so important to make time for yourself.

Next, I used a wooden dowel, but a pen or pencil would work well too, and I am taking those scalloped circles and wrapping them one by one around the tip of the dowel. These will end up being our petals.

Then I took each petal and put a dot of glue on the flat part at the bottom and stuck it to the ball. Keep going all the way around until you have almost completed your hydrangea.

Before you finish attaching all the petals, add the ribbon to the ball and then cover any remaining spots with the rest of the petals.

I gathered all the finished hydrangeas and let them dangle, so I could decide the best arrangement for the height of the ribbon.
Once I got them just right, I held them in that spot and stitched everything together. I felt that sewing the ribbon would be more secure than hot glue because this whole arrangement is actually much heavier than you might think paper and plastic would be.

I created a little bow from the same ribbon and sewed that on as well.

For the ring at the top, I used some floral wire and wrapped some twine around it. I used a little hot glue between every 2 to 3 wraps just to secure it really well.
I also added a dot of glue at the beginning and end to hold everything in place.
Then I trimmed off the wire ends and sealed them together in a ring shape. Twine always has those frizzy bits, kind of like my hair if I don’t use a straightener, but I used some scissors to get rid of that…on the twine…not my hair!

I wrapped the excess ribbon around the ring and secured that together. Then trimmed off any ribbon that I didn’t end up using.

Here were the supplies we had to pick up.

And here is mine compared to the Kirkland’s version. I think they look pretty similar, but let me know in the comments section what you think.

// “home sweet home” sign
This round “home sweet home” plaque is so cute. I love the eucalyptus leaves and I know we can make this for way less than $40.

I recently found this sign in the Target dollar spot. I like that it is nice and sturdy and has a hook on the back for hanging. We will actually be making 2 DIYs with this sign today.

First, we want to paint this. I’m going to try painting right over the sign, but if there’s any show through of the sun, I’ll give it a primer coat. Some paints cover better than others, so depending on what you have, you may or may not need that primer coat. I’m just using a foam brush and acrylic paint.
The keys to getting that faux wood look is layering different shades of browns and blacks. Keeping your brush strokes going in the same general direction helps give that wood grain look. And adding little inconsistencies here and there with maybe a twist of your brush will create the “knots” in the wood.

I’m a graphic designer, so I re-created my own version of the Kirkland’s sign in Adobe Illustrator. Here is that free printable, if you’re interested.

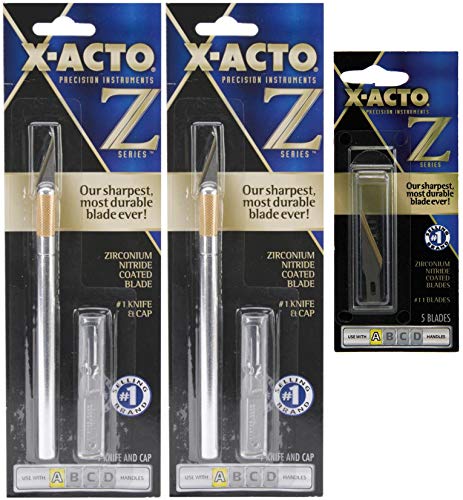
I trimmed this out with scissors. I feel you can get a smoother cut on circles with scissors versus X-acto knives, which are great for straight lines.
For cutting circles with scissors, I like to open the scissors up nice and wide and get the longest cut I can get without stopping. I use the edge as a guide and try to stay just inside that line.

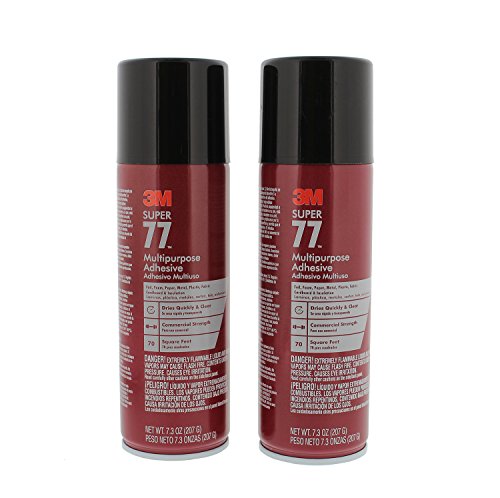
Super 77 is my favorite mounting spray, so a light coat of this on the back, smoothed down the paper onto the wooden plaque and we’re done!
Here were the supplies we had to pick up for this project. If you like to craft you probably already have things like glue, paint and paper, so I’m not counting those in these price lists.
And here is the comparison.

// diy round mirror
This mirror has such a neat look with those black beaded accents. Let’s make a similar one for way less than $80.

I found this little mirror in the dollar spot at Target and had used it for another project. I think originally it was a natural wood color, but I had painted it grey.
It has a little hot glue leftover from what I had done with it before, so I’m going to heat that up with a hair dryer and try to get it all off. I’ll also remove the hook on the back, since we want a nice flat surface to attach this to the wooden sign.

I gave the edge a coat of black paint. I think that will look nice with the black beaded accent.
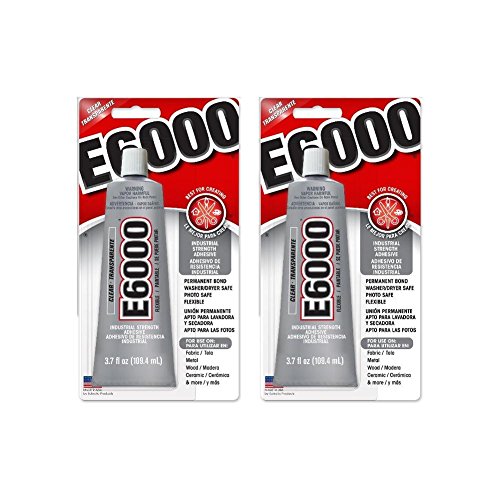
We’re going to use that same wooden sign we used for the last project since it’s round and already has that wood paint on there in just the right shade! We’ll just attach that mirror to the wooden sign with some E6000 and hot glue. The combo of hot glue with E6000 gives you a quick hold, but then will last a long time.

I painted these rounded stickers from Dollar Tree with black spray paint. Since they’re stickers, they are already sticky, but I really want them to stick on there well, so I secured them even more with a dot of glue.


It looked like there was a little darkness around 4 of the beaded accents, so to match the Kirkland’s one more closely, I went in with a detail brush and painted some shading around those 4 beads.
For the edge around the outside, I think this nautical rope is too thick, so I’m going to see what happens if I unravel and then just use one piece of this. I’ll give this some black spray paint and we’ll see how it turns out.

The last step is to add some glue around the edge to secure the piece of painted rope on the border.

These were the supplies we picked up.

Here is mine next to the Kirkland’s one. Mine has my own spin on it, but I think they came out looking pretty similar!

I hope you enjoyed these dupes. I hope you have a creative day and thanks for reading!
Here are some more posts that you may enjoy.


FTC: Not Sponsored. All opinions are always 100% honest and my own. Some links may be affiliate links. If you click a link and buy something, I receive a small commission for the sale. It doesn’t cost you anything extra and you are free to use the link or not as you choose. If you do use my links, I appreciate your support.
How about some Target Dollar Spot crafts and Dollar Tree coastal transformations. We’ll be putting together tiered tray miniatures to decorate our little coastal vignette.