
Kirkland's Inspired DIYs with a Modern Farmhouse Look
Kirklands has the perfect modern farmhouse style and today we’re going to make some dupes of Kirkland’s decor for way cheaper than what’s on the price tag. They all have an elegant neutral white theme, so let’s get crafting!
And if you’re here for the printables for these projects, just fill out the form below. Read on for all the instructions, or watch the tutorial.

// barn napkin holder
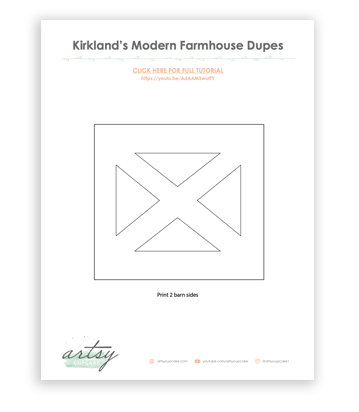
Let’s get started on the first DIY, which is a dupe of this cute little barn.

I want to make a napkin holder, so I looked around for items that would be a good starting point.
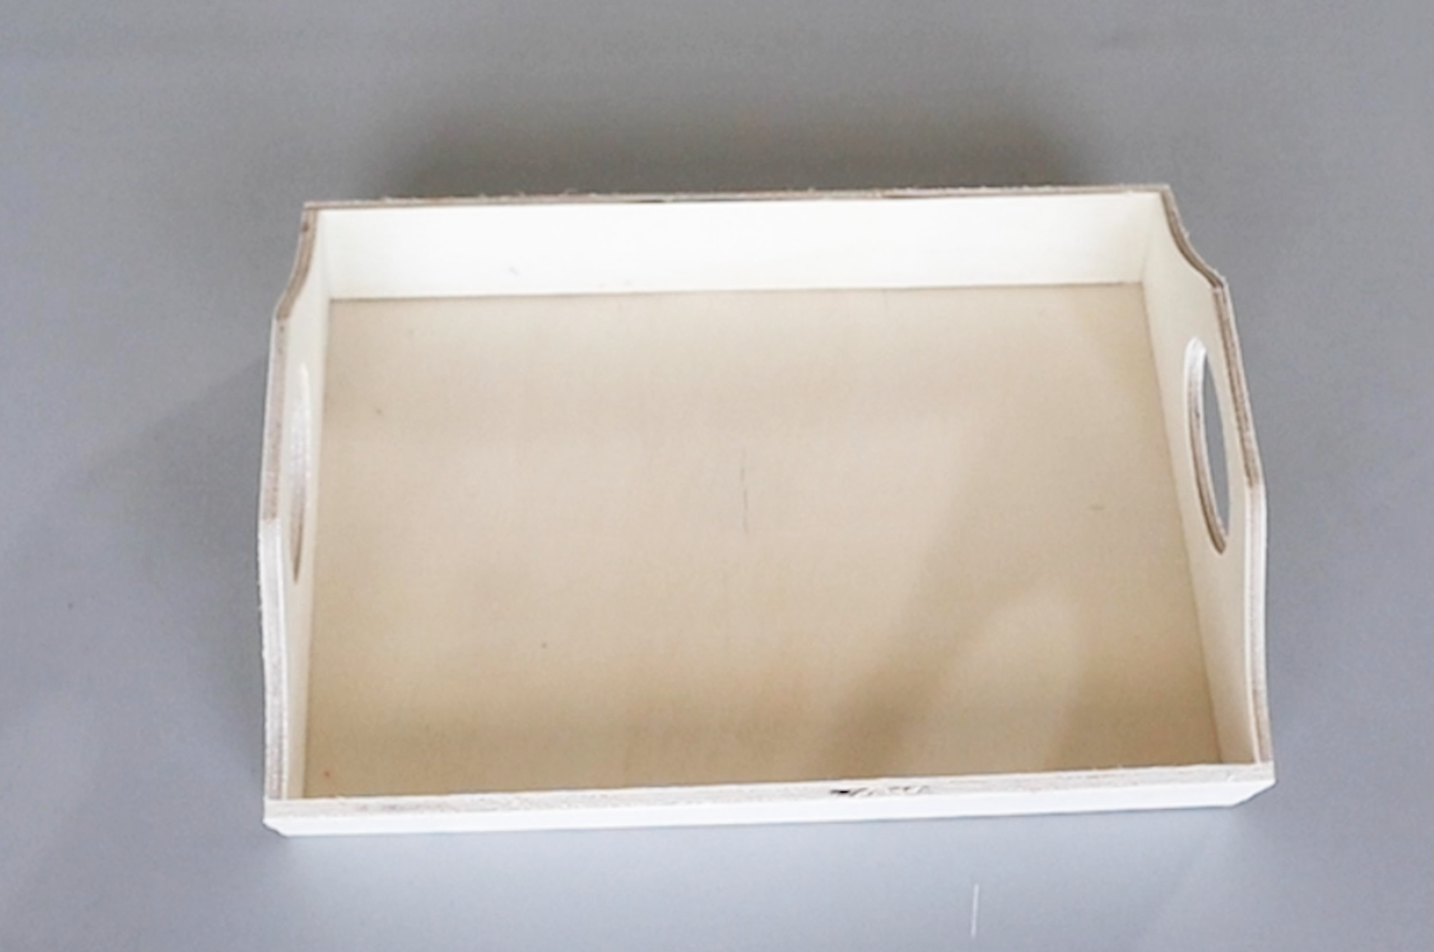
This tray was a good size and if you’re wondering they do come apart…with a little aggression. I want the bottom piece to act as a nice sturdy base. Plus, it’s already the right color and size. I measured how big I wanted this to be and then created an outline of the barn.

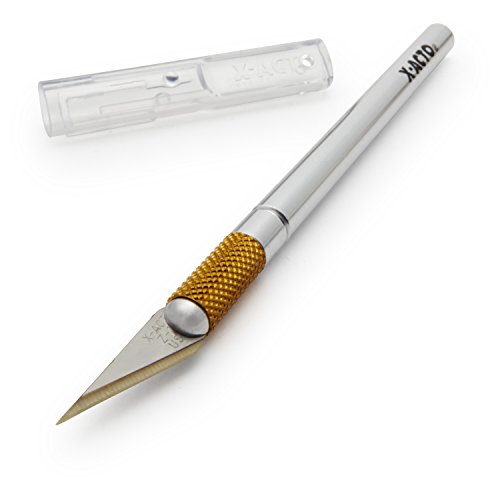
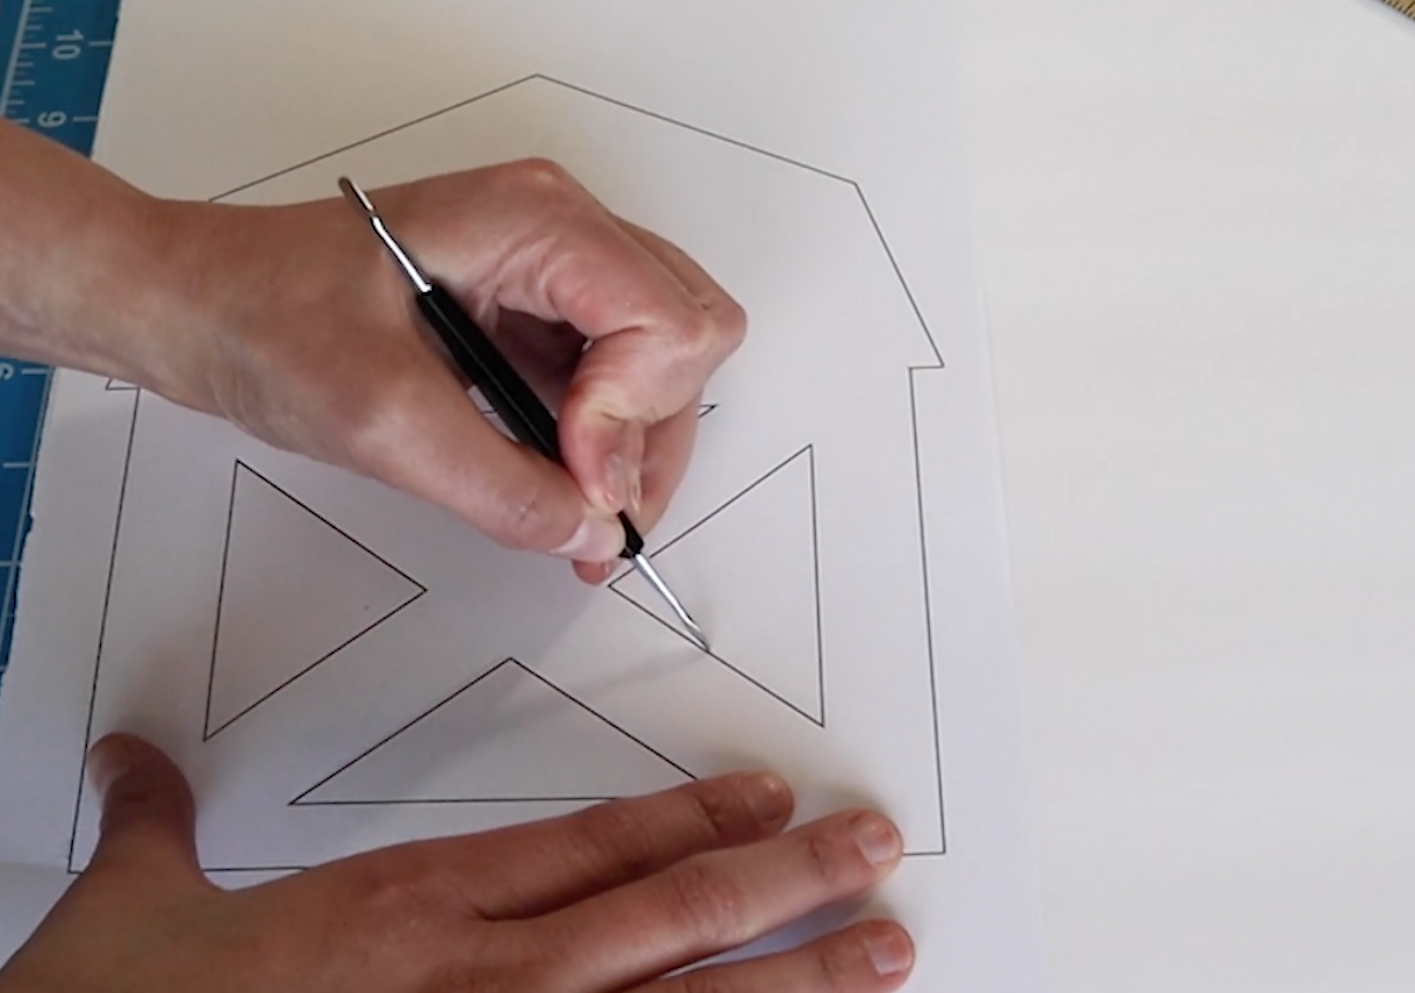
I’m using a nail tool to create creases in this piece of Dollar Tree foam core. Then I used my X-acto to cut out the shapes. Make sure you have a fresh blade when you’re working with foam core. I did 2 sides with this barn shape.

For the open areas of the barn I want to have a grey backing. I found these chopping mats at Dollar Tree and they are supposed to be for cutting, but they only took a couple slices to get through. Good for our project, but maybe not so good for in the kitchen!

I mixed up a greige shade (white, brown and a little black) and gave the matte side of the chopping mats a little texture. If you’re familiar with my style, you may have noticed I always go for a simple elegant look. So, my farmhouse is more on the modern farmhouse end. The texture here is subtle, but does add just a bit of dimension to this piece.

I also painted the sides of the roof of the barn with that same color.

For the design at the top of the barn, I tried a couple different ways, but found the easiest way to do this is to first draw the shape with a marker. This one happens to be erasable so if you mess up – no worries!
Then I took the paint and traced over the marker. This gives you that hand painted look without the pressure to get it right the first time with the paint brush.


Next, I attached the cutting mats to the inside of the barn shapes and then glued these to each side of the wooden base.

I measured how big the sides needed to be and repeated the same steps that we did for the other 2 sides. The only difference is the sides do not have the barn “roof”.


// monogram sign
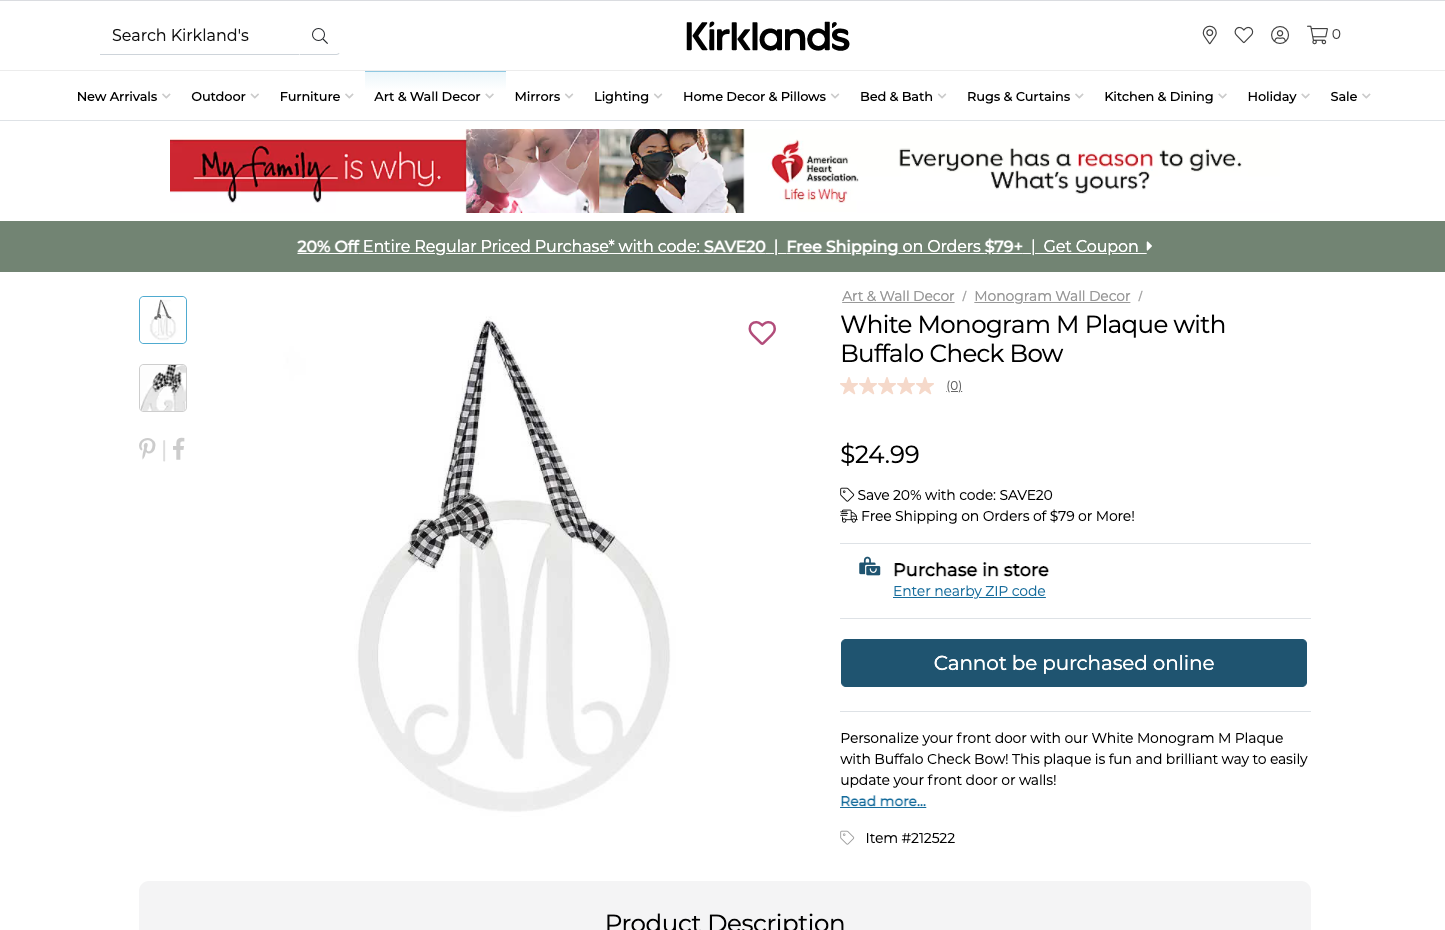
I thought this monogram sign was so cute, but I think we can make it for way cheaper than $25.
I had this floral hoop, but you could use a hula hoop or an embroidery hoop. I already painted it white, and I measured it to see how big the letter M needs to be.

I created this M on my computer, but since I can only print letter sized on my printer, I have to piece it together.
We’re doing things old school today and if you don’t have a Cricut or Silhouette cutting machine, then you’ll get a few tips on how to do lettering by hand.

I trimmed the edges up and taped the shape together. Then I indented the paper with a dull object, but you don’t want to cut through until you’ve traced the whole thing.

Then I go in with my X-acto and try to make as smooth of cuts as possible. Using long slow cuts, trying to pick up your knife as few times as possible is the best way to do this.
I may have mentioned this already, but it is worth mentioning again – have a fresh blade!
I’ve been using X-actos for a long time (since design school!), but I even got a few mess ups on here. So don’t worry if yours doesn’t come out perfect, because you can go in and do detail work after the initial cuts.
I cleaned up the edges and even a little sandpaper can really smooth things out.

Dollar Tree has buffalo check ribbon but I am all out of that, so I had to cut this thicker one to size. Not the ideal situation, but I’ll be sure to pick up more of that ribbon from Dollar Tree on my next visit.

I wrapped this around and added a bow to try to match the Kirkland’s version. Then I attached the letter to the back of the hoop. You can use hot glue or a combo of hot glue and E6000 for an even stronger hold.

Here were the supplies we had to pick up at Dollar Tree.

And here is the comparison of mine to the Kirkland’s one. Pretty close match, right?


// “Eat” sign
I thought this “EAT” sign would look really cute with the barn napkin holder we made.

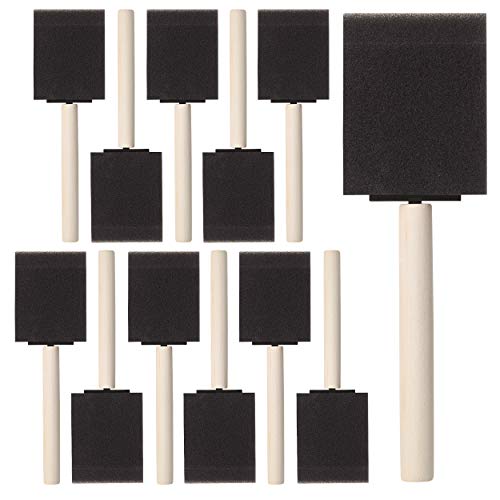
I made these letters match the Kirkland’s one as closely as possible. To add a tiny but of texture, we are going to dry brush these with some of that greige paint I had mixed up for the other project.
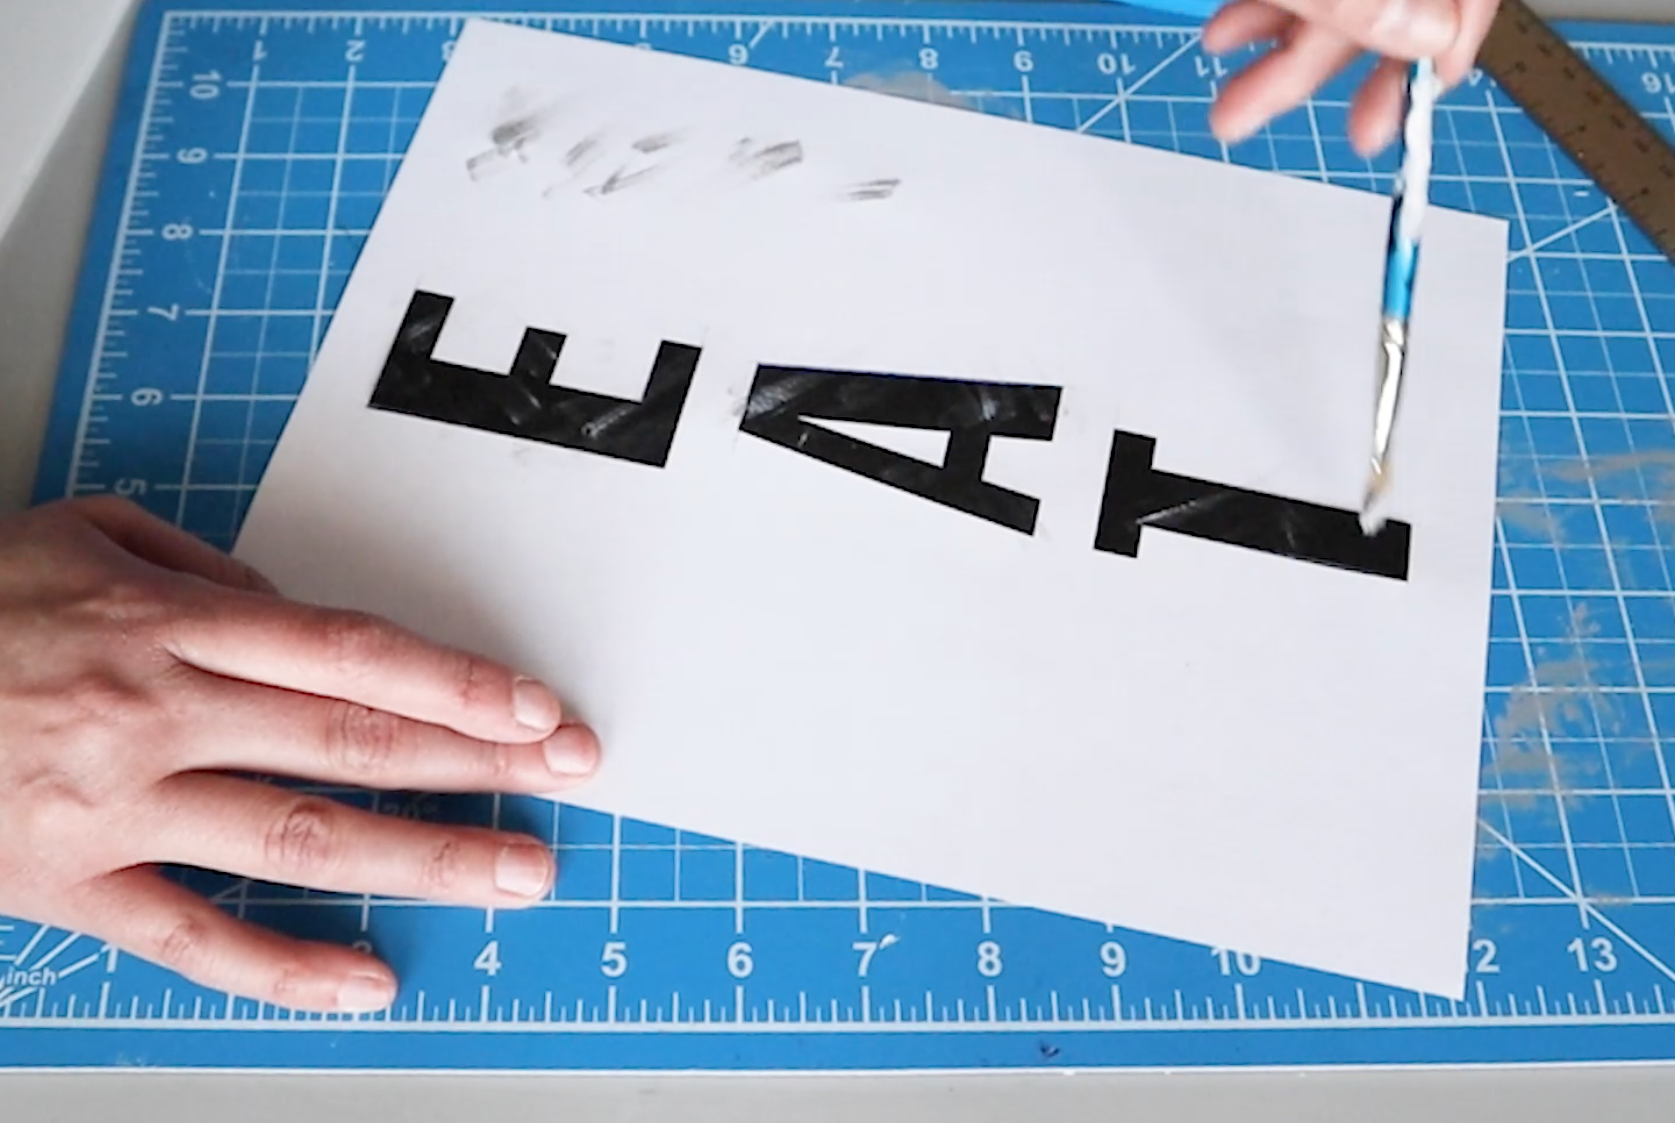
I got as much of the paint off the brush as possible and very lightly brushed in several different directions to give a bit of distressing. Then I finished cutting those letters out.

I cut the foam core to the right size. This will be a nice thick backing for our sign.
I’m using these wooden blocks, which are from a mini “Jenga” game. You can find this game in the kids section at Dollar Tree.
Hot glue sticks wood to foam core really well, so these are on there good!

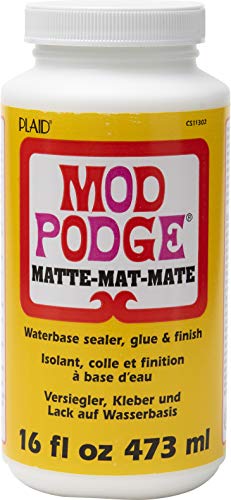
Then I used a very thin coat of Mod Podge on the back of each letter and stuck it to the foam core.

The last step is to finish off the edges. I mixed up some paint to closely match the color of those wooden blocks (white, brown and yellow). Then I painted that on the sides where the foam core was exposed. This really masks the fact that we made this out of foam core.

This one was so cheap to make!

And looks so close to the original!


I hope you were inspired to make one or more of these DIYs. Here is some more inspiration you may like.


FTC: Not Sponsored. All opinions are always 100% honest and my own. Some links may be affiliate links. If you click a link and buy something, I receive a small commission for the sale. It doesn’t cost you anything extra and you are free to use the link or not as you choose. If you do use my links, I appreciate your support.
How about some Target Dollar Spot crafts and Dollar Tree coastal transformations. We’ll be putting together tiered tray miniatures to decorate our little coastal vignette.